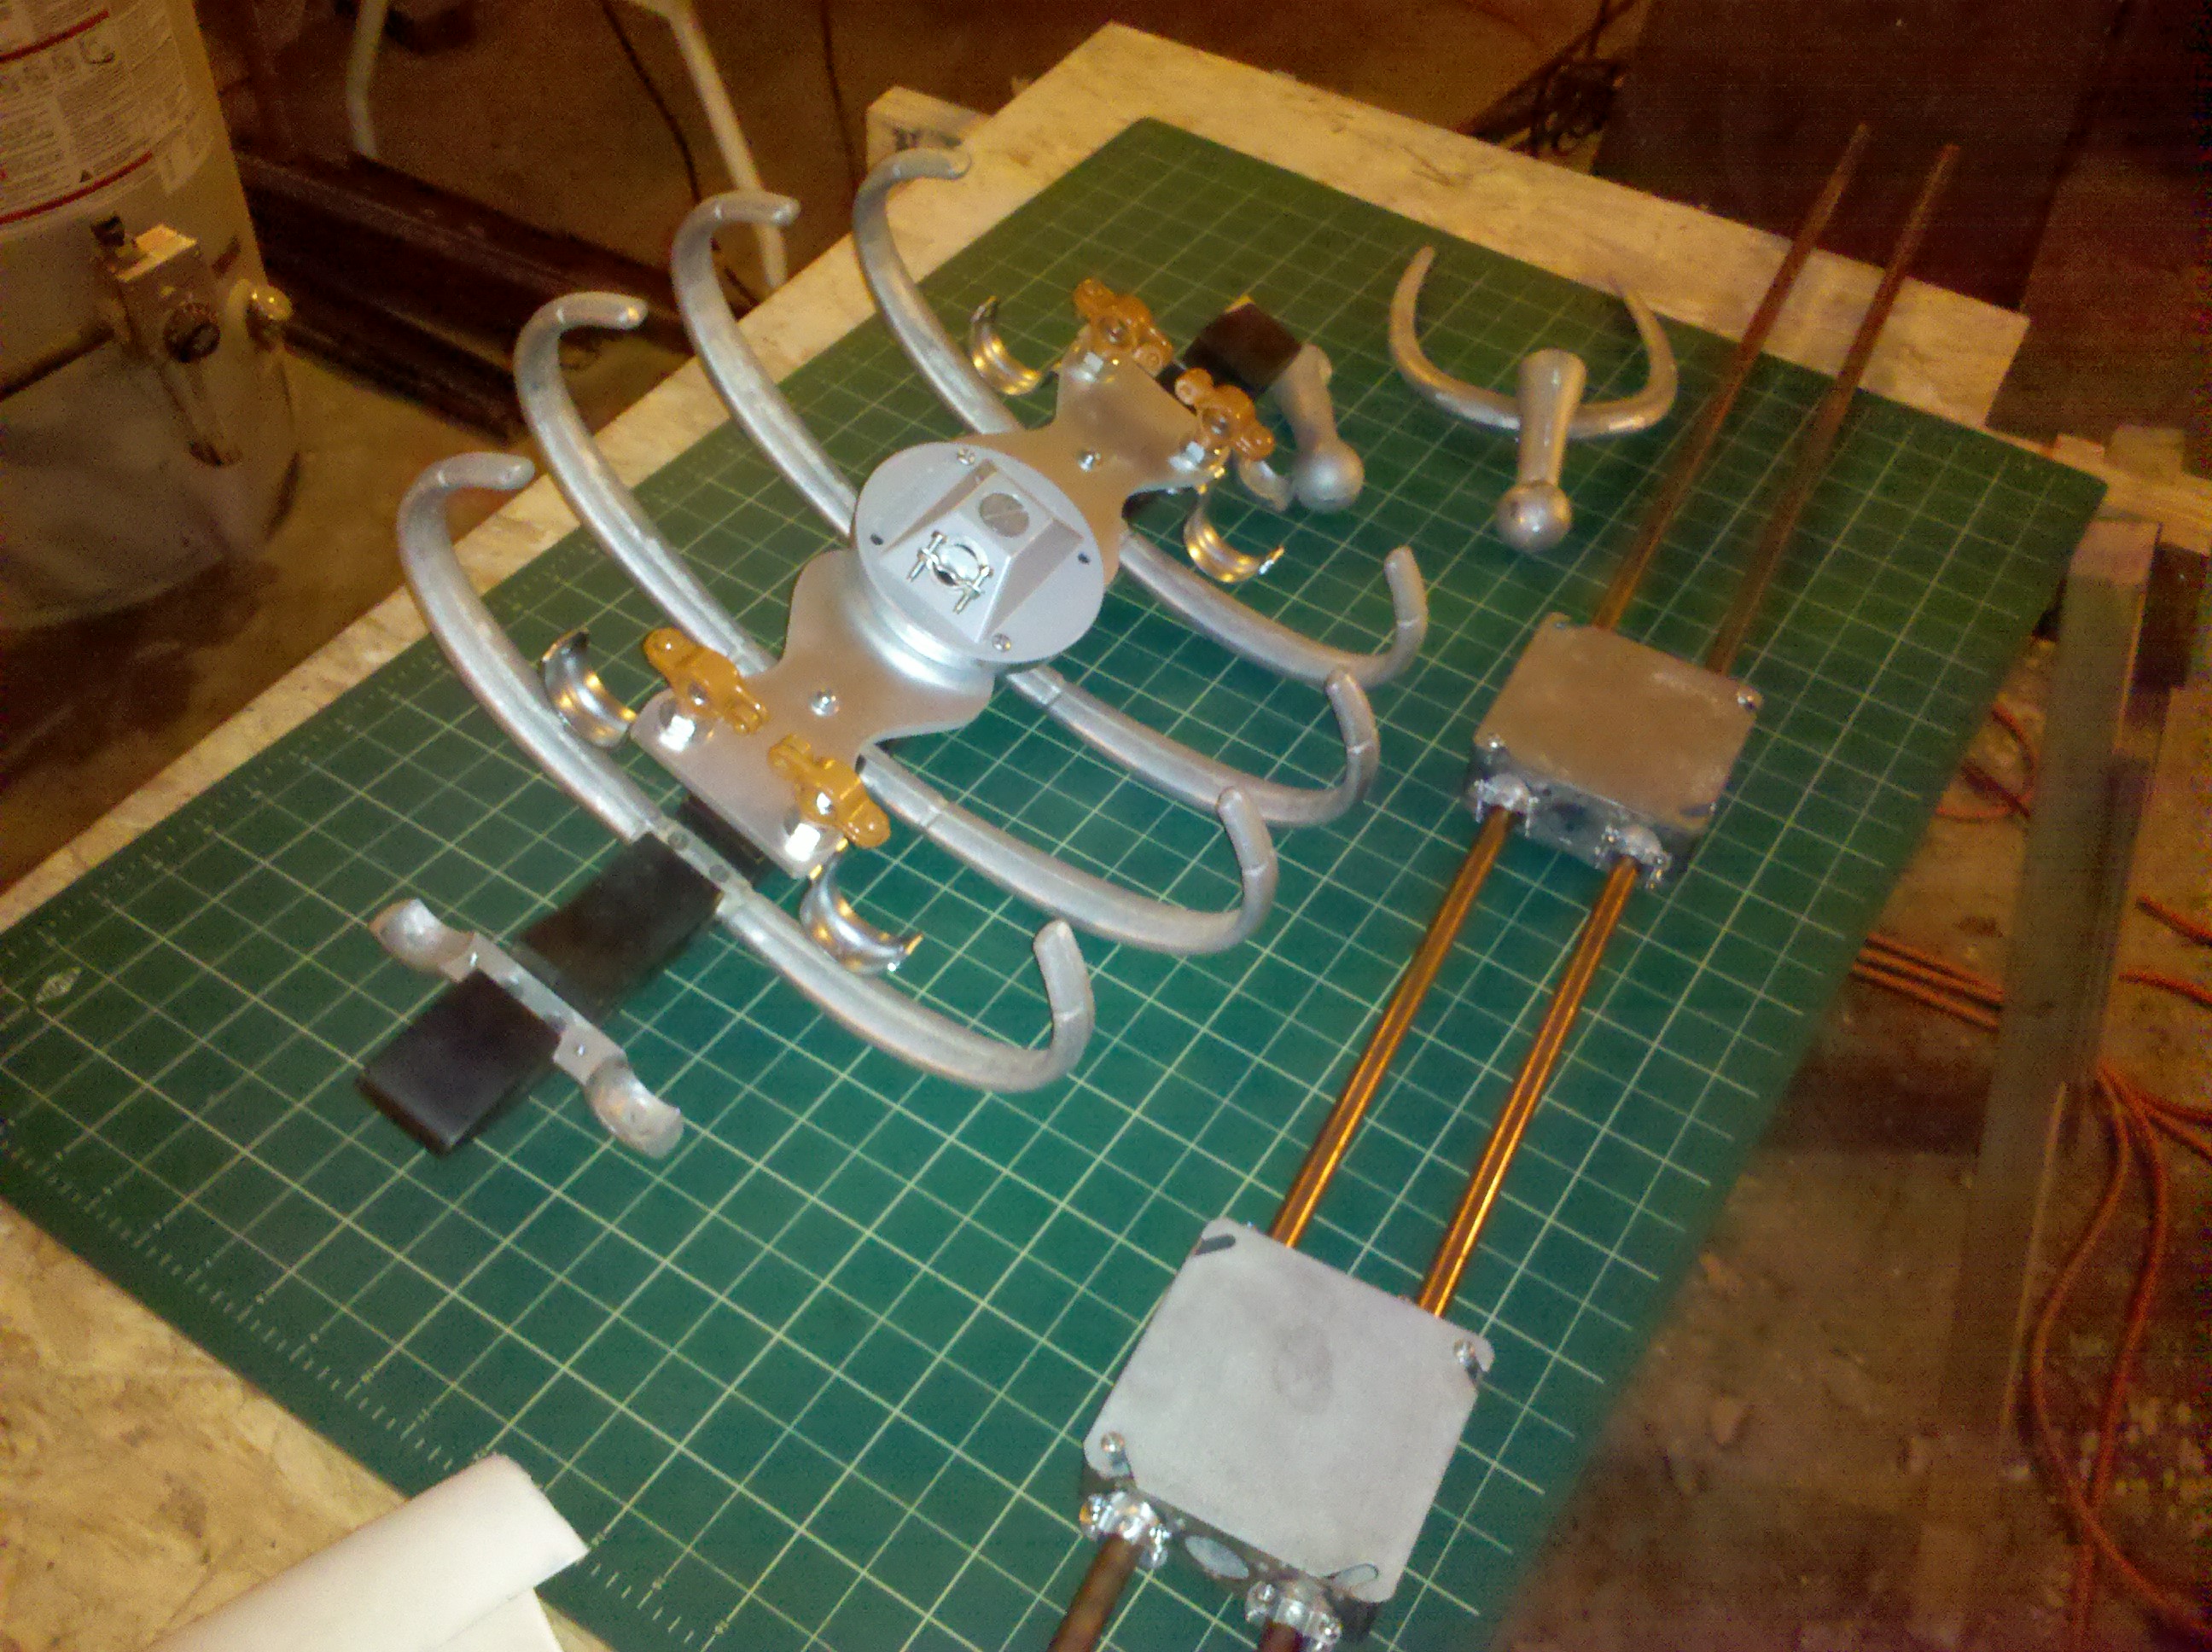
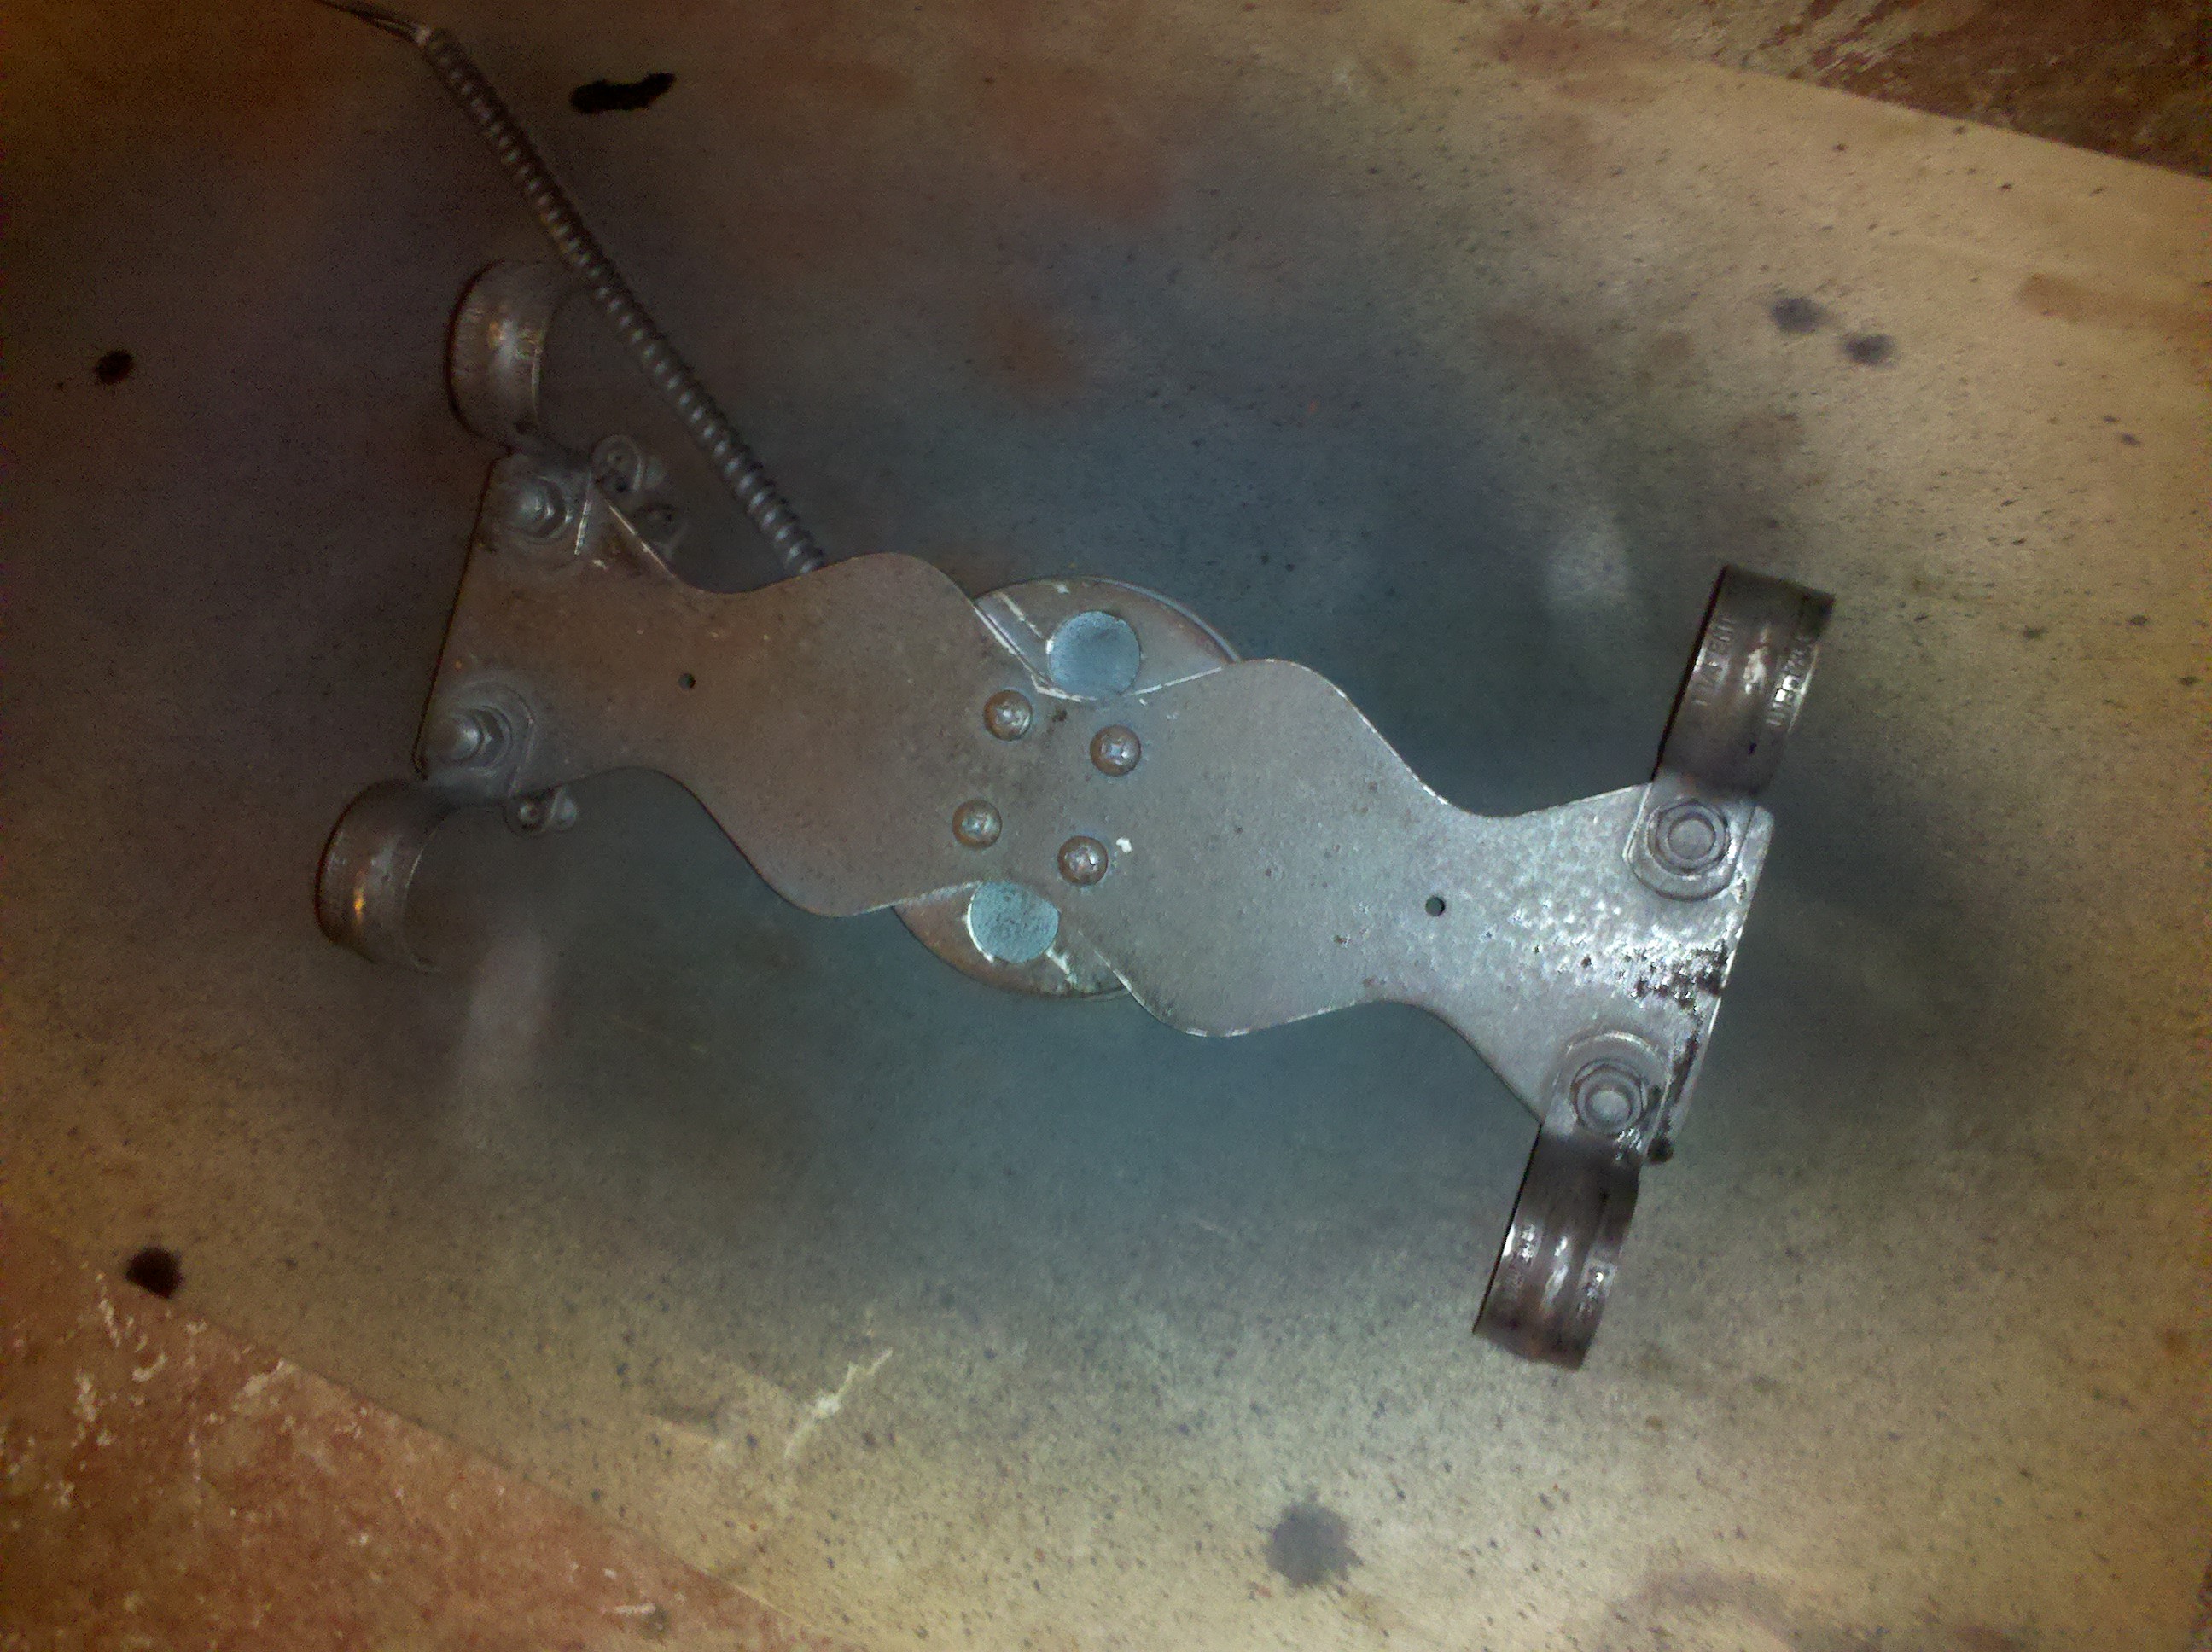
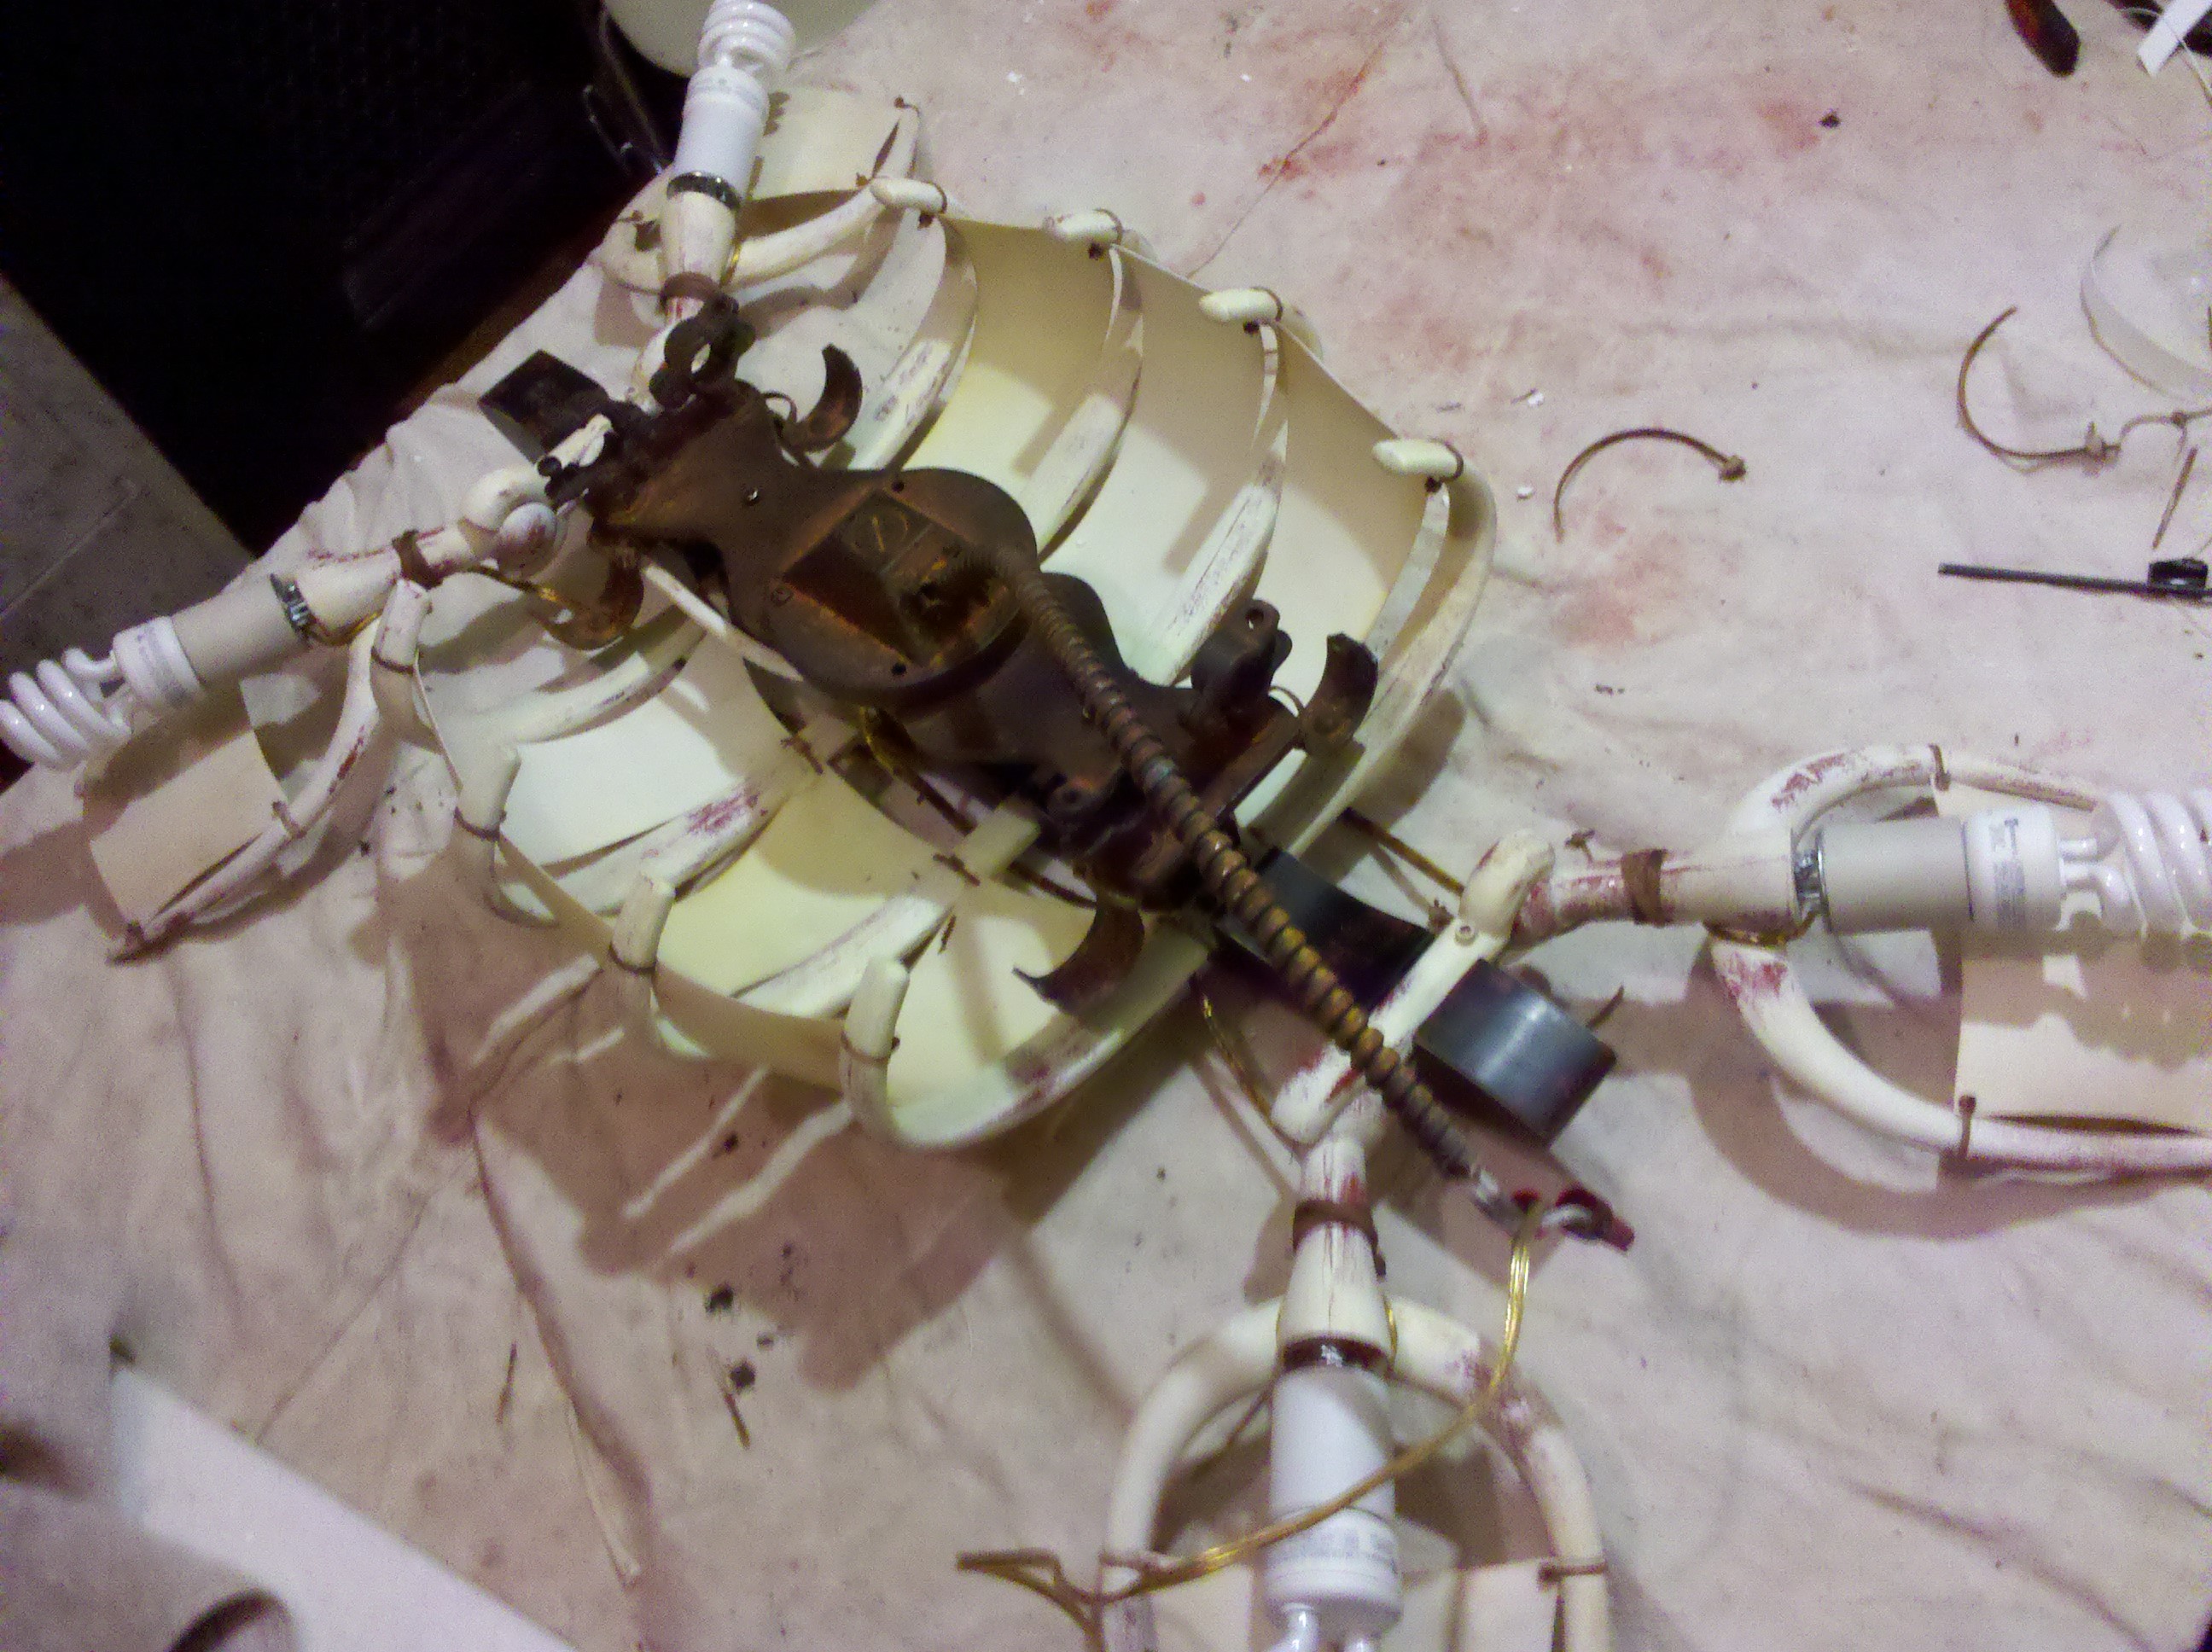
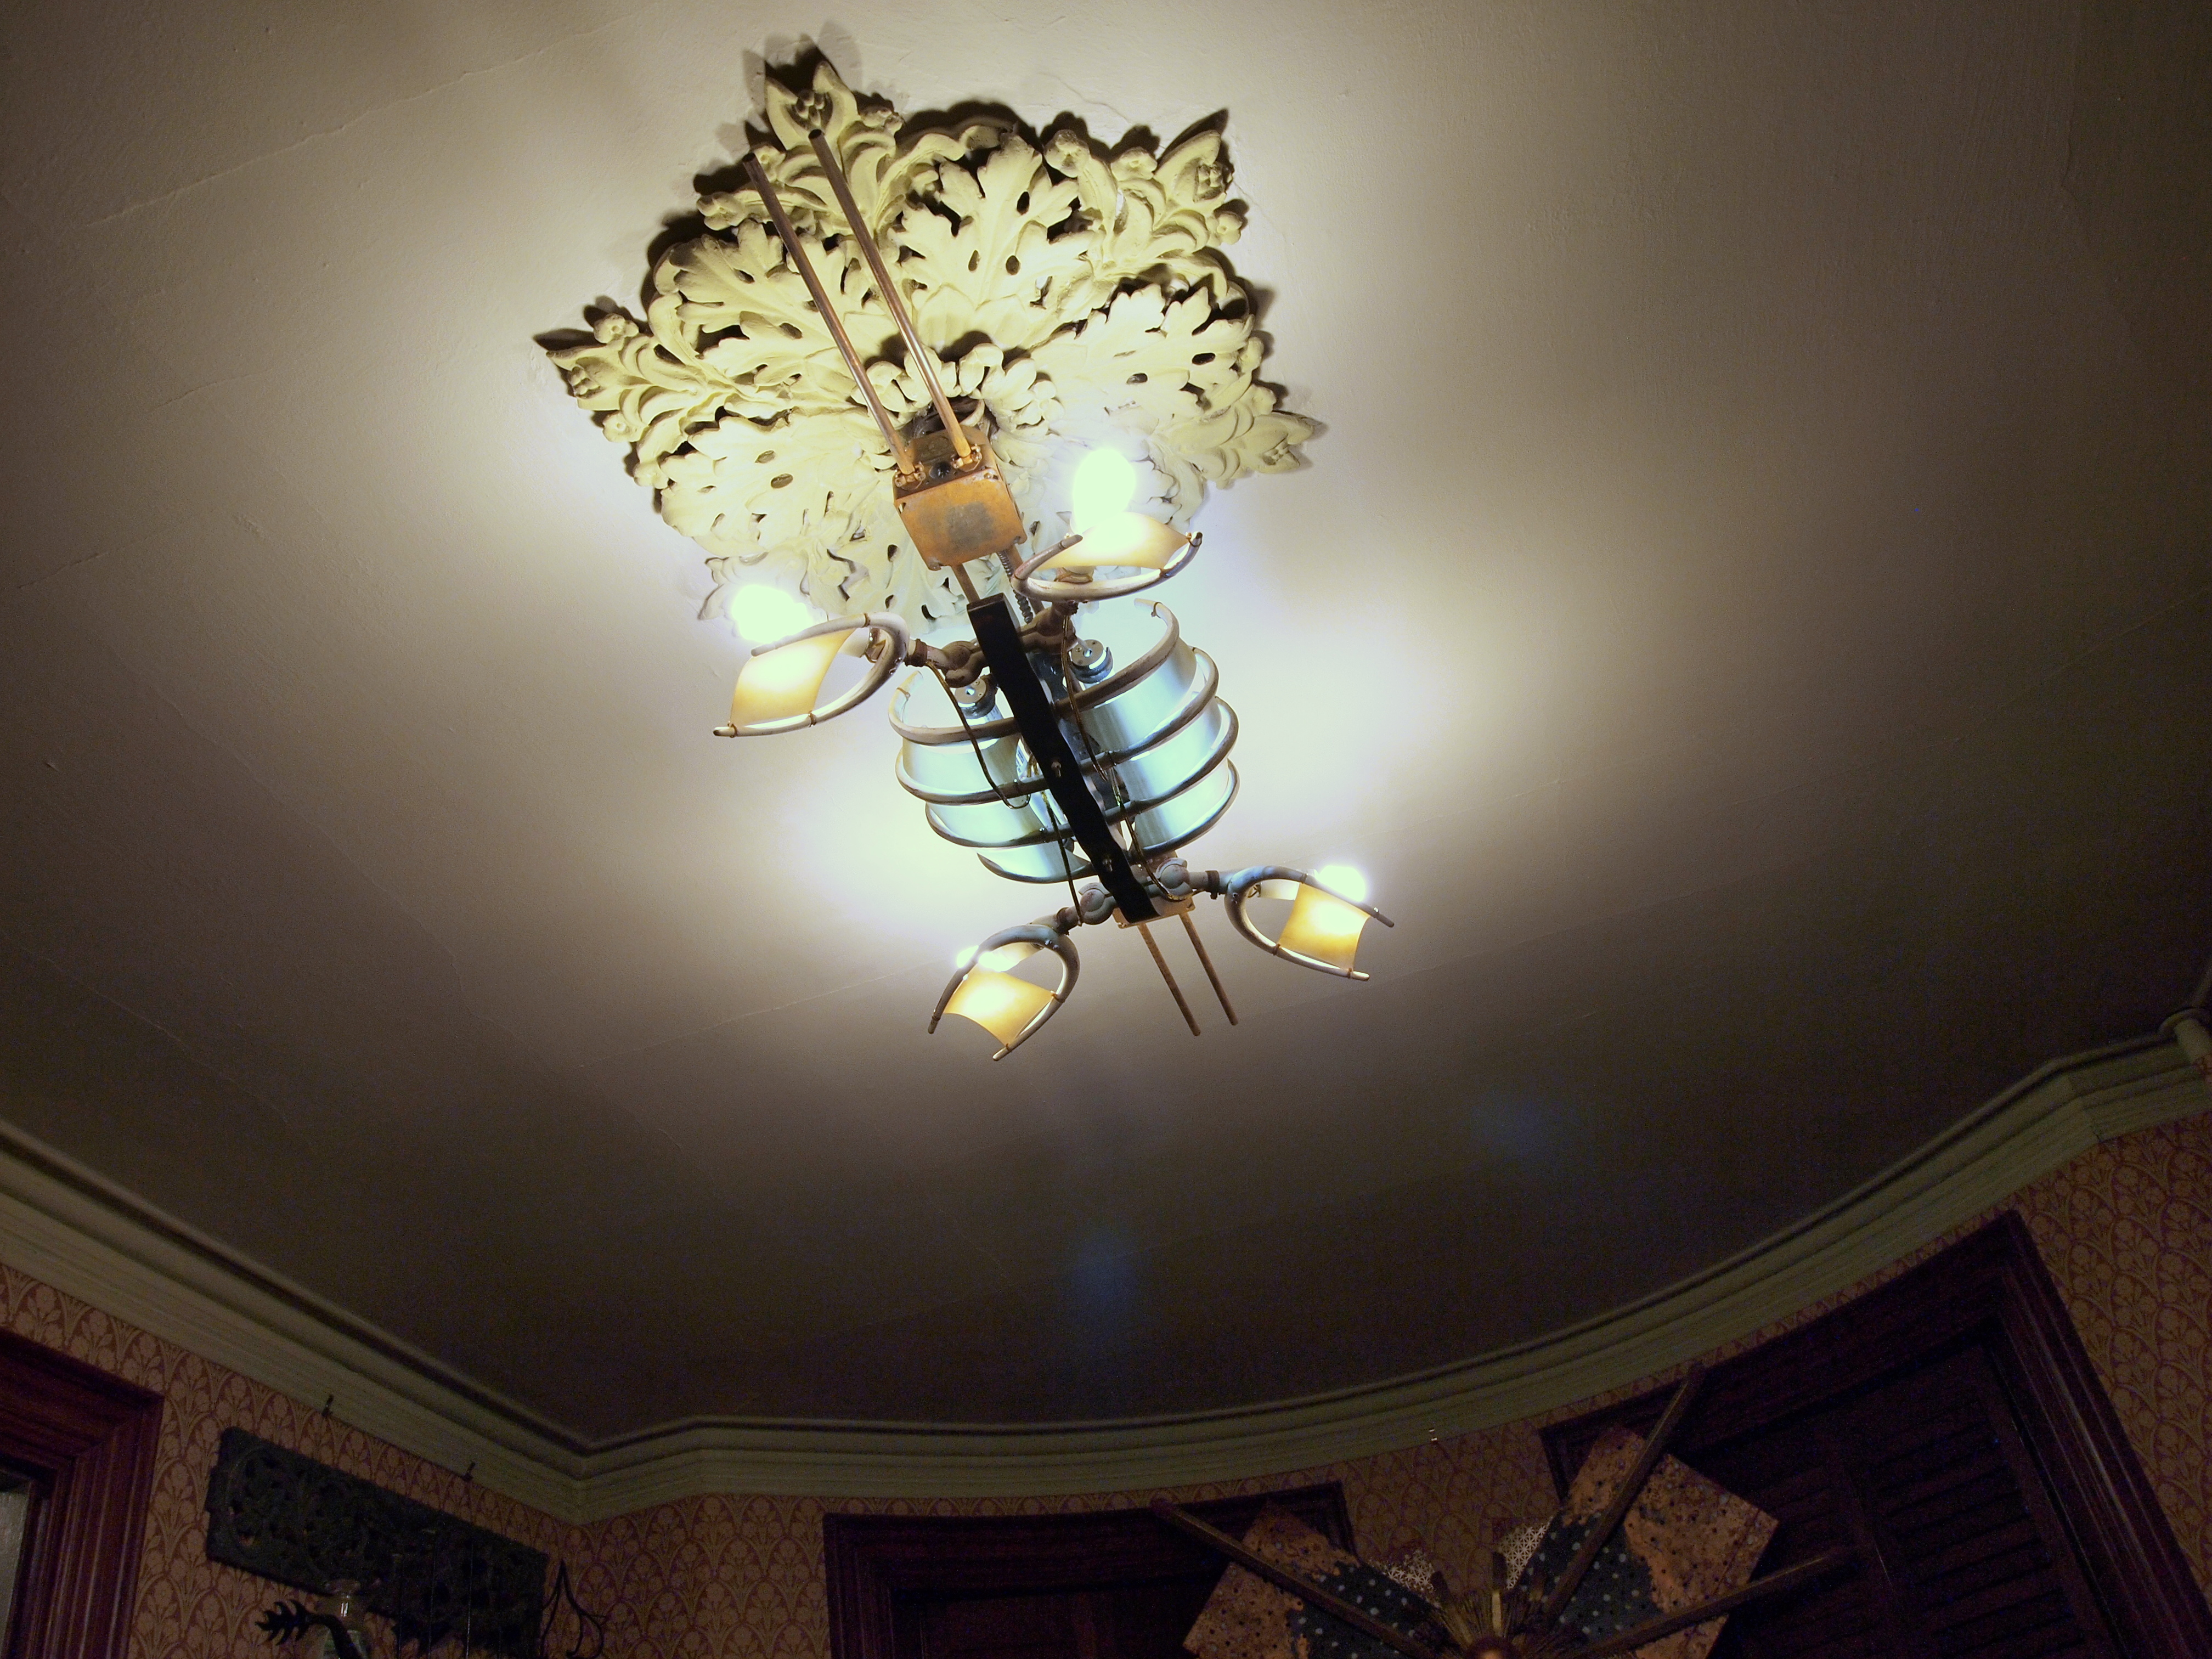
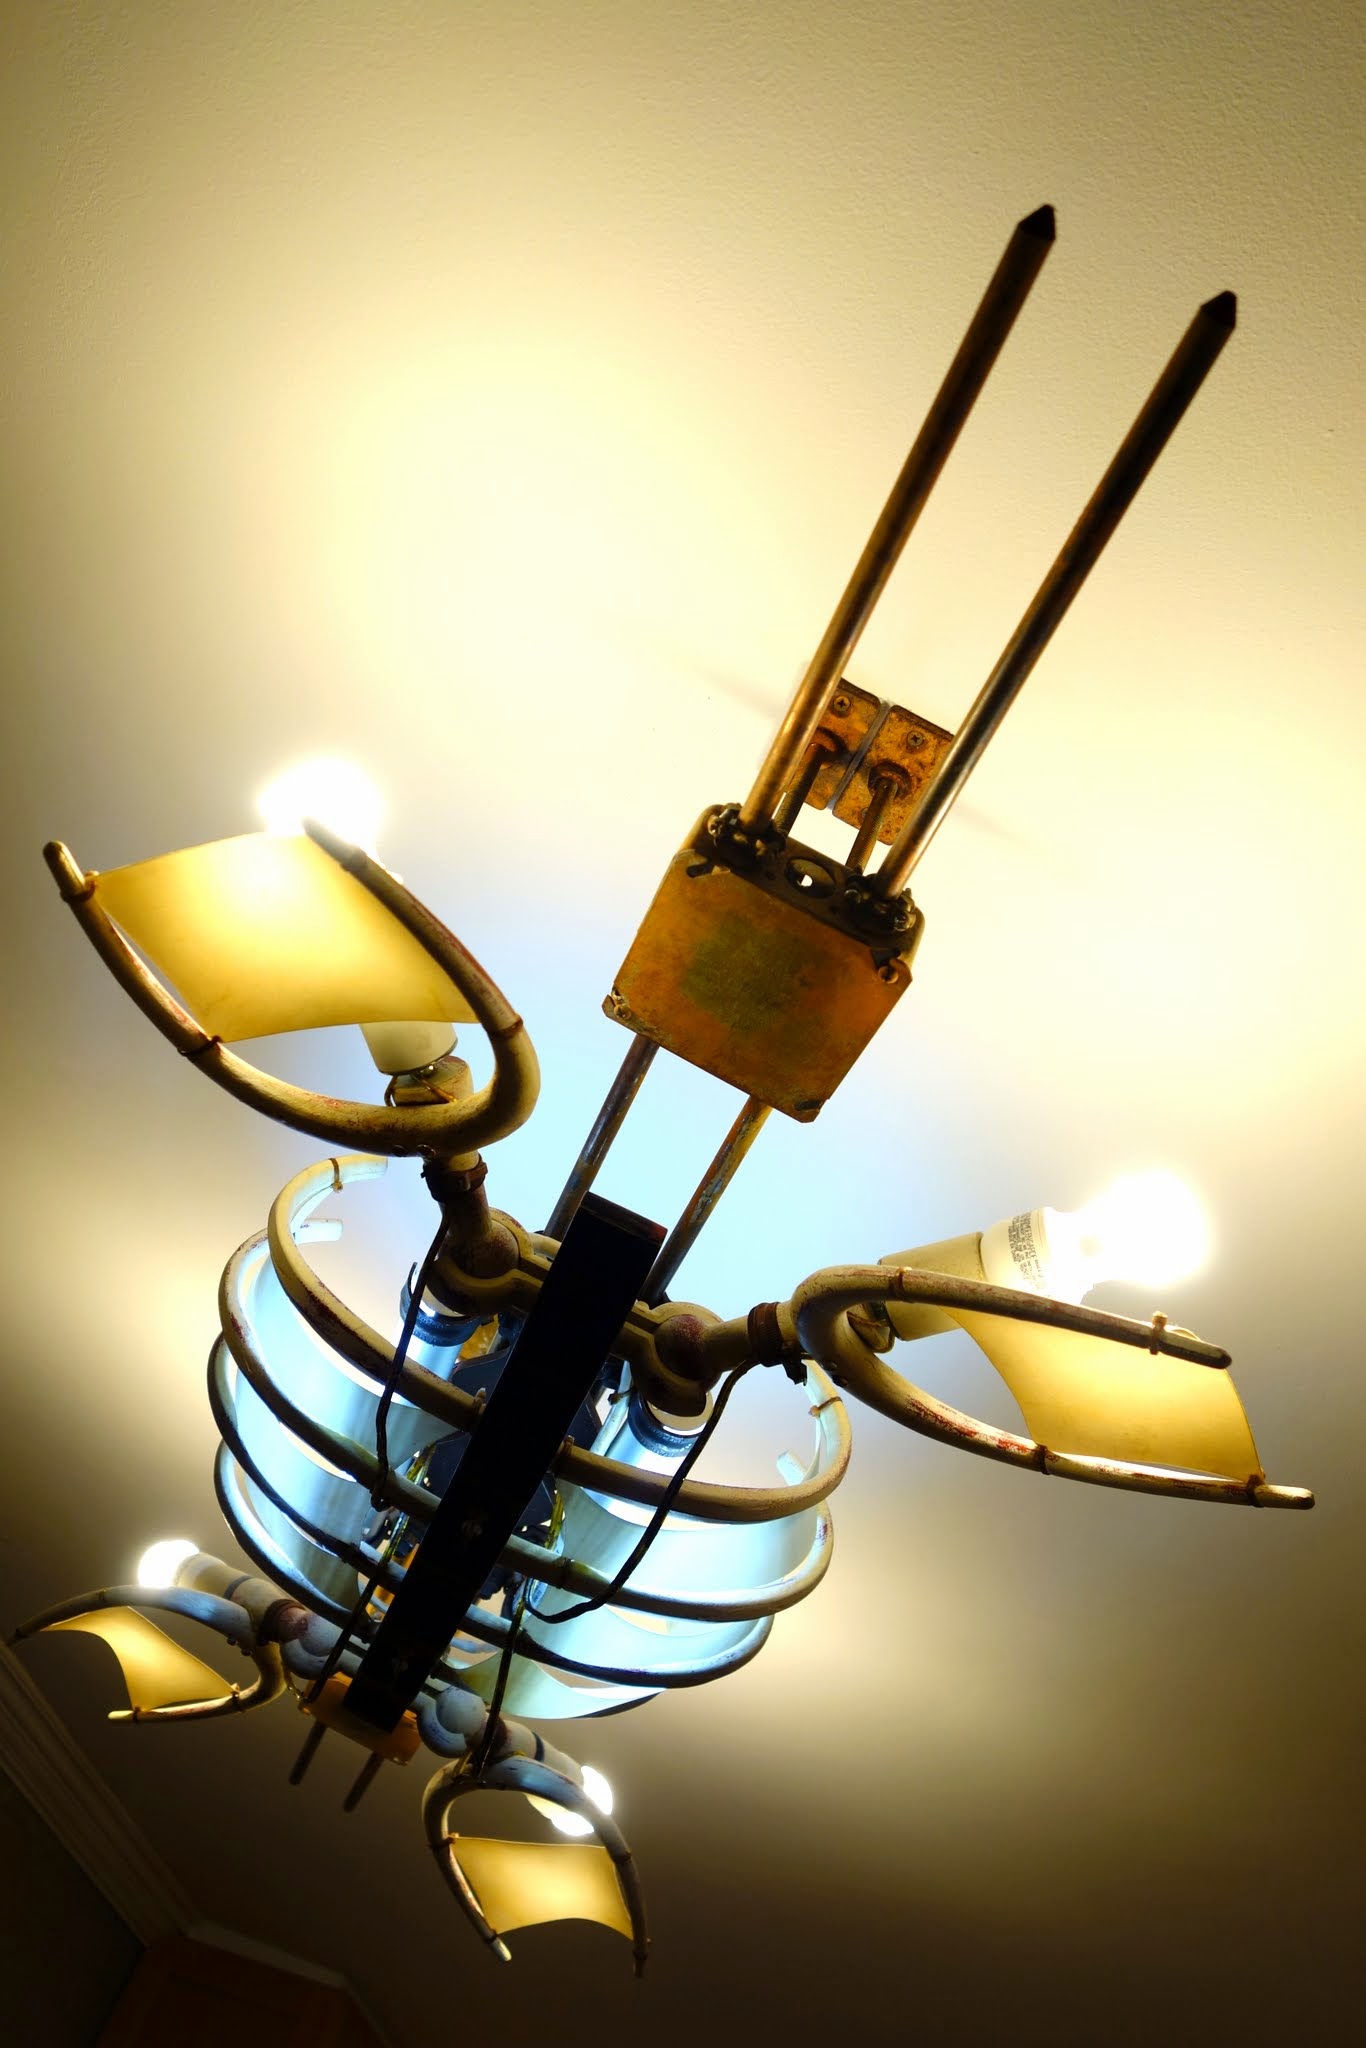
I dislike abandoning projects in which I have invested so much time and energy, as long as there seems to be any virtue left in them. With no access to fabrication equipment, a foundry, or power tools of greater precision than a small drill press and a metal-cutting miter saw, it seemed to me that I could nevertheless treat this light-fixture relic of my architecture school days as a sort of improvised sculpture.
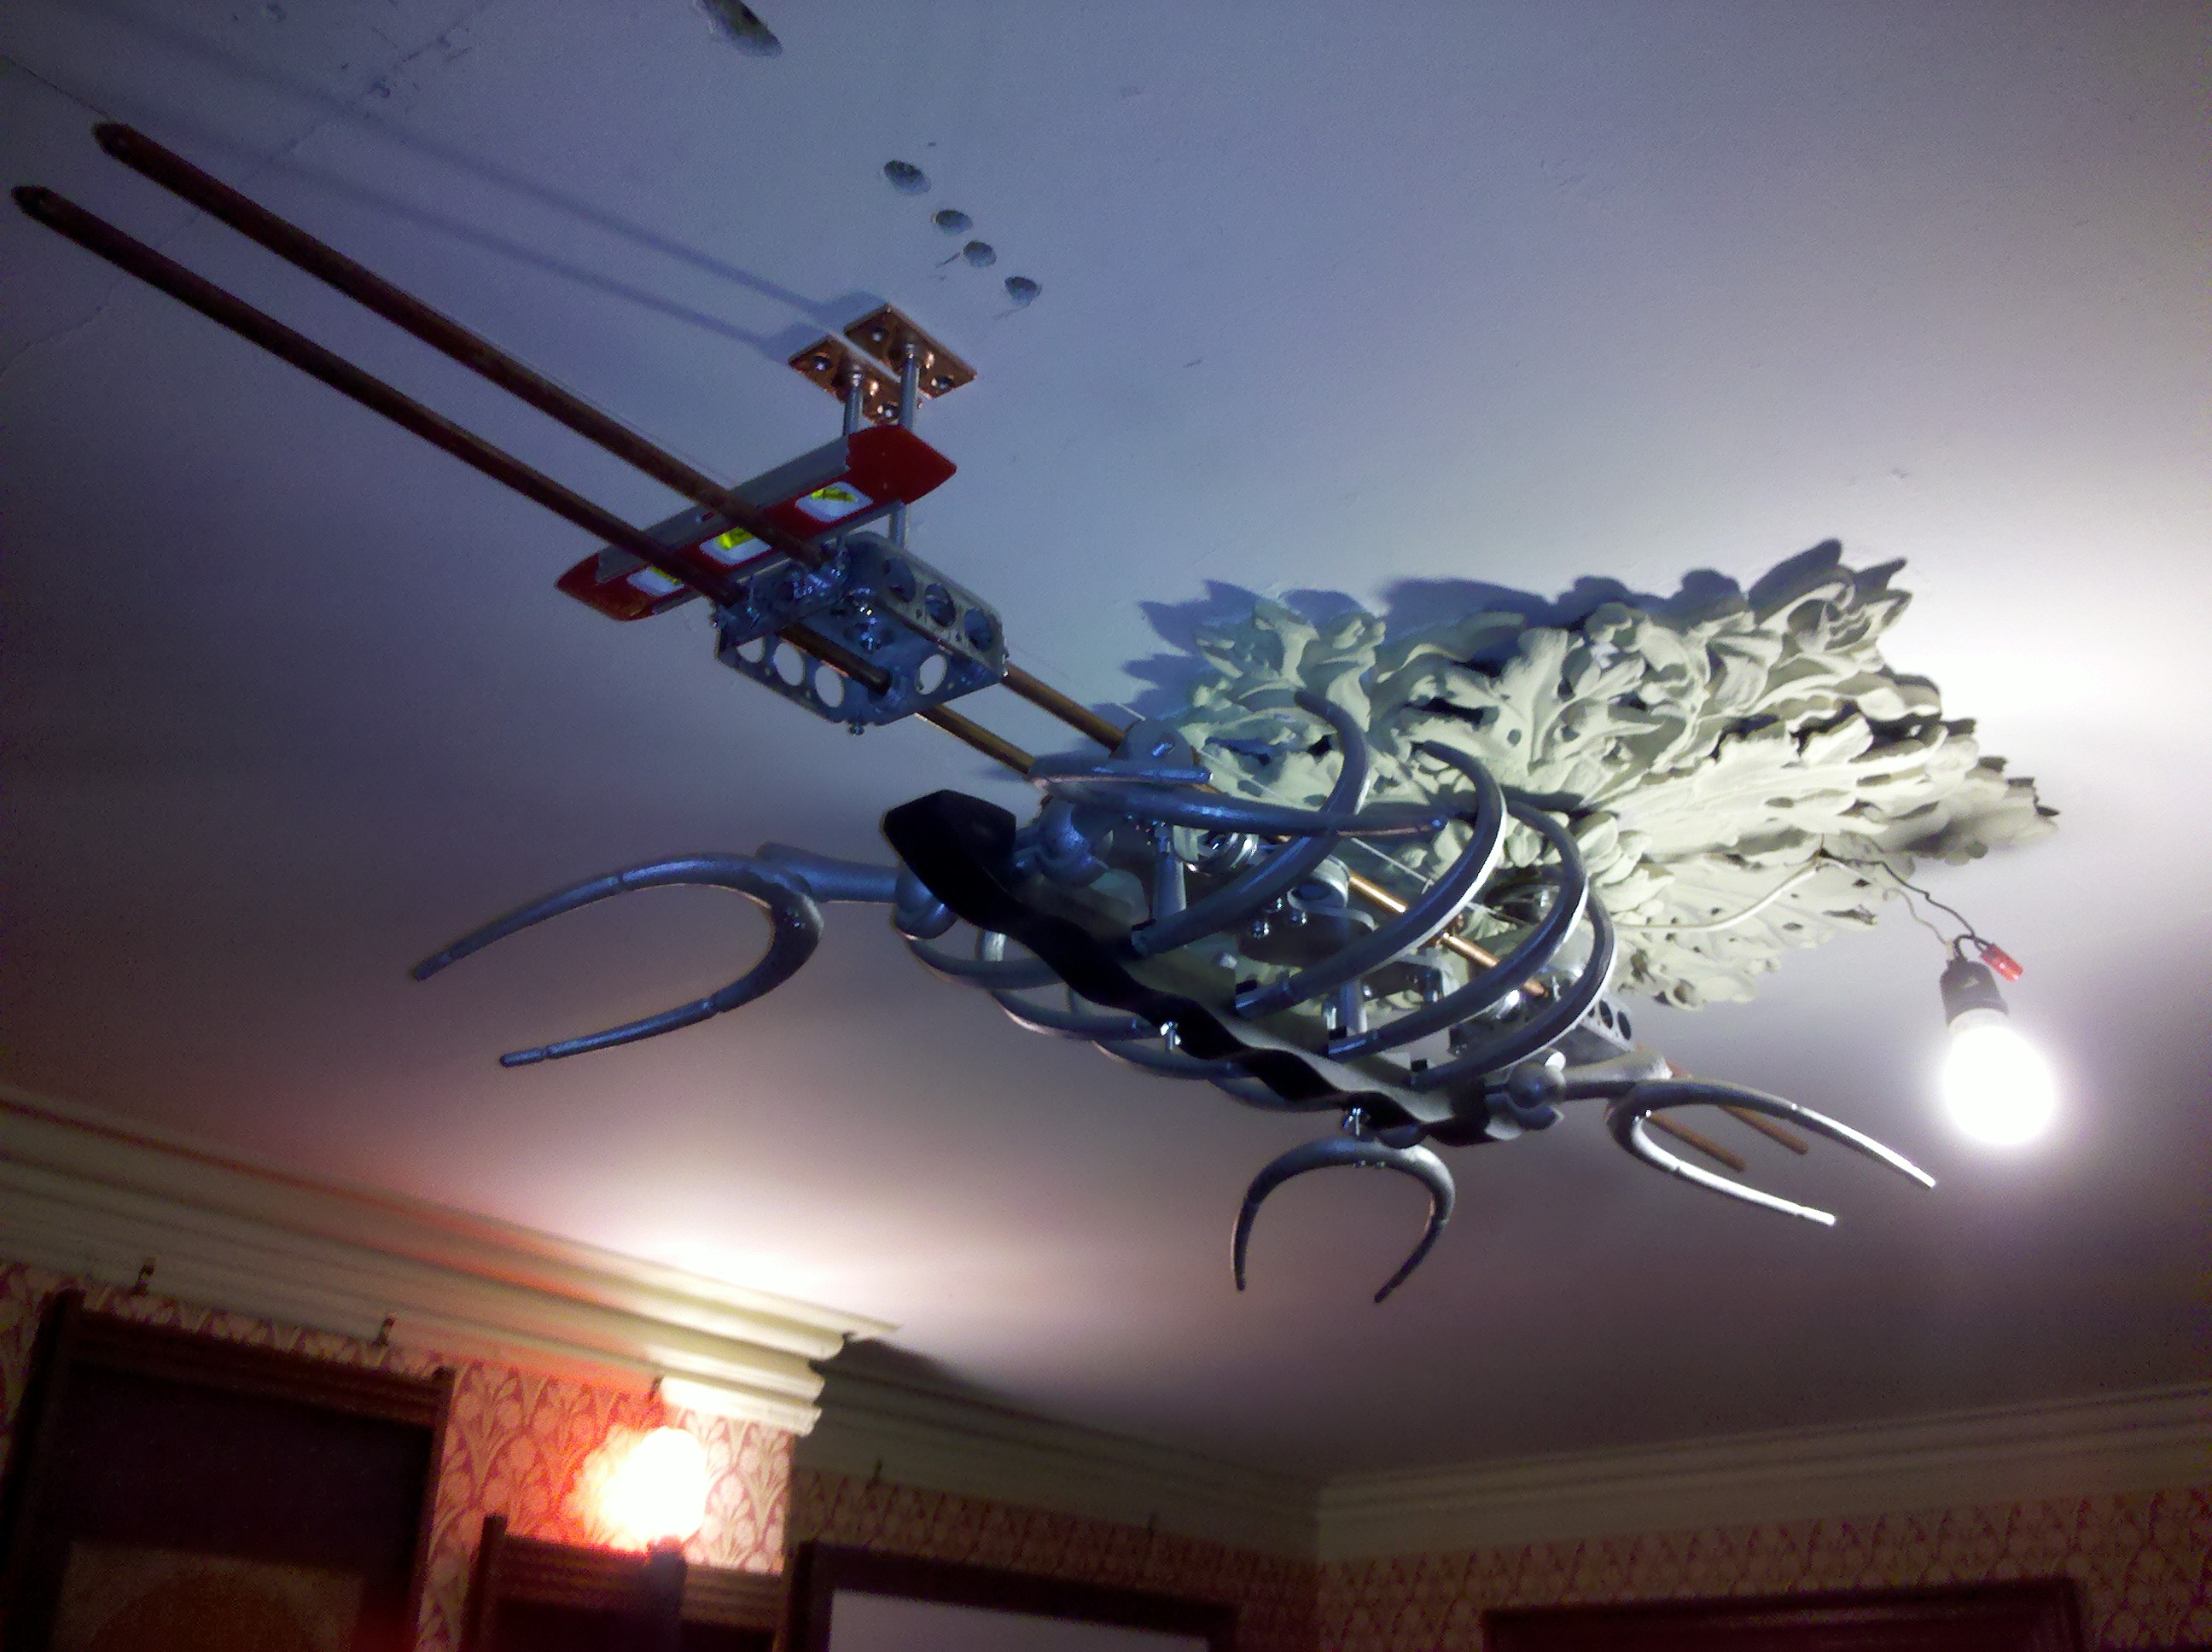
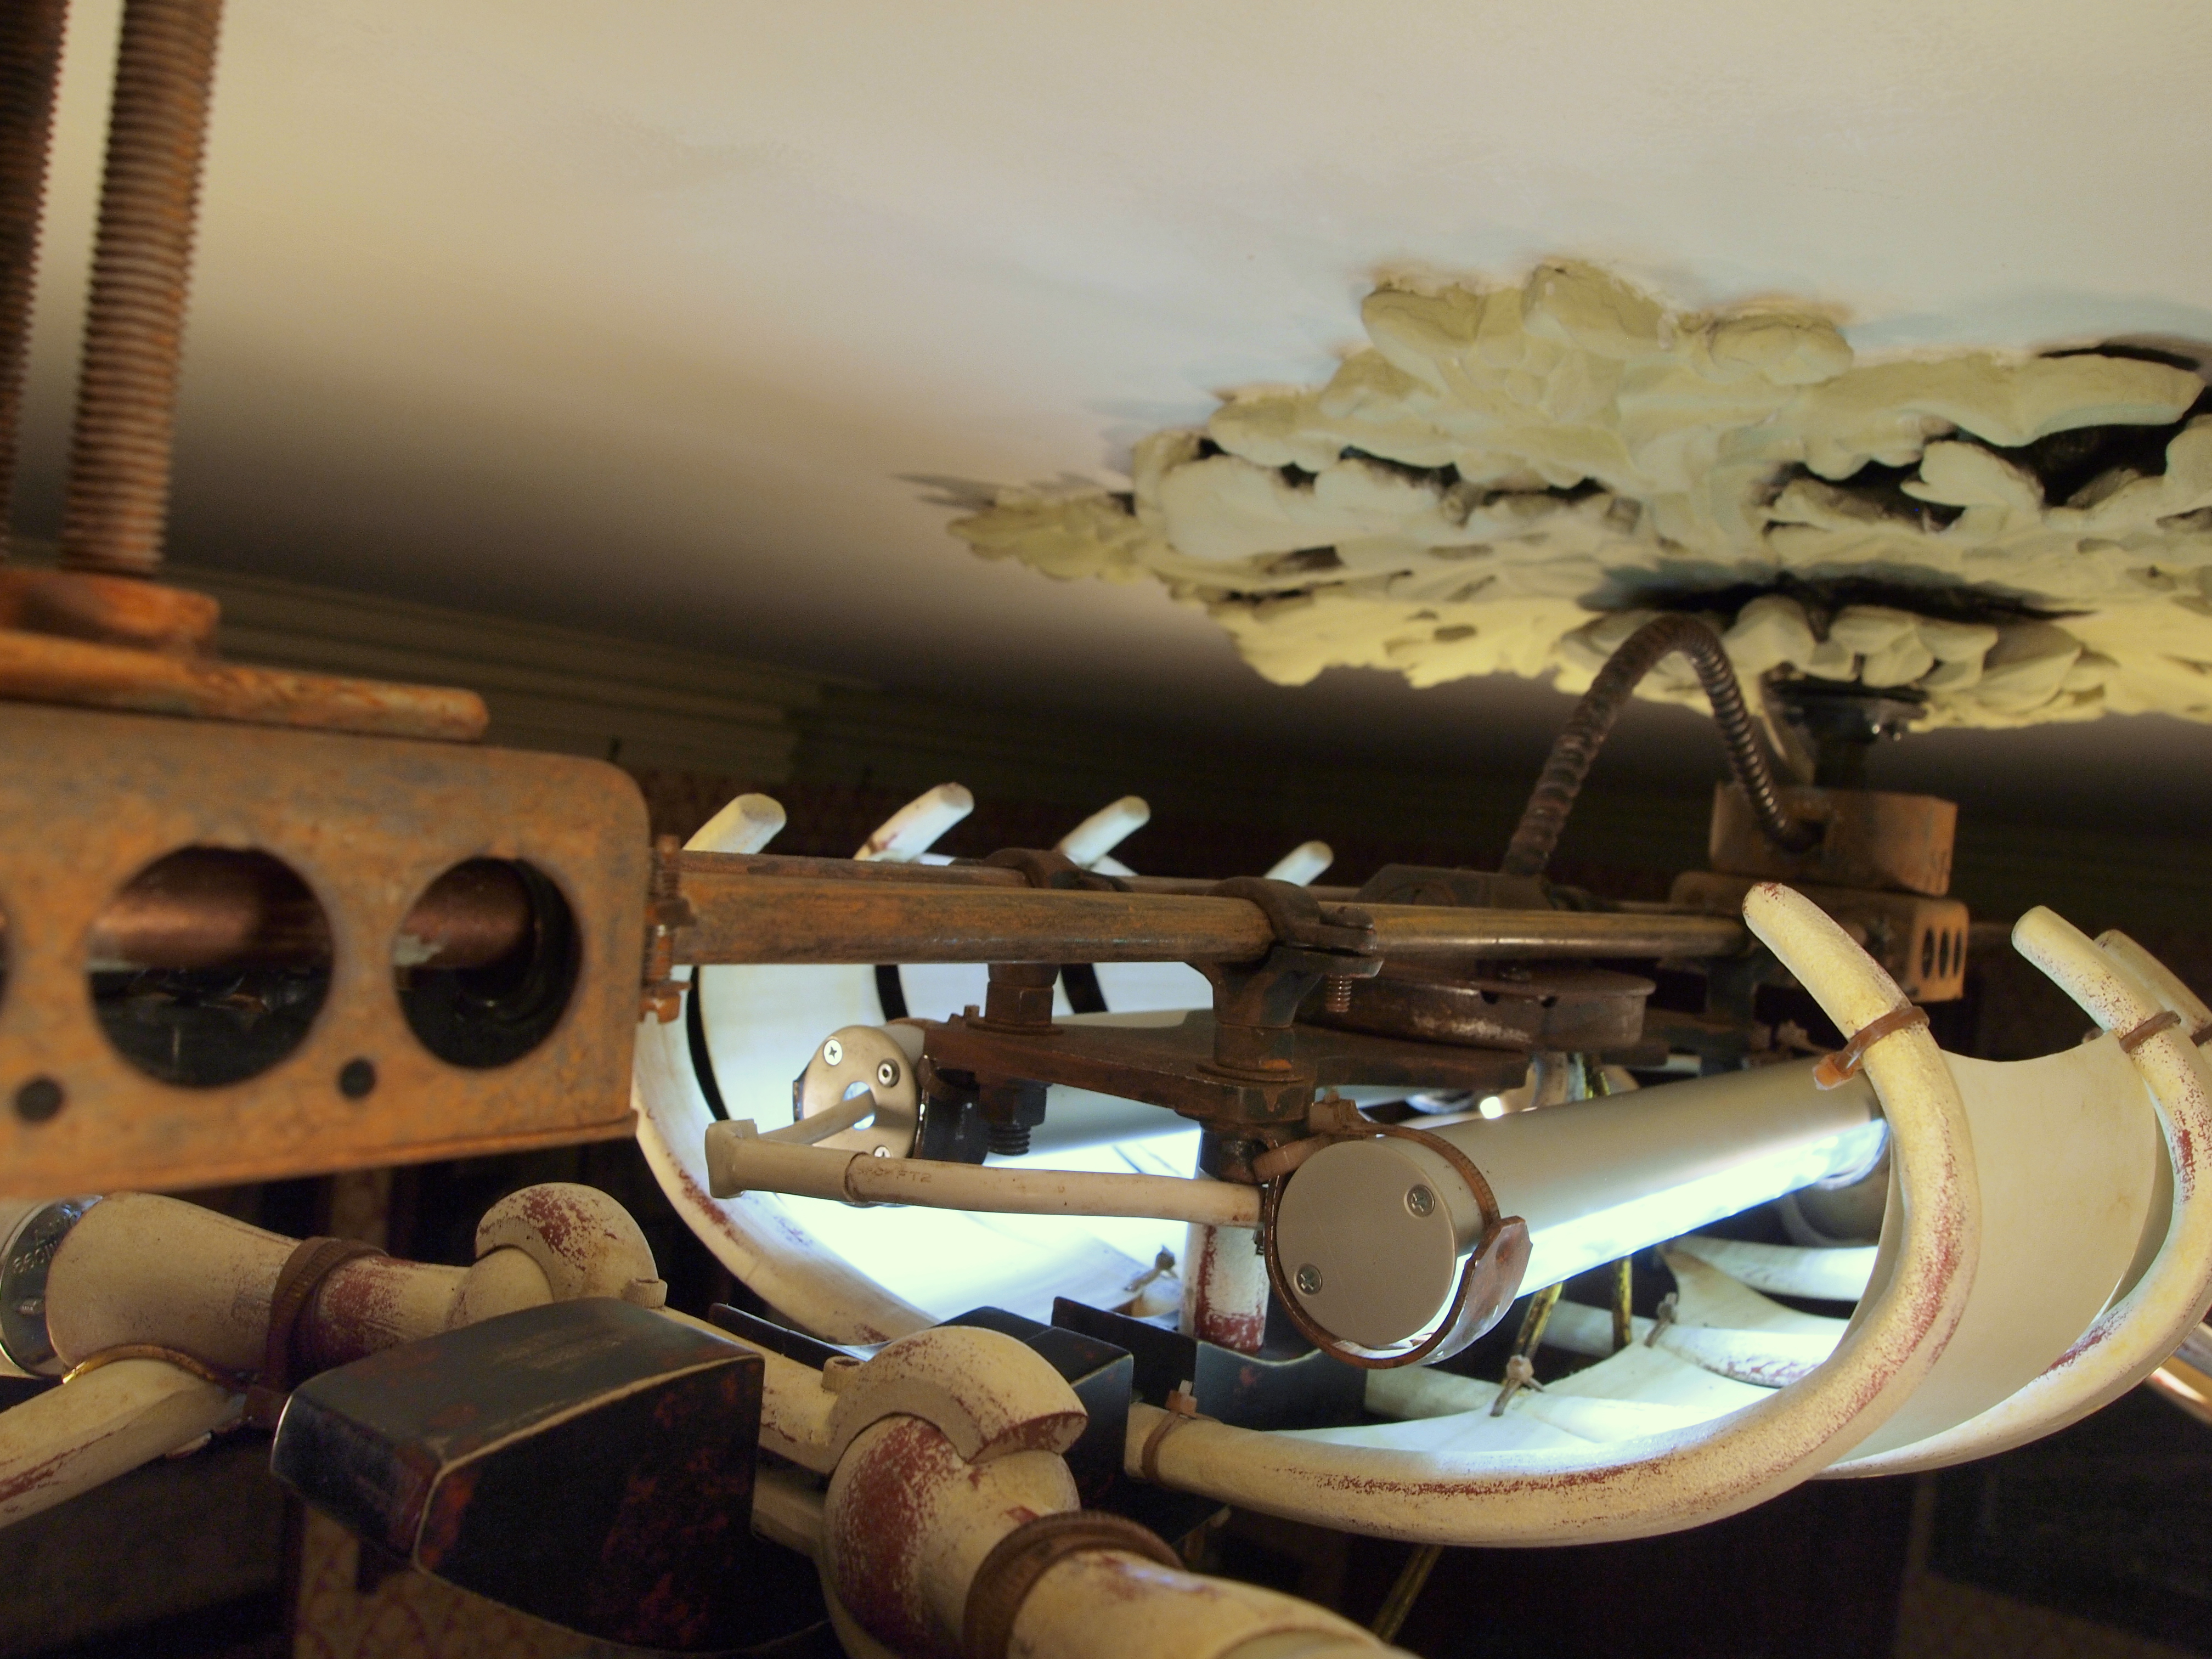
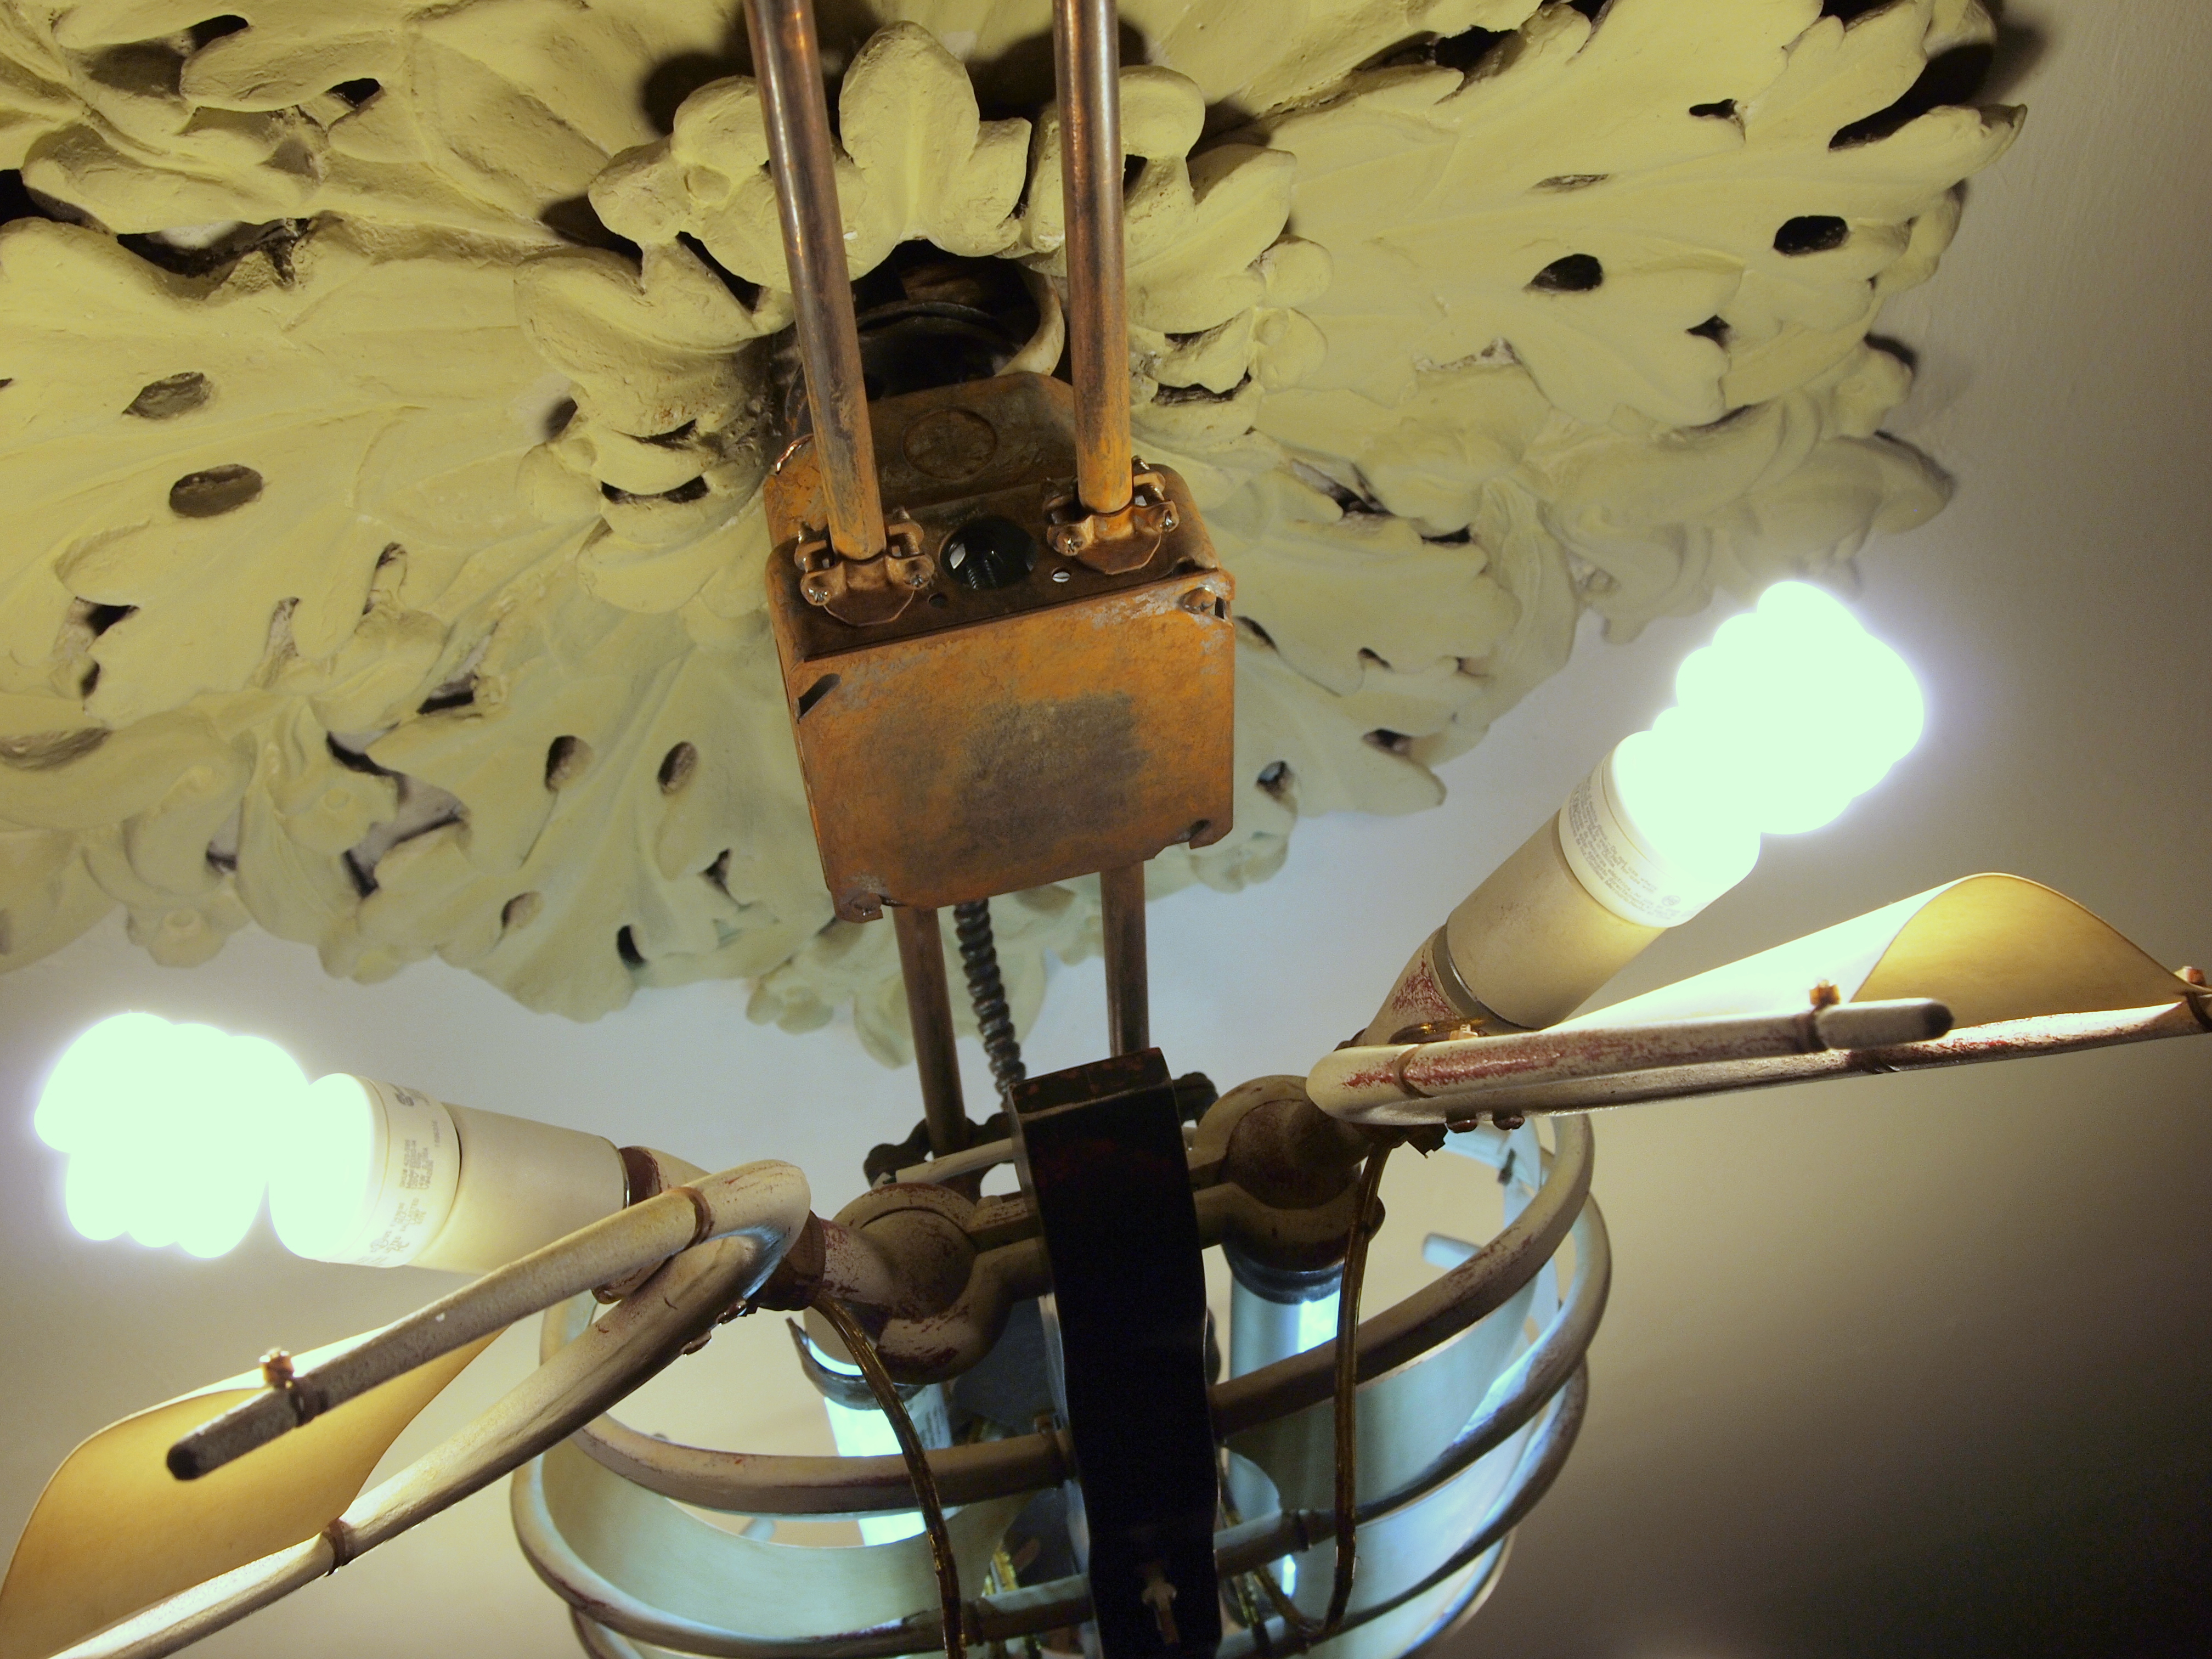
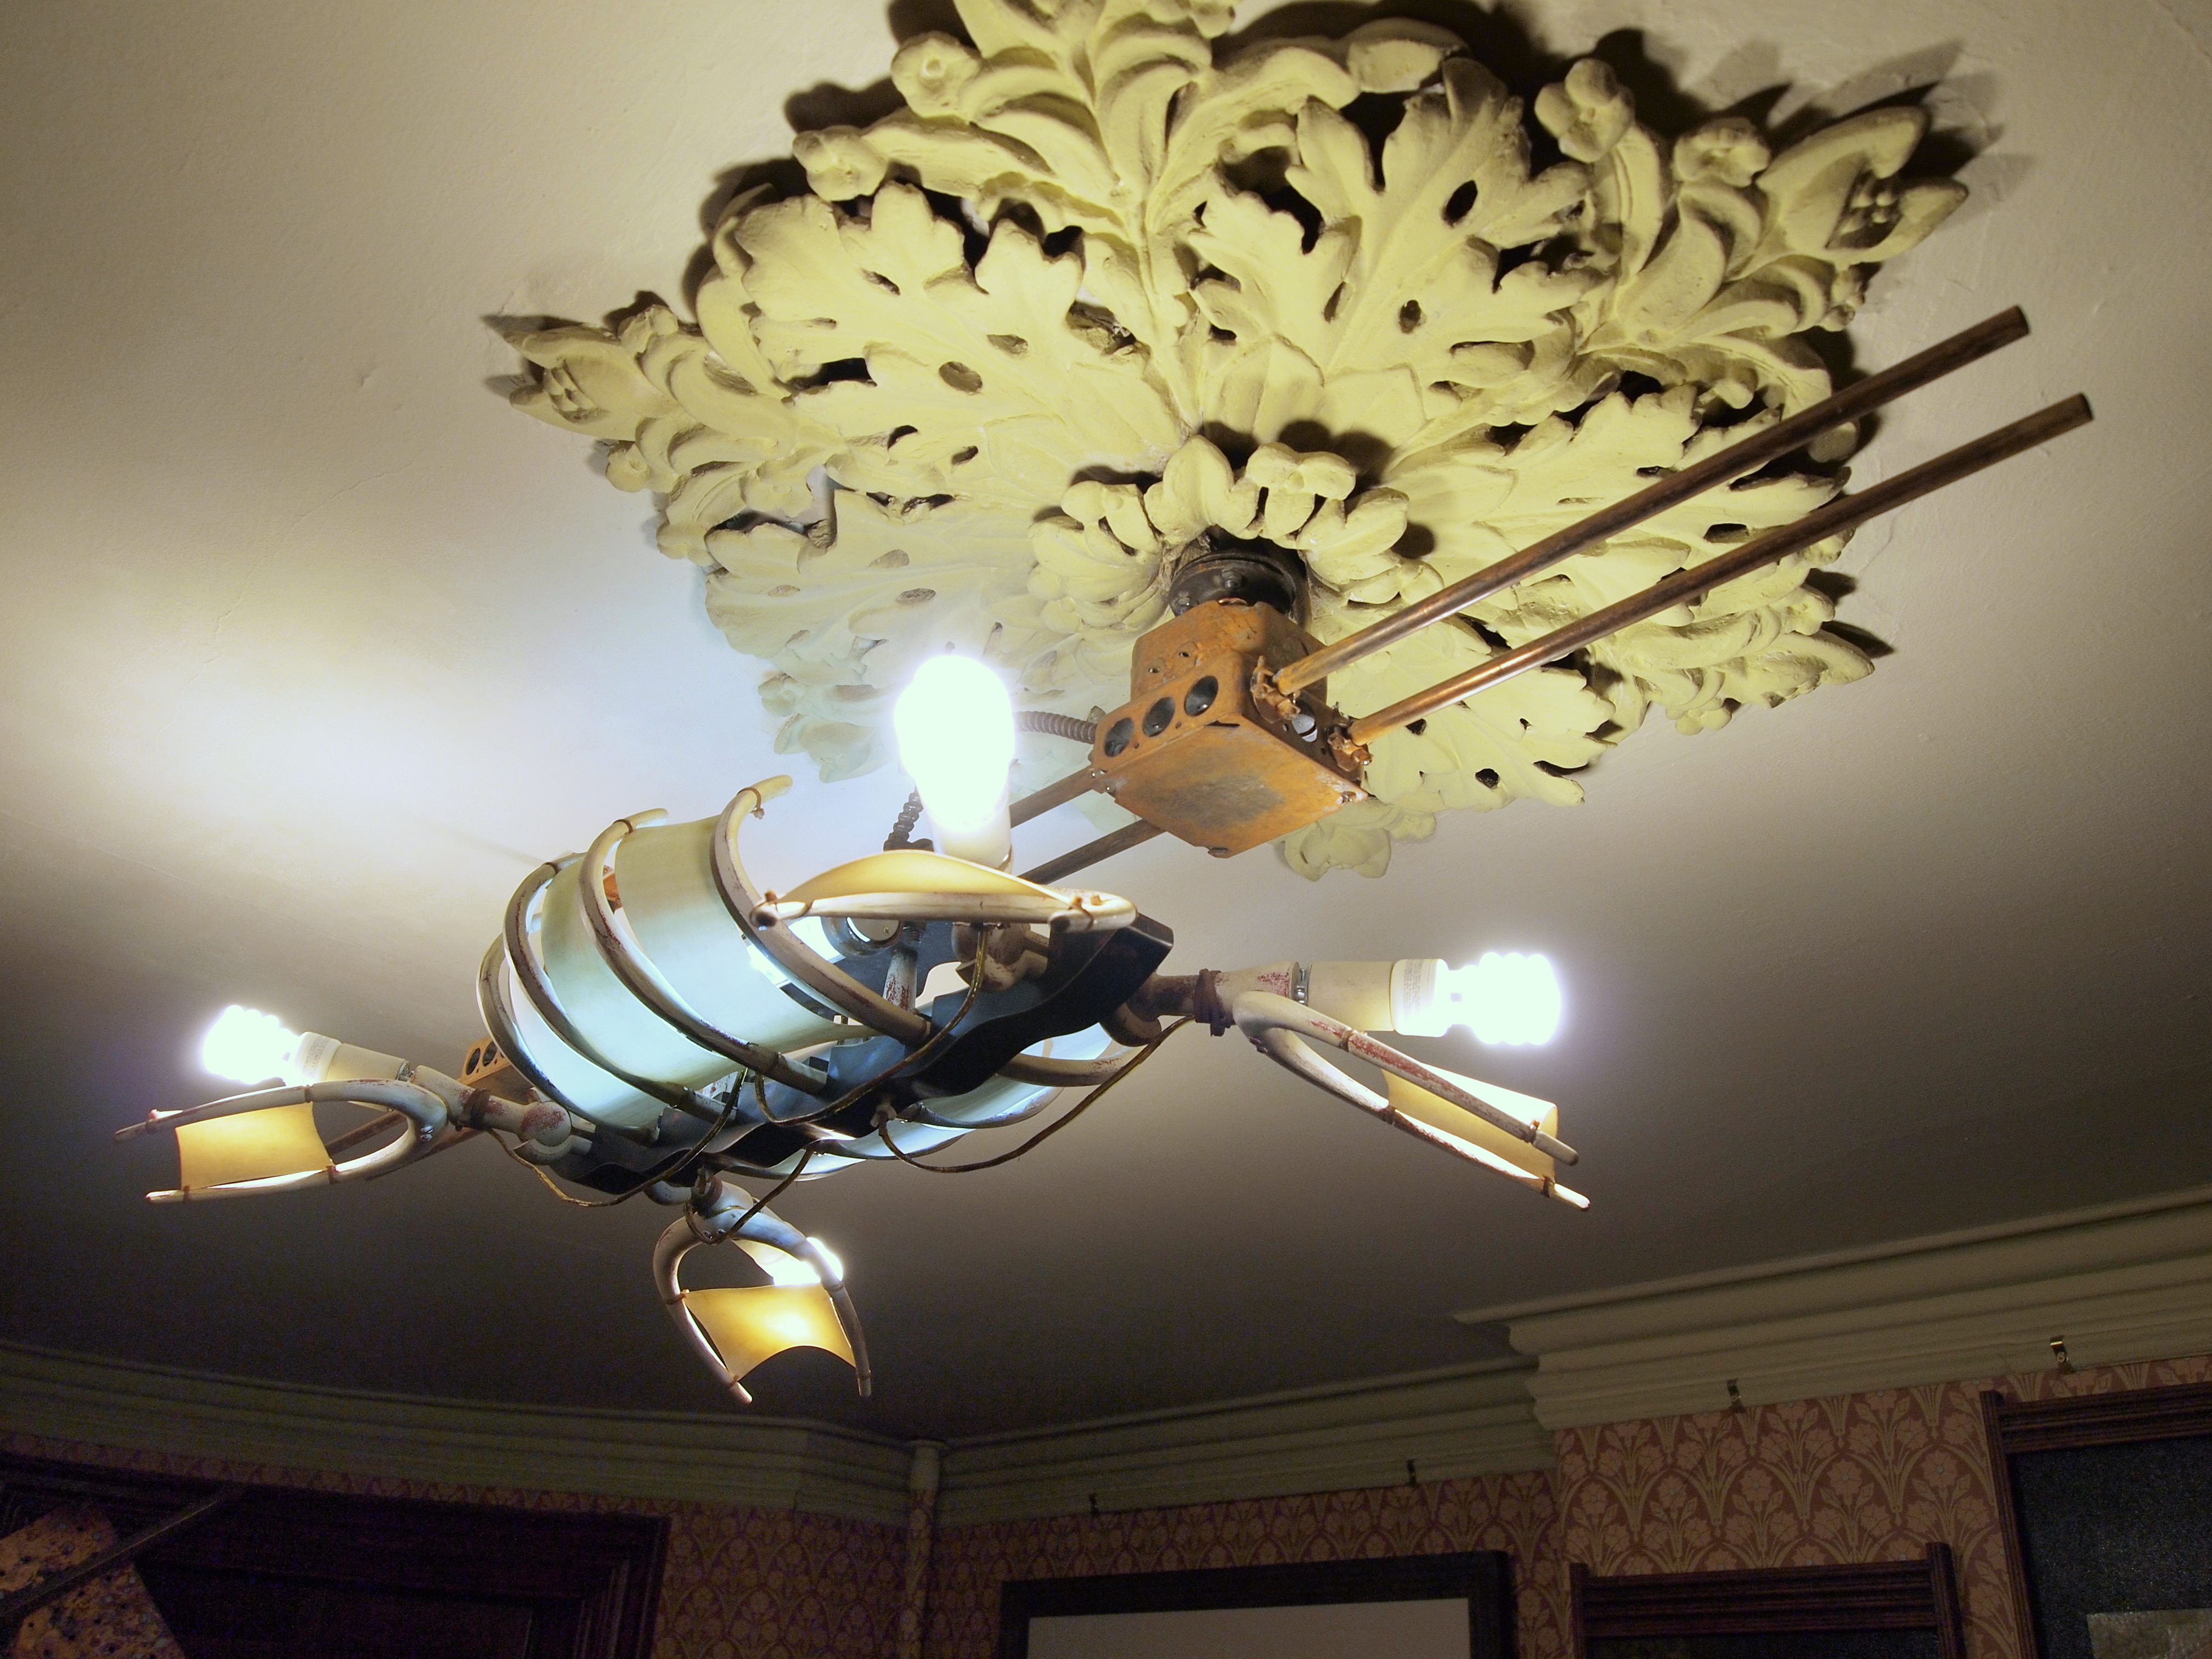
The room for which this piece was originally destined was a low, narrow affair with one round end; in 2011, it remained unchanged from some previous residents’ attempt to restore it to its original Victorian oppressiveness. The electrical junction box depended from a defunct gas pipe fixture in the middle of a hexagonal muddle of plaster acanthus in the center of the ceiling. From a usability viewpoint, this has always been a less-than-optimal location for a pendant light, as the shape of the room prevents a standard eight-foot dining room table from being exactly centered in it; a light hanging from the plaster medallion center is always noticeably closer to one end of the table than the other.
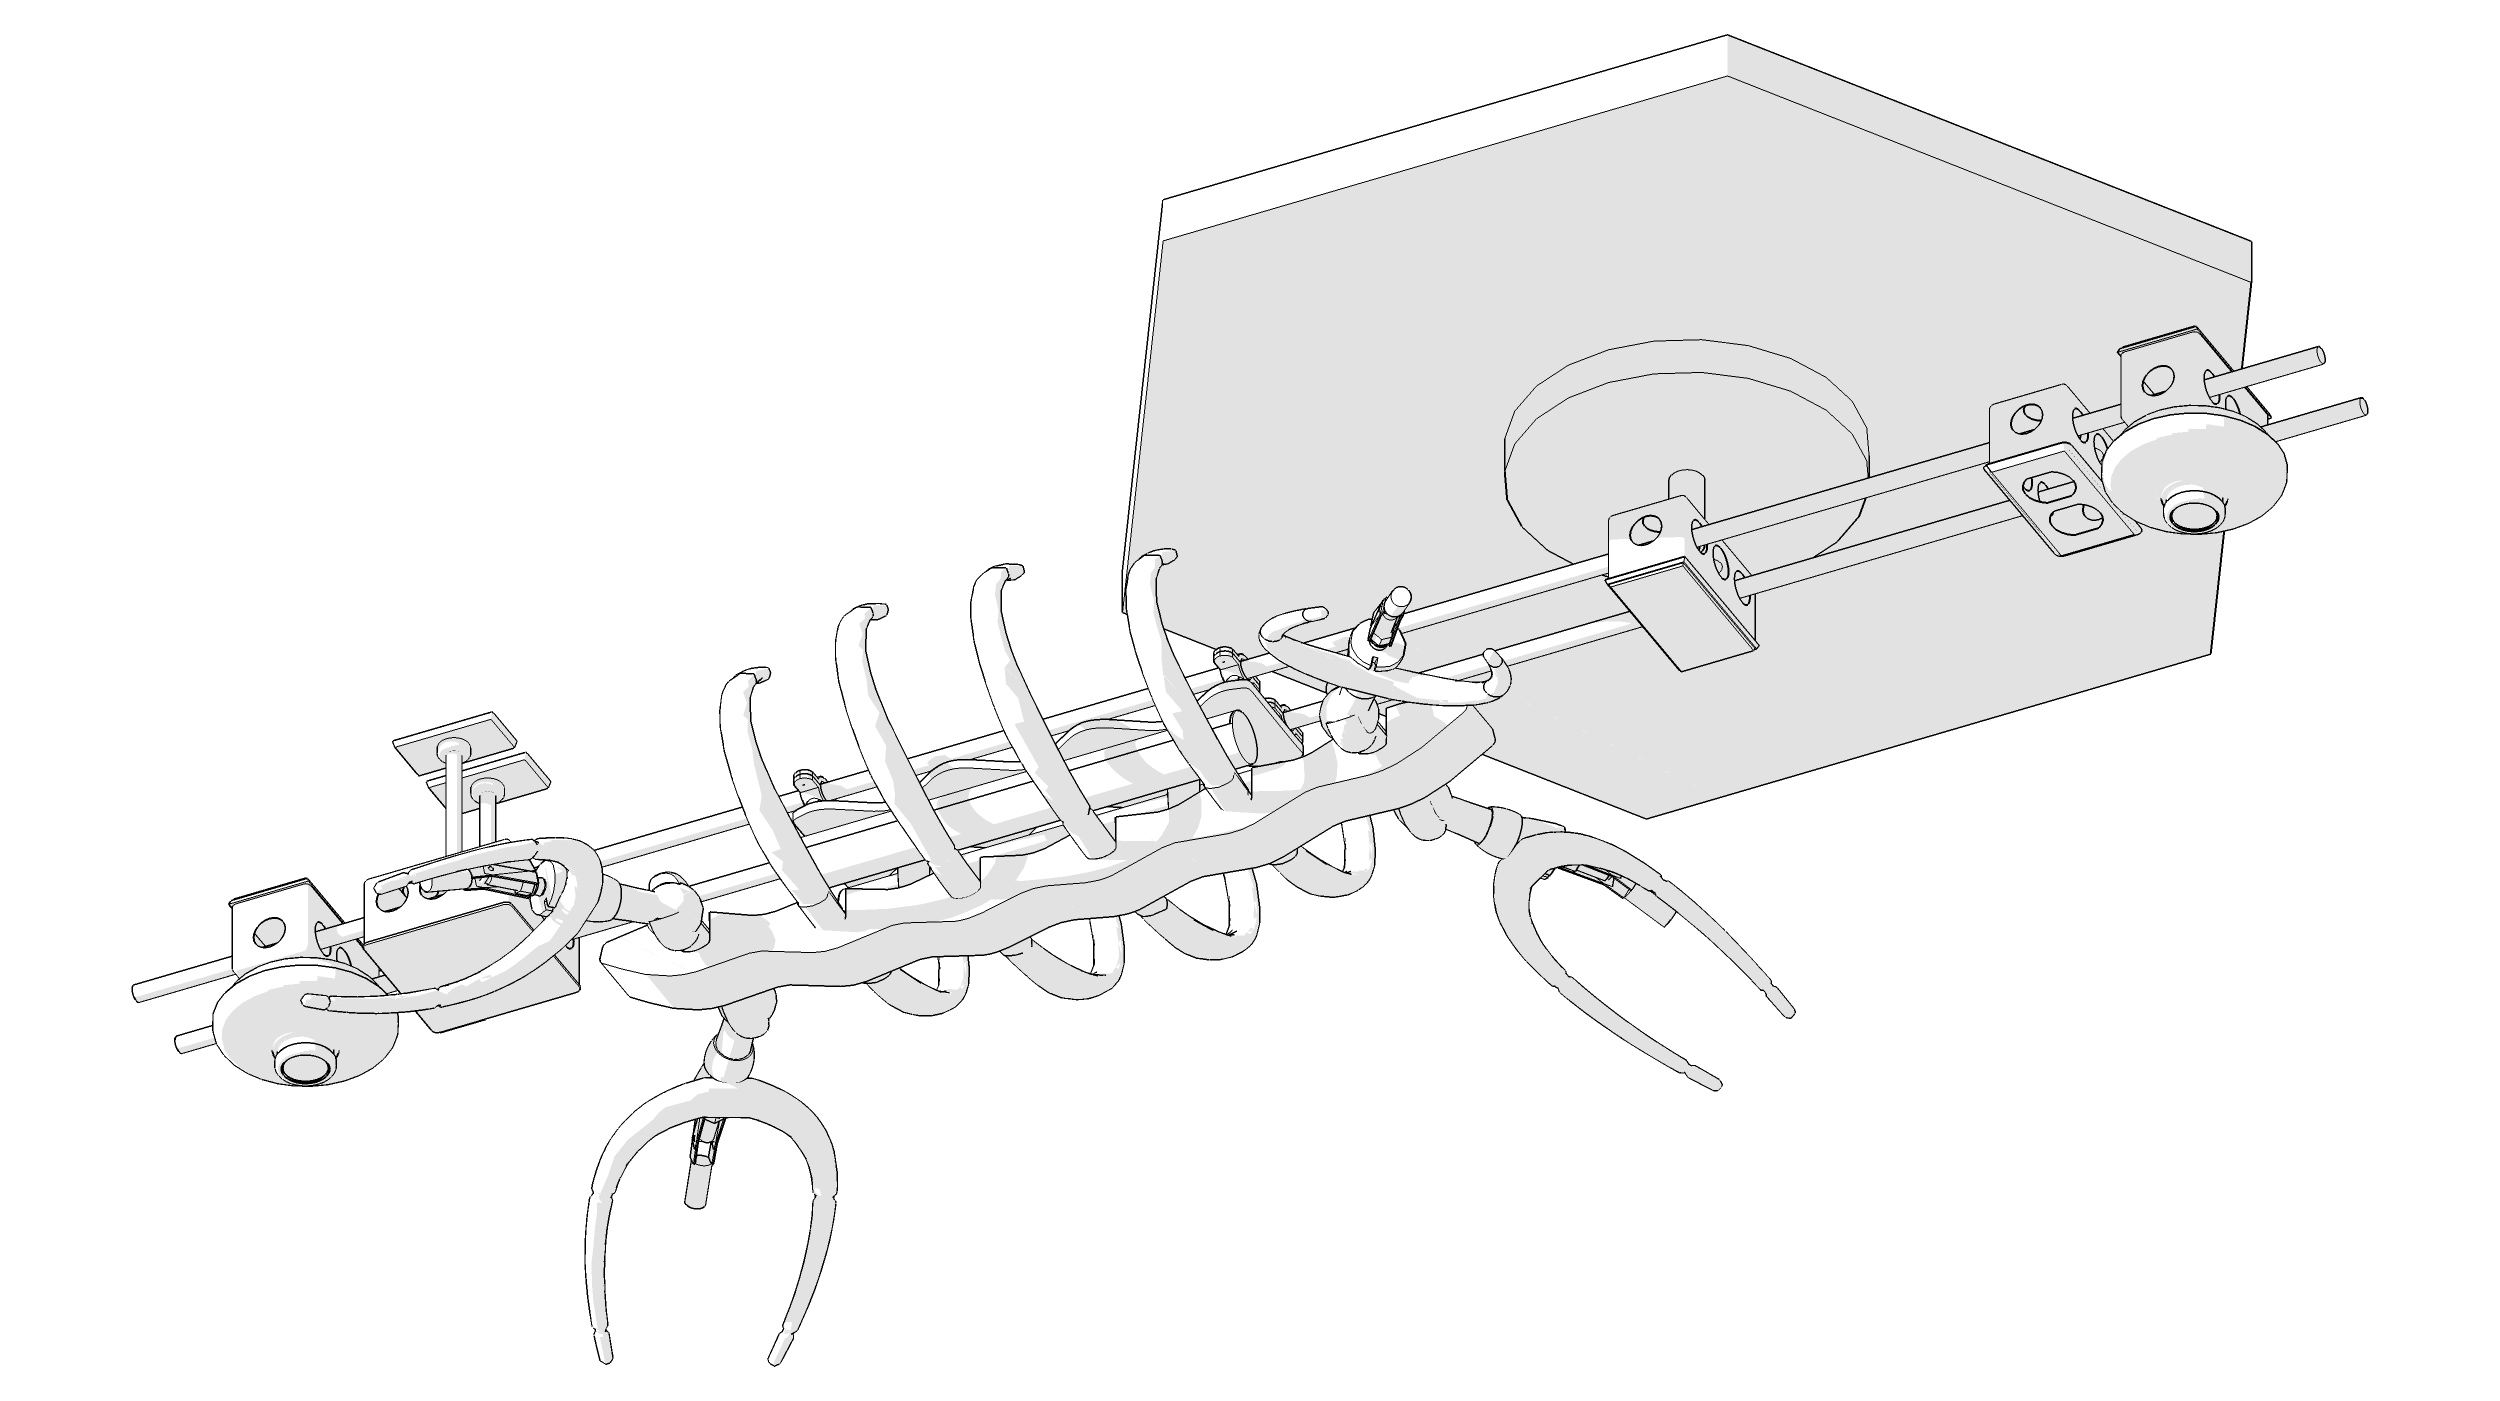
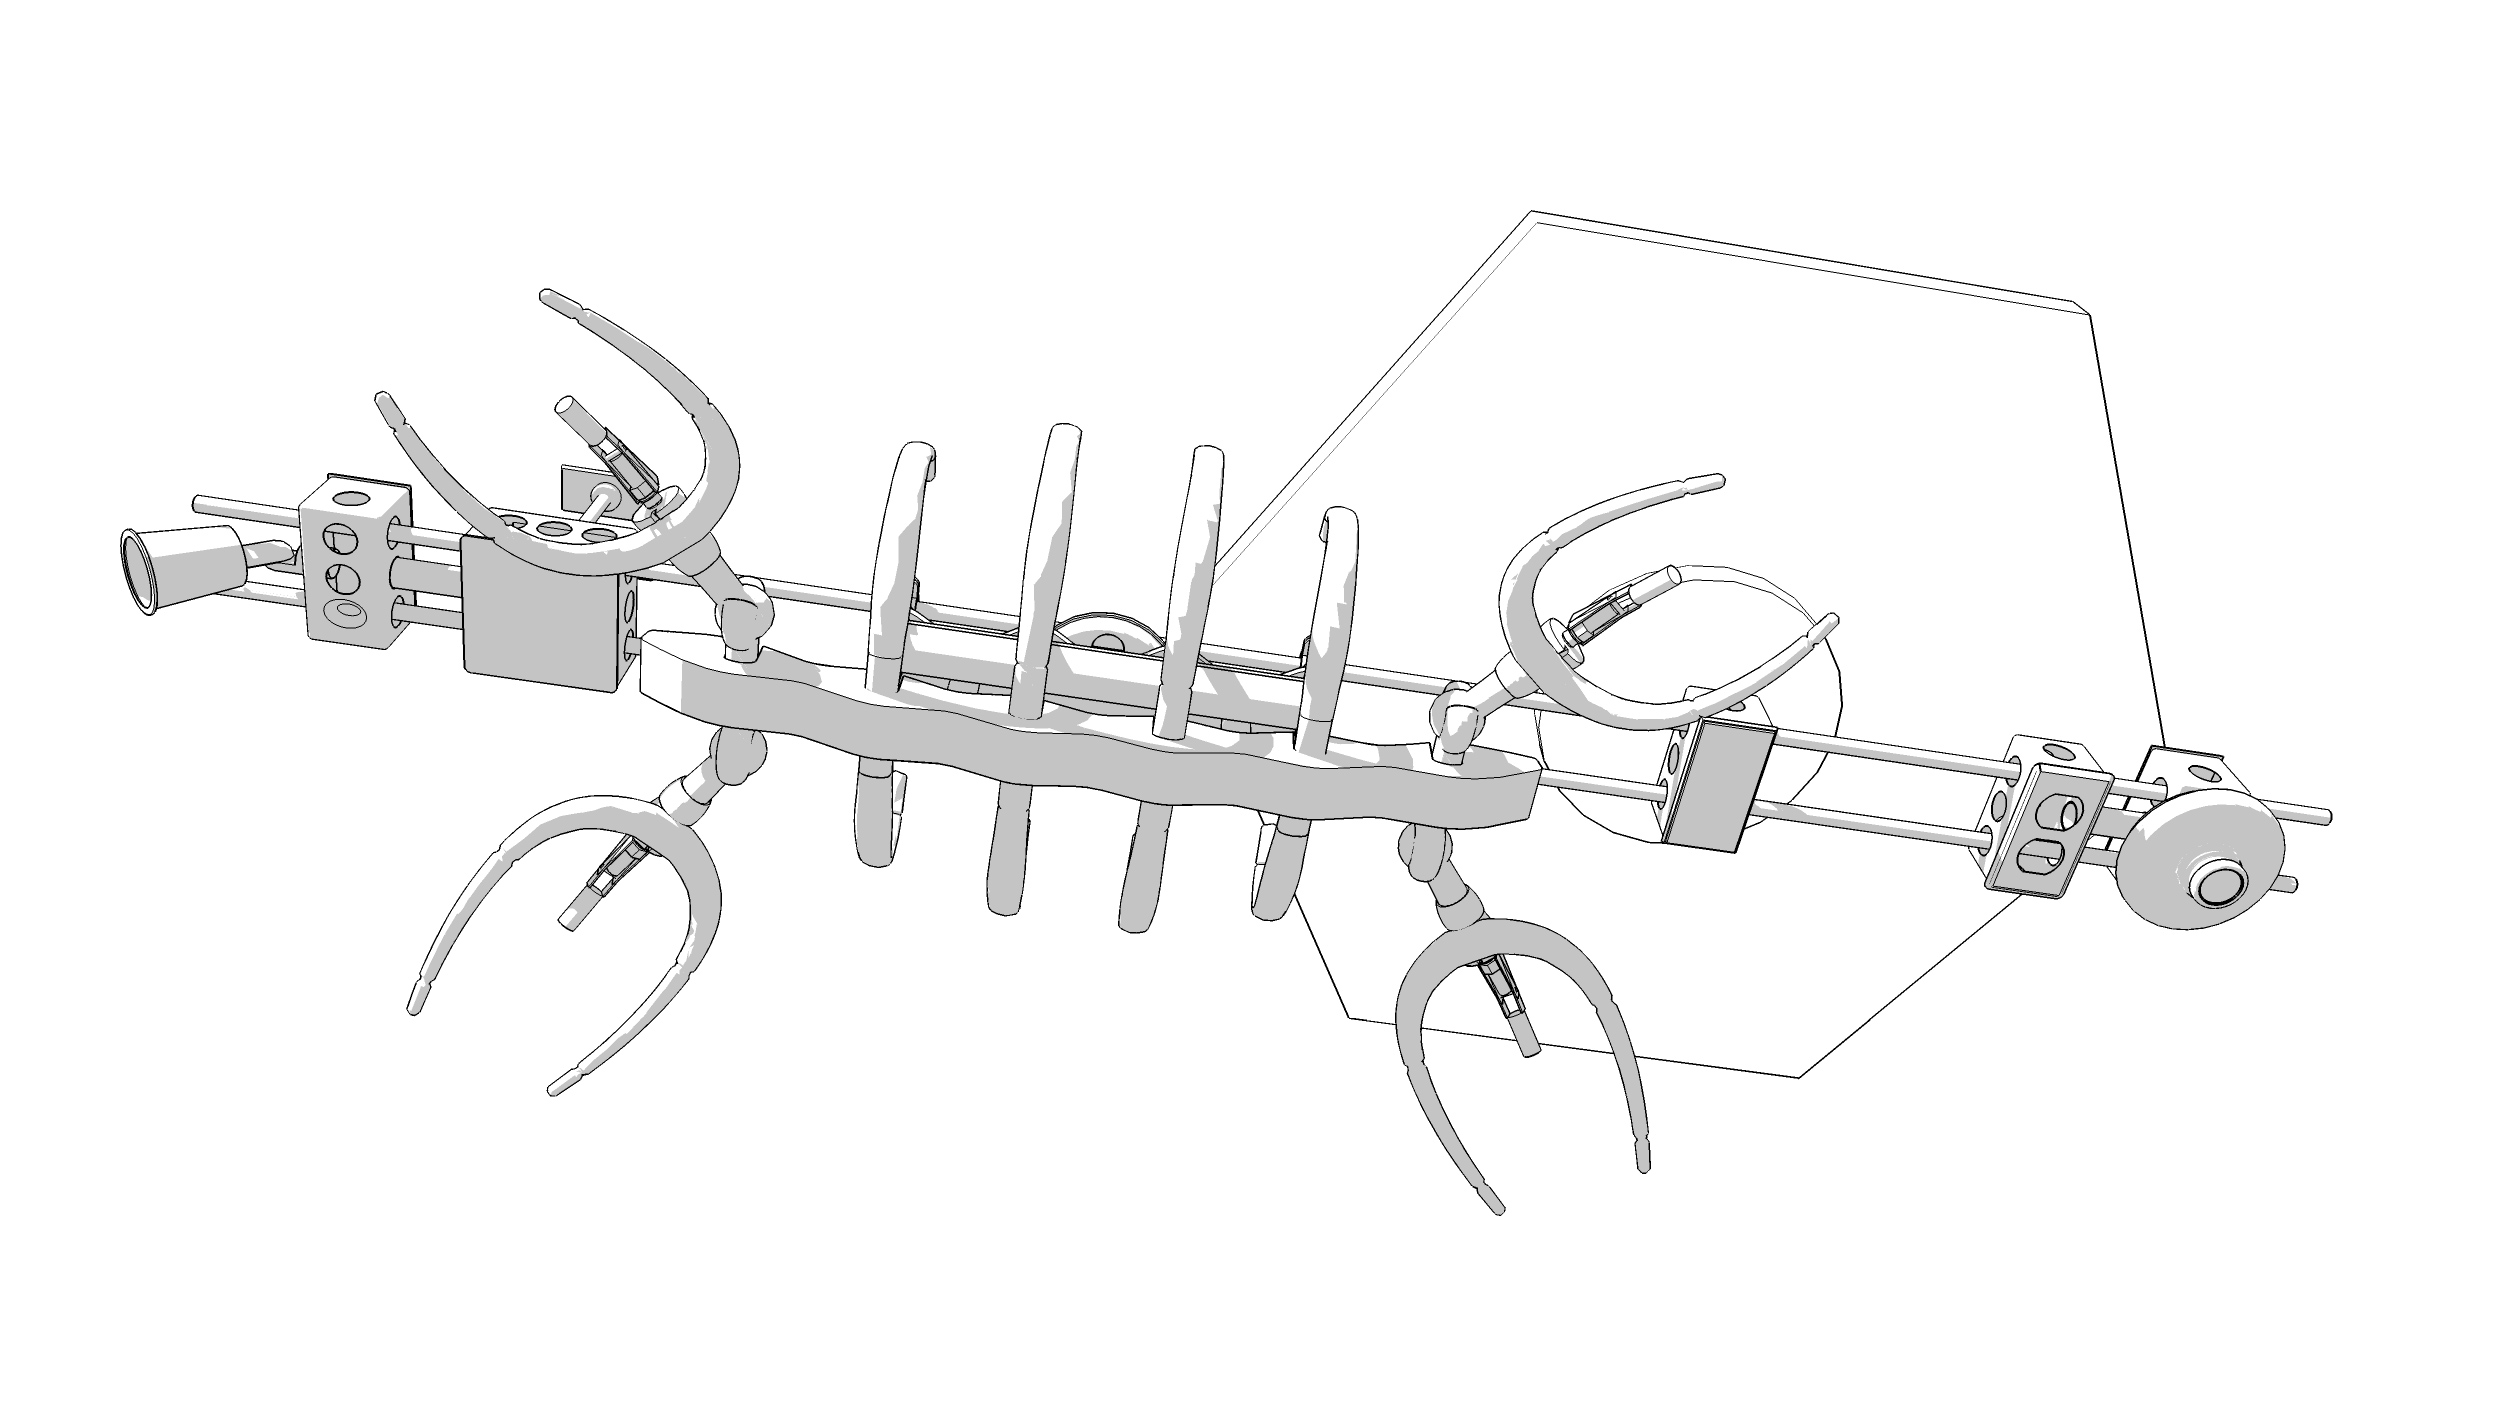
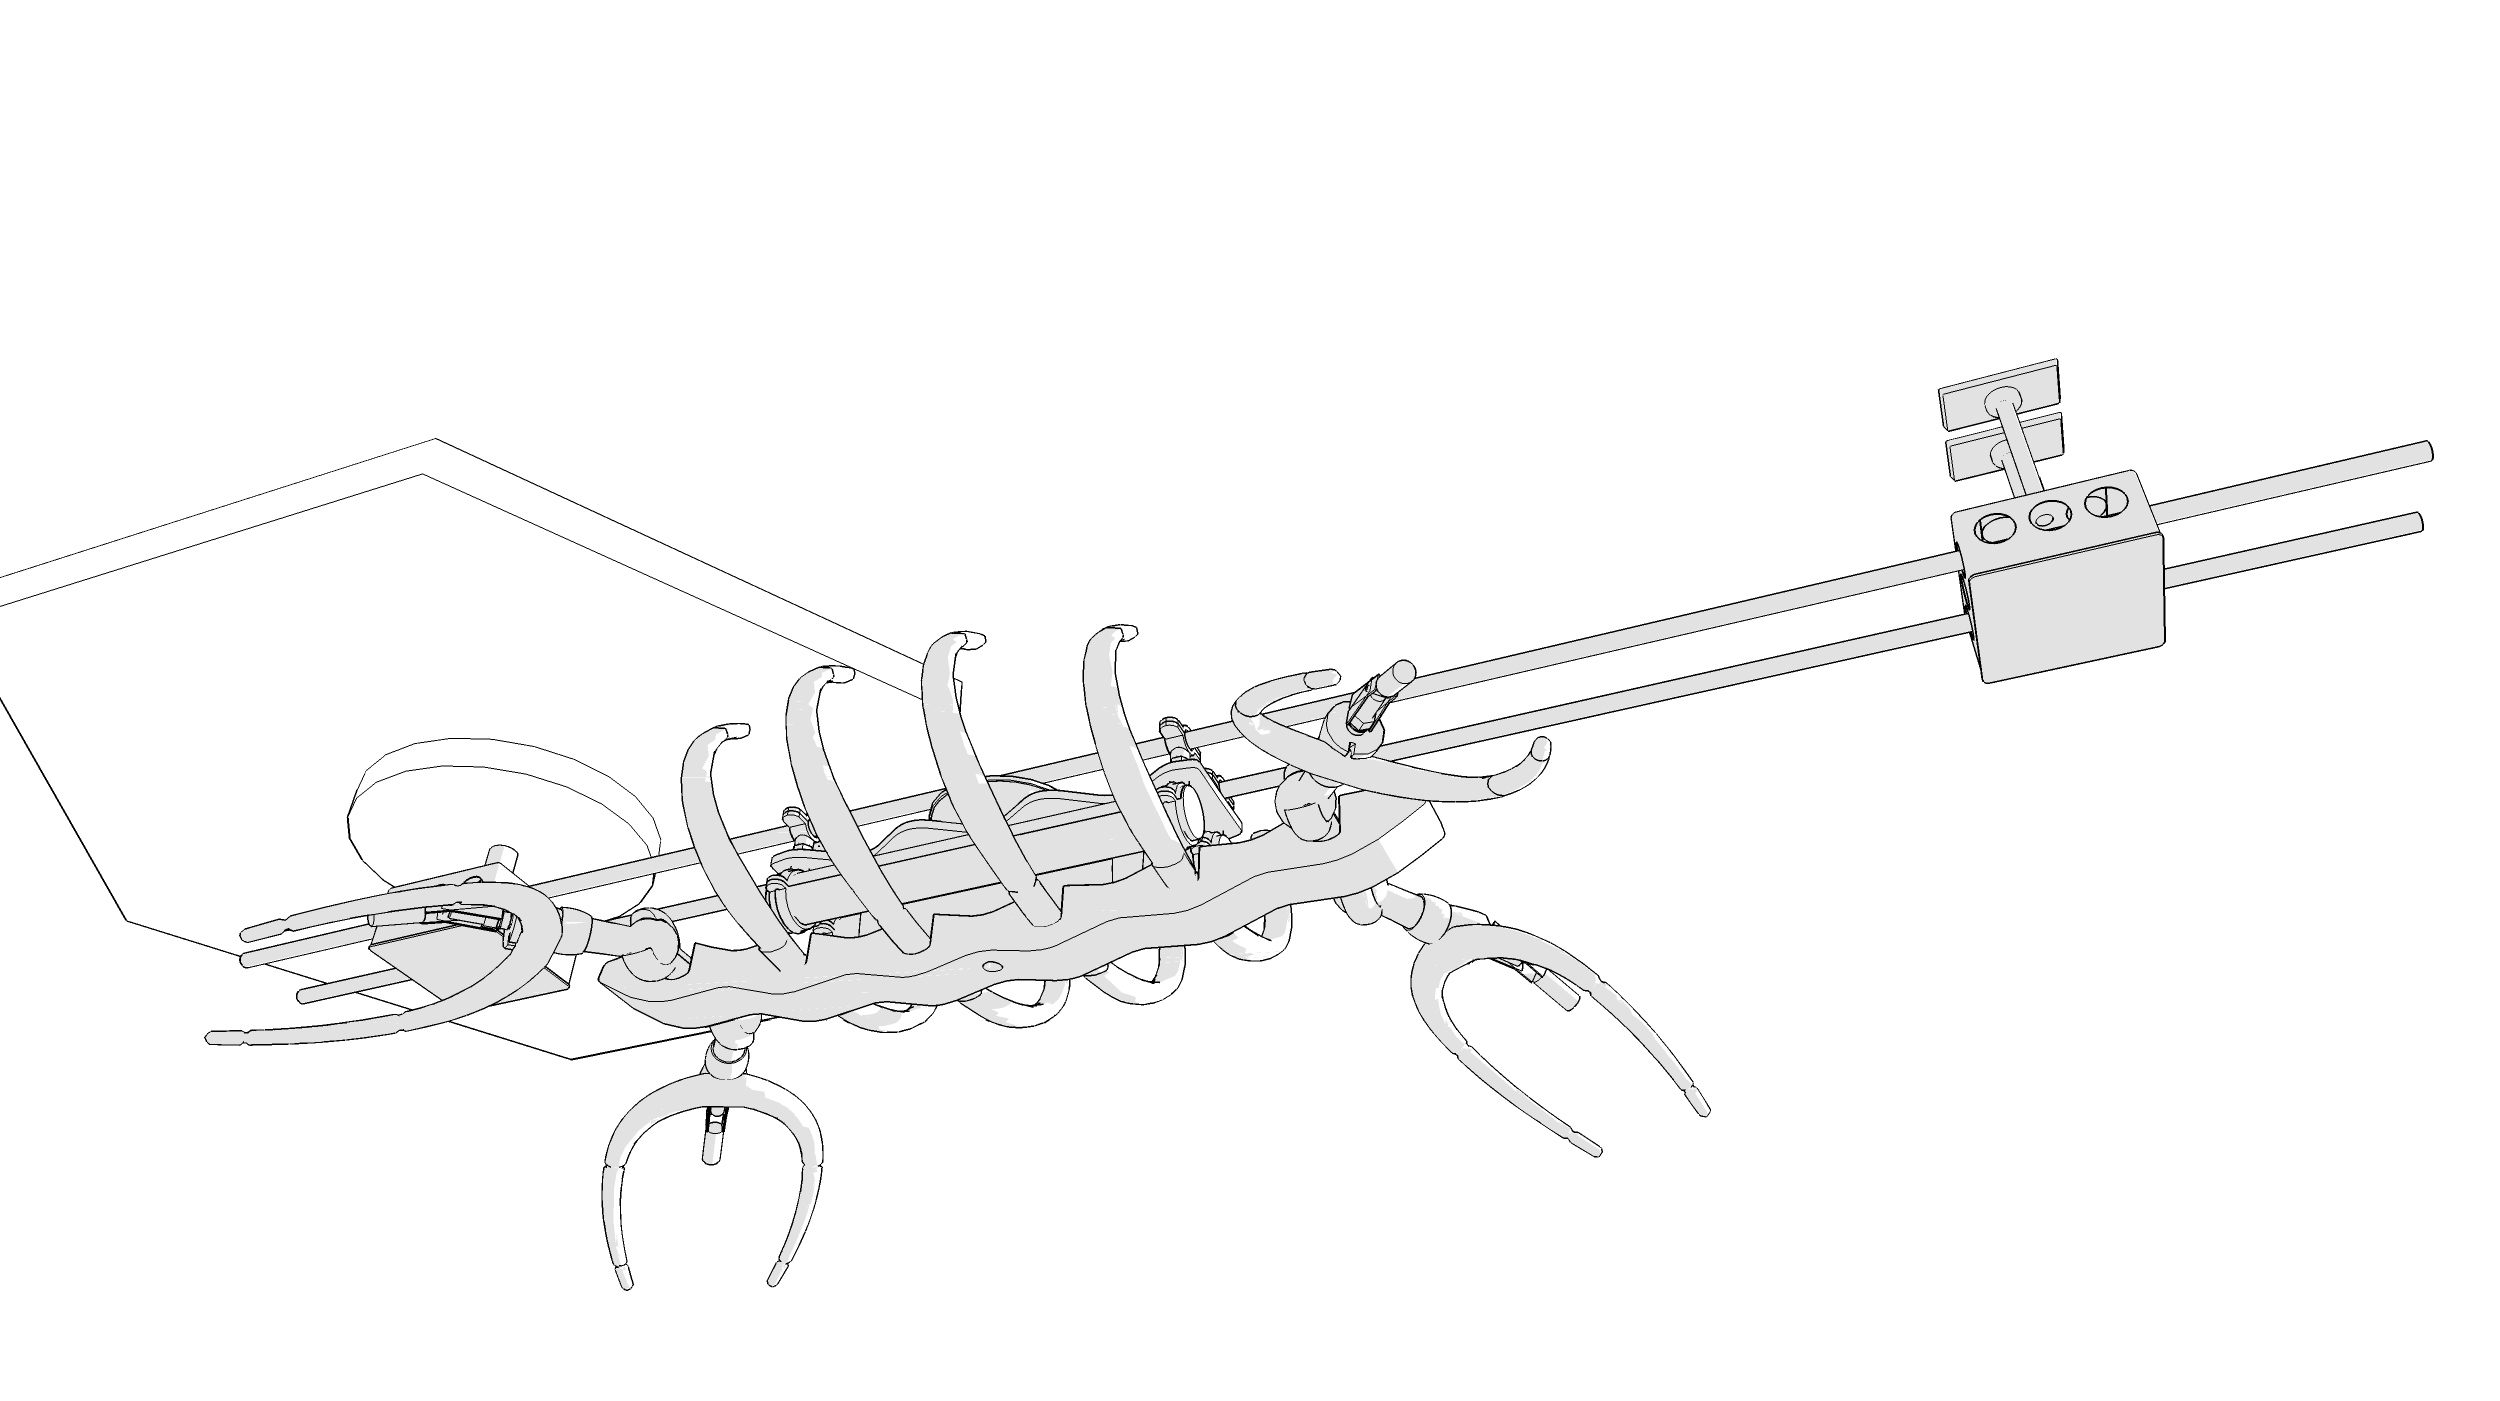
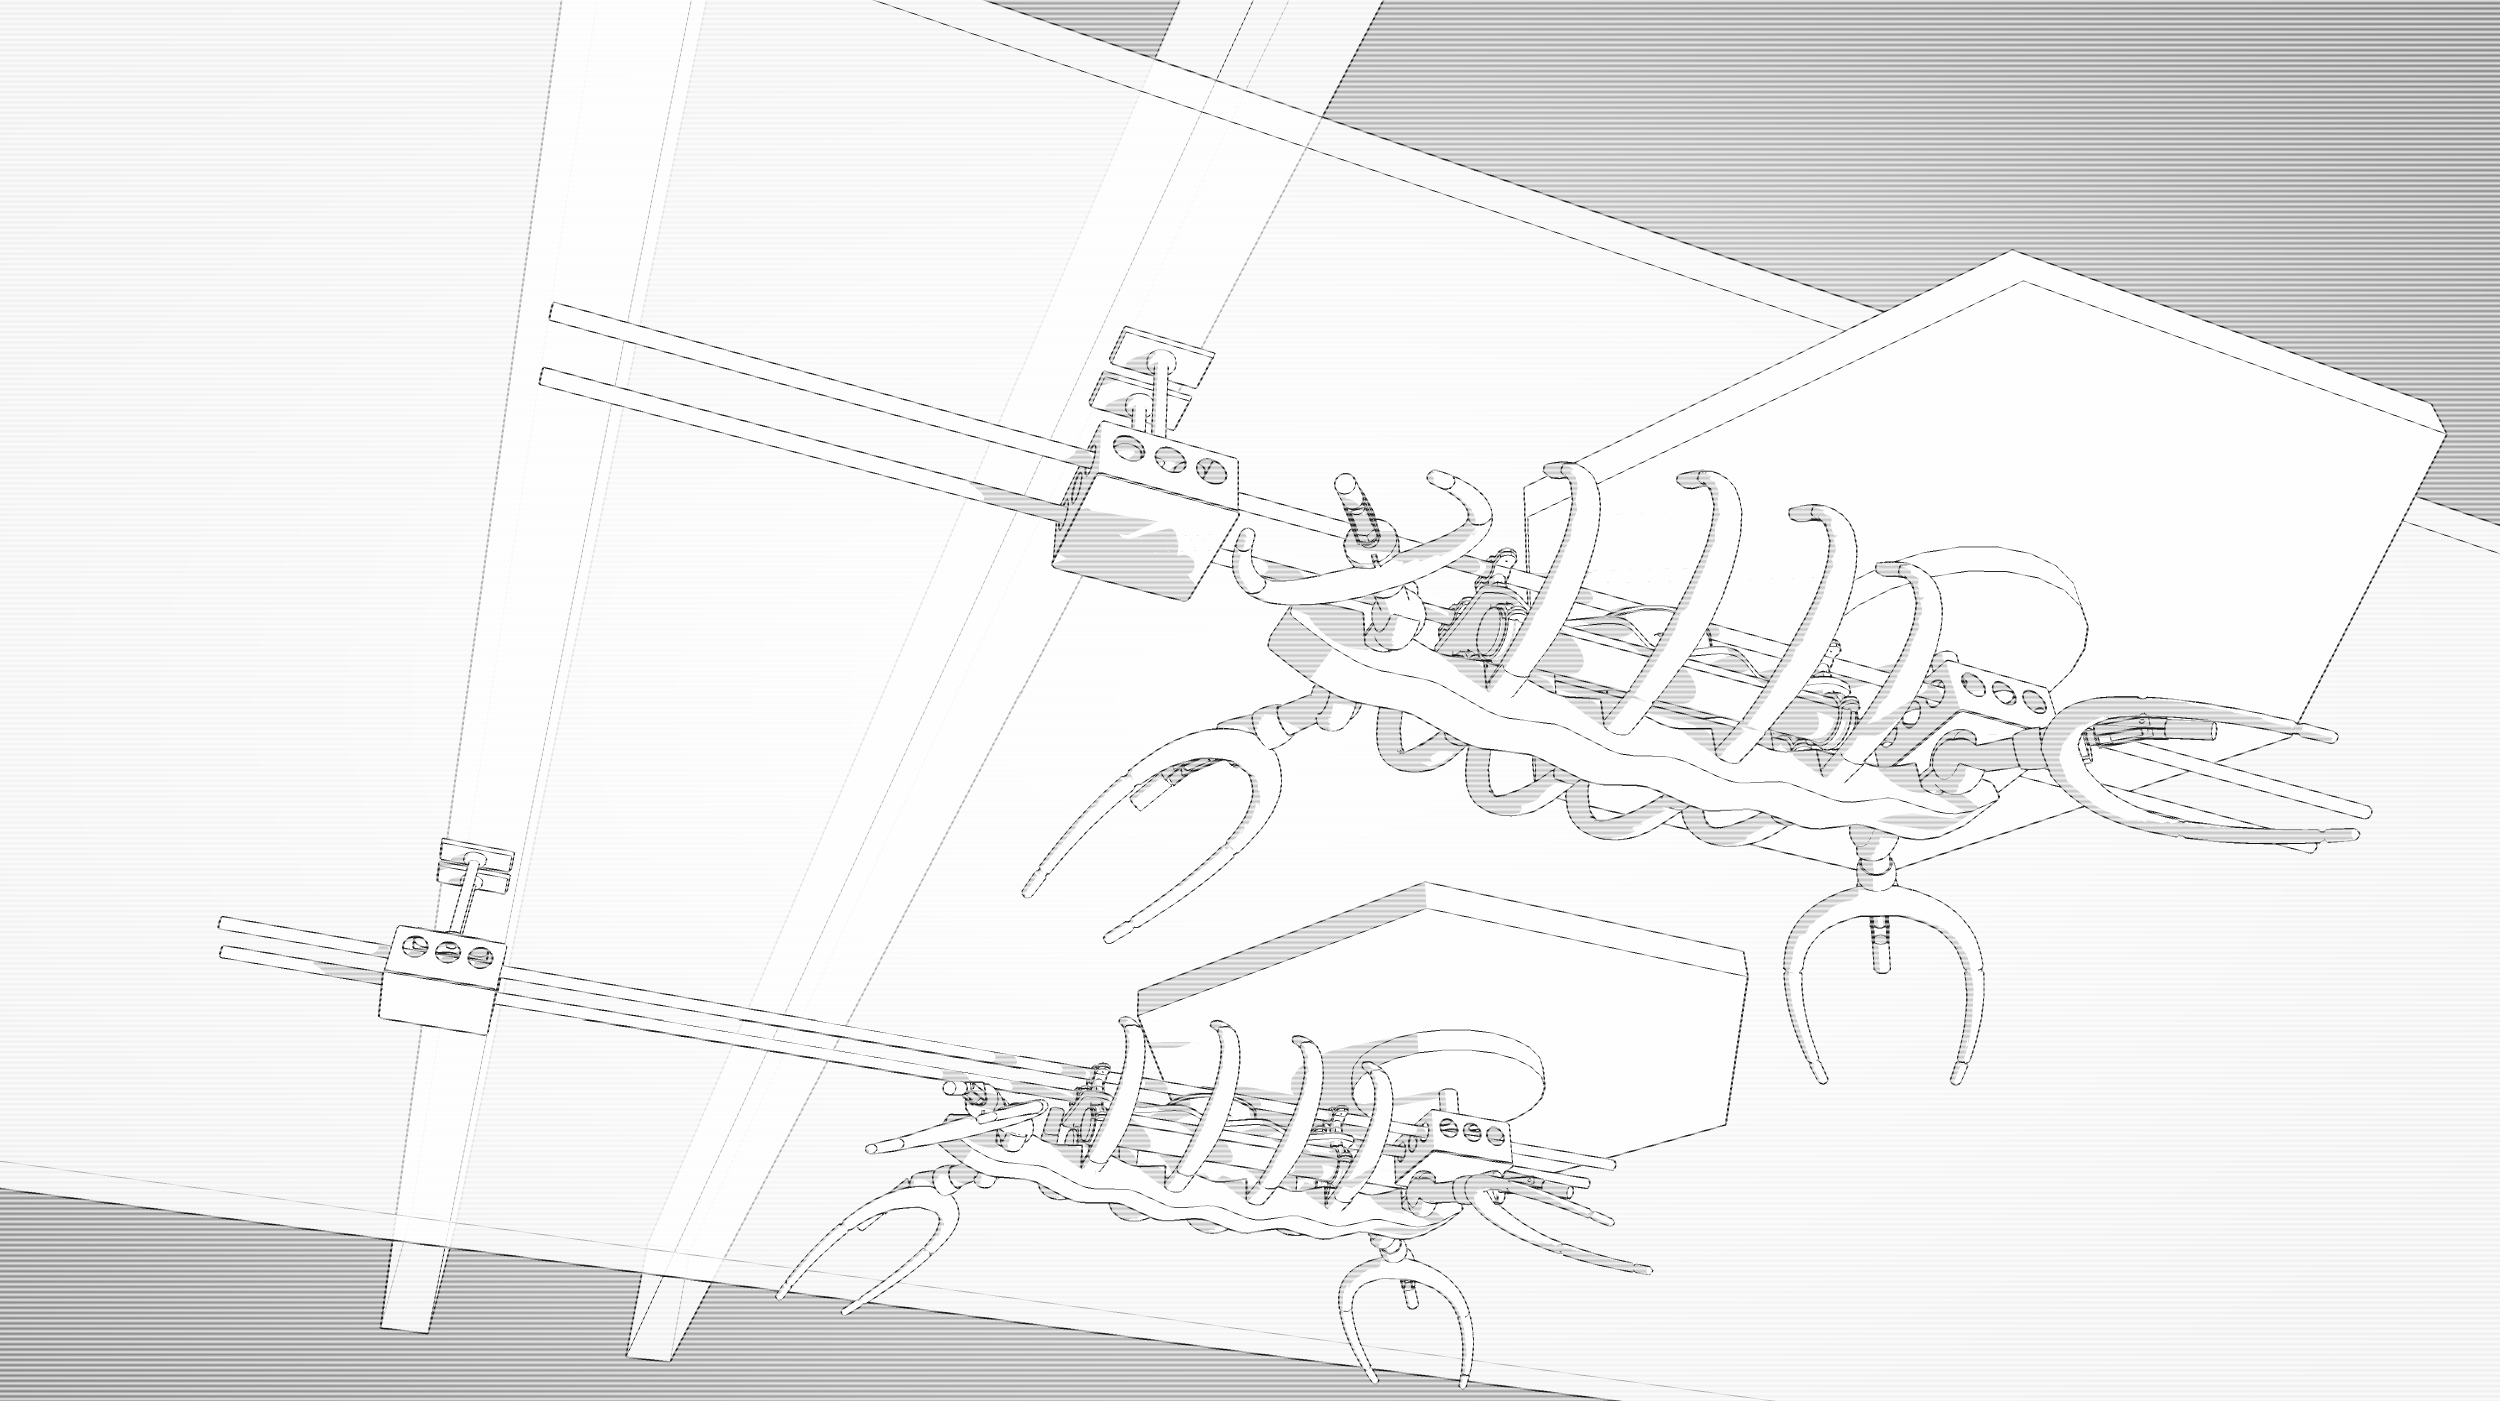
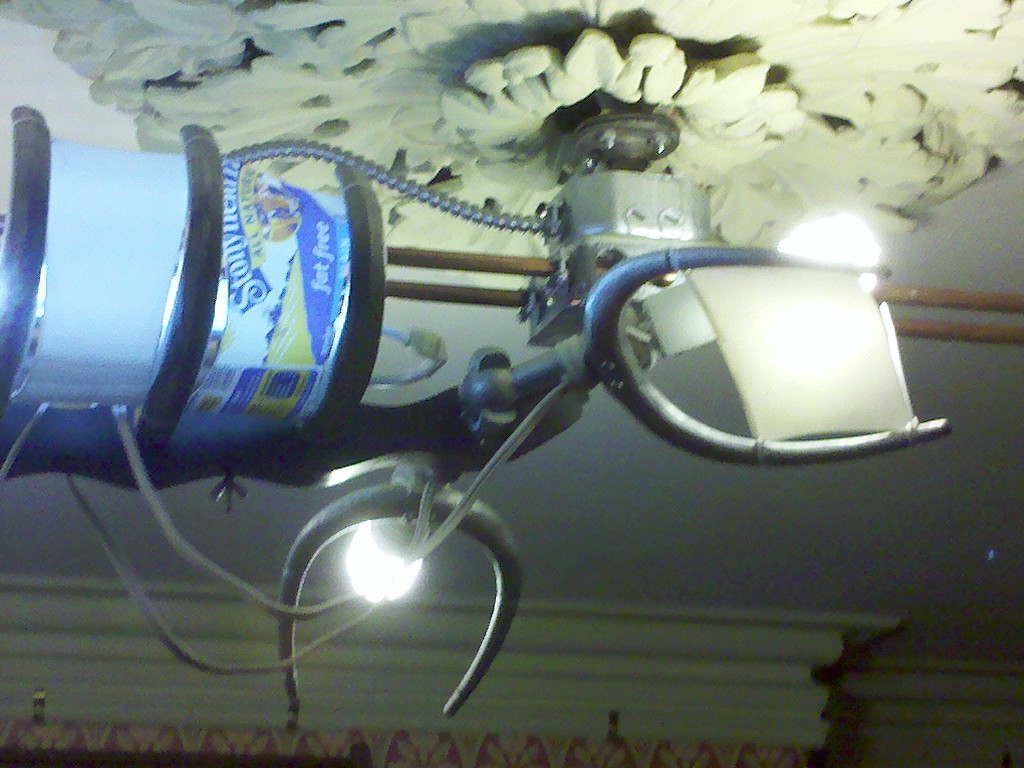
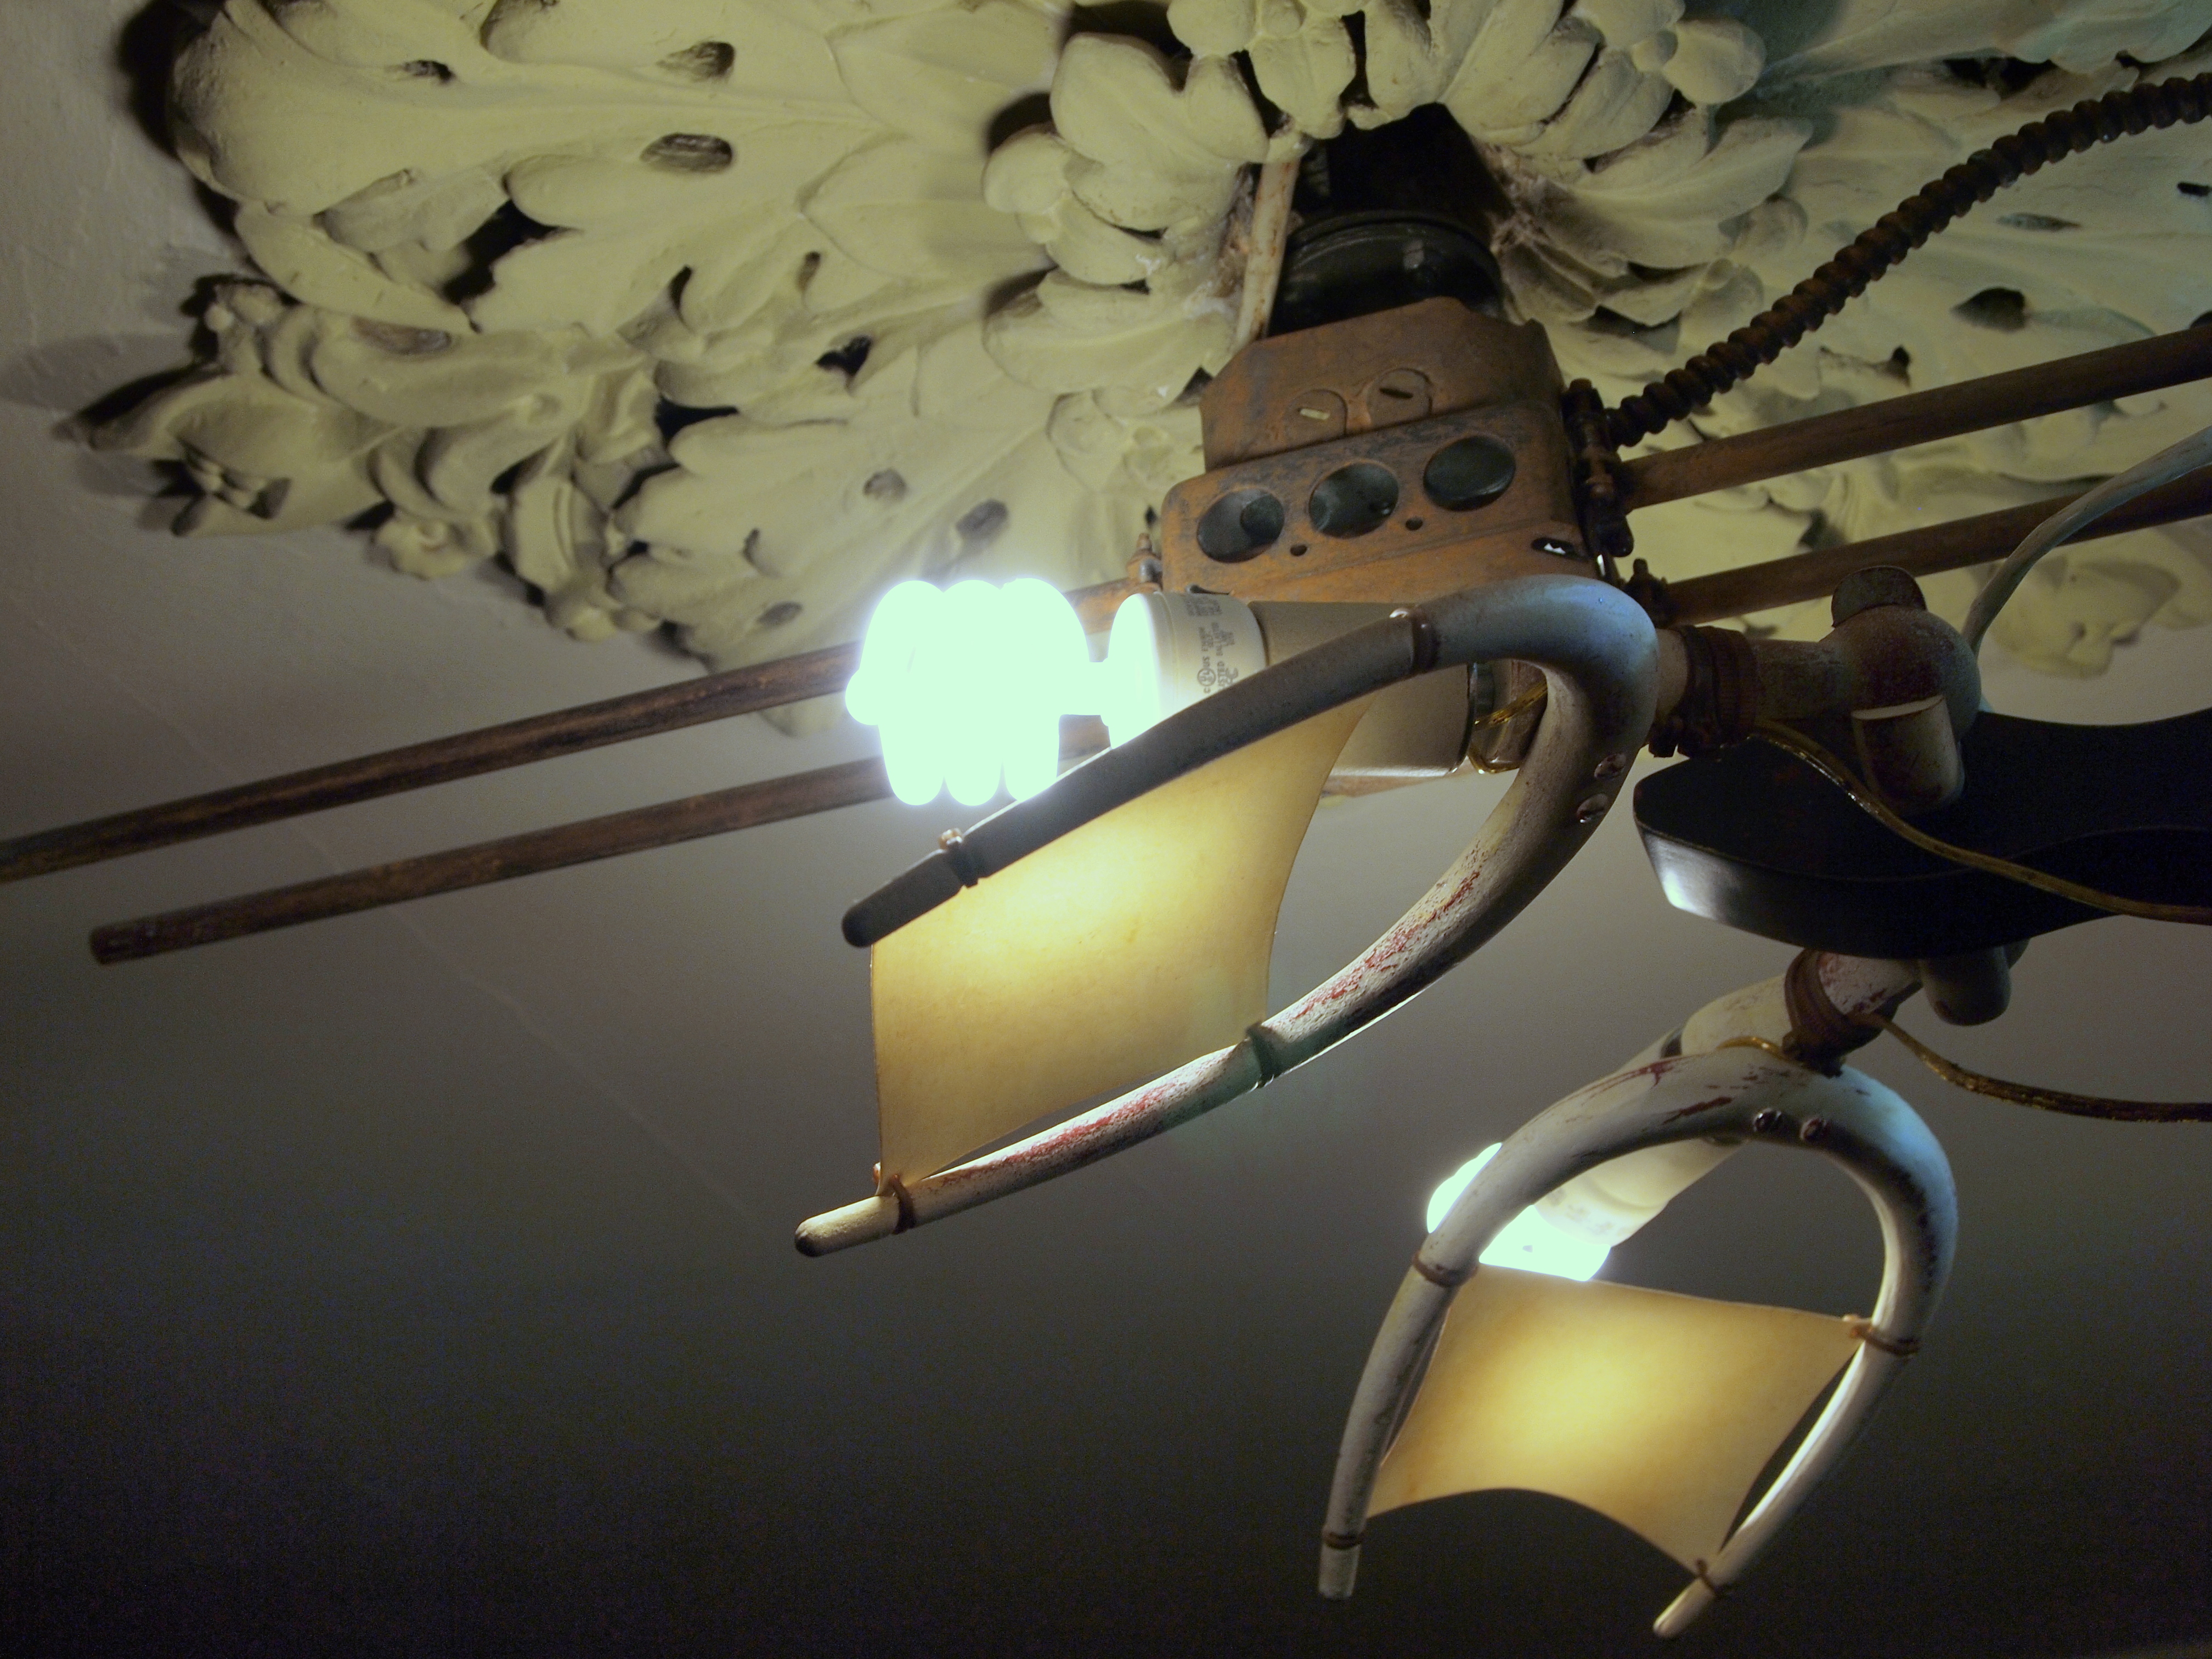
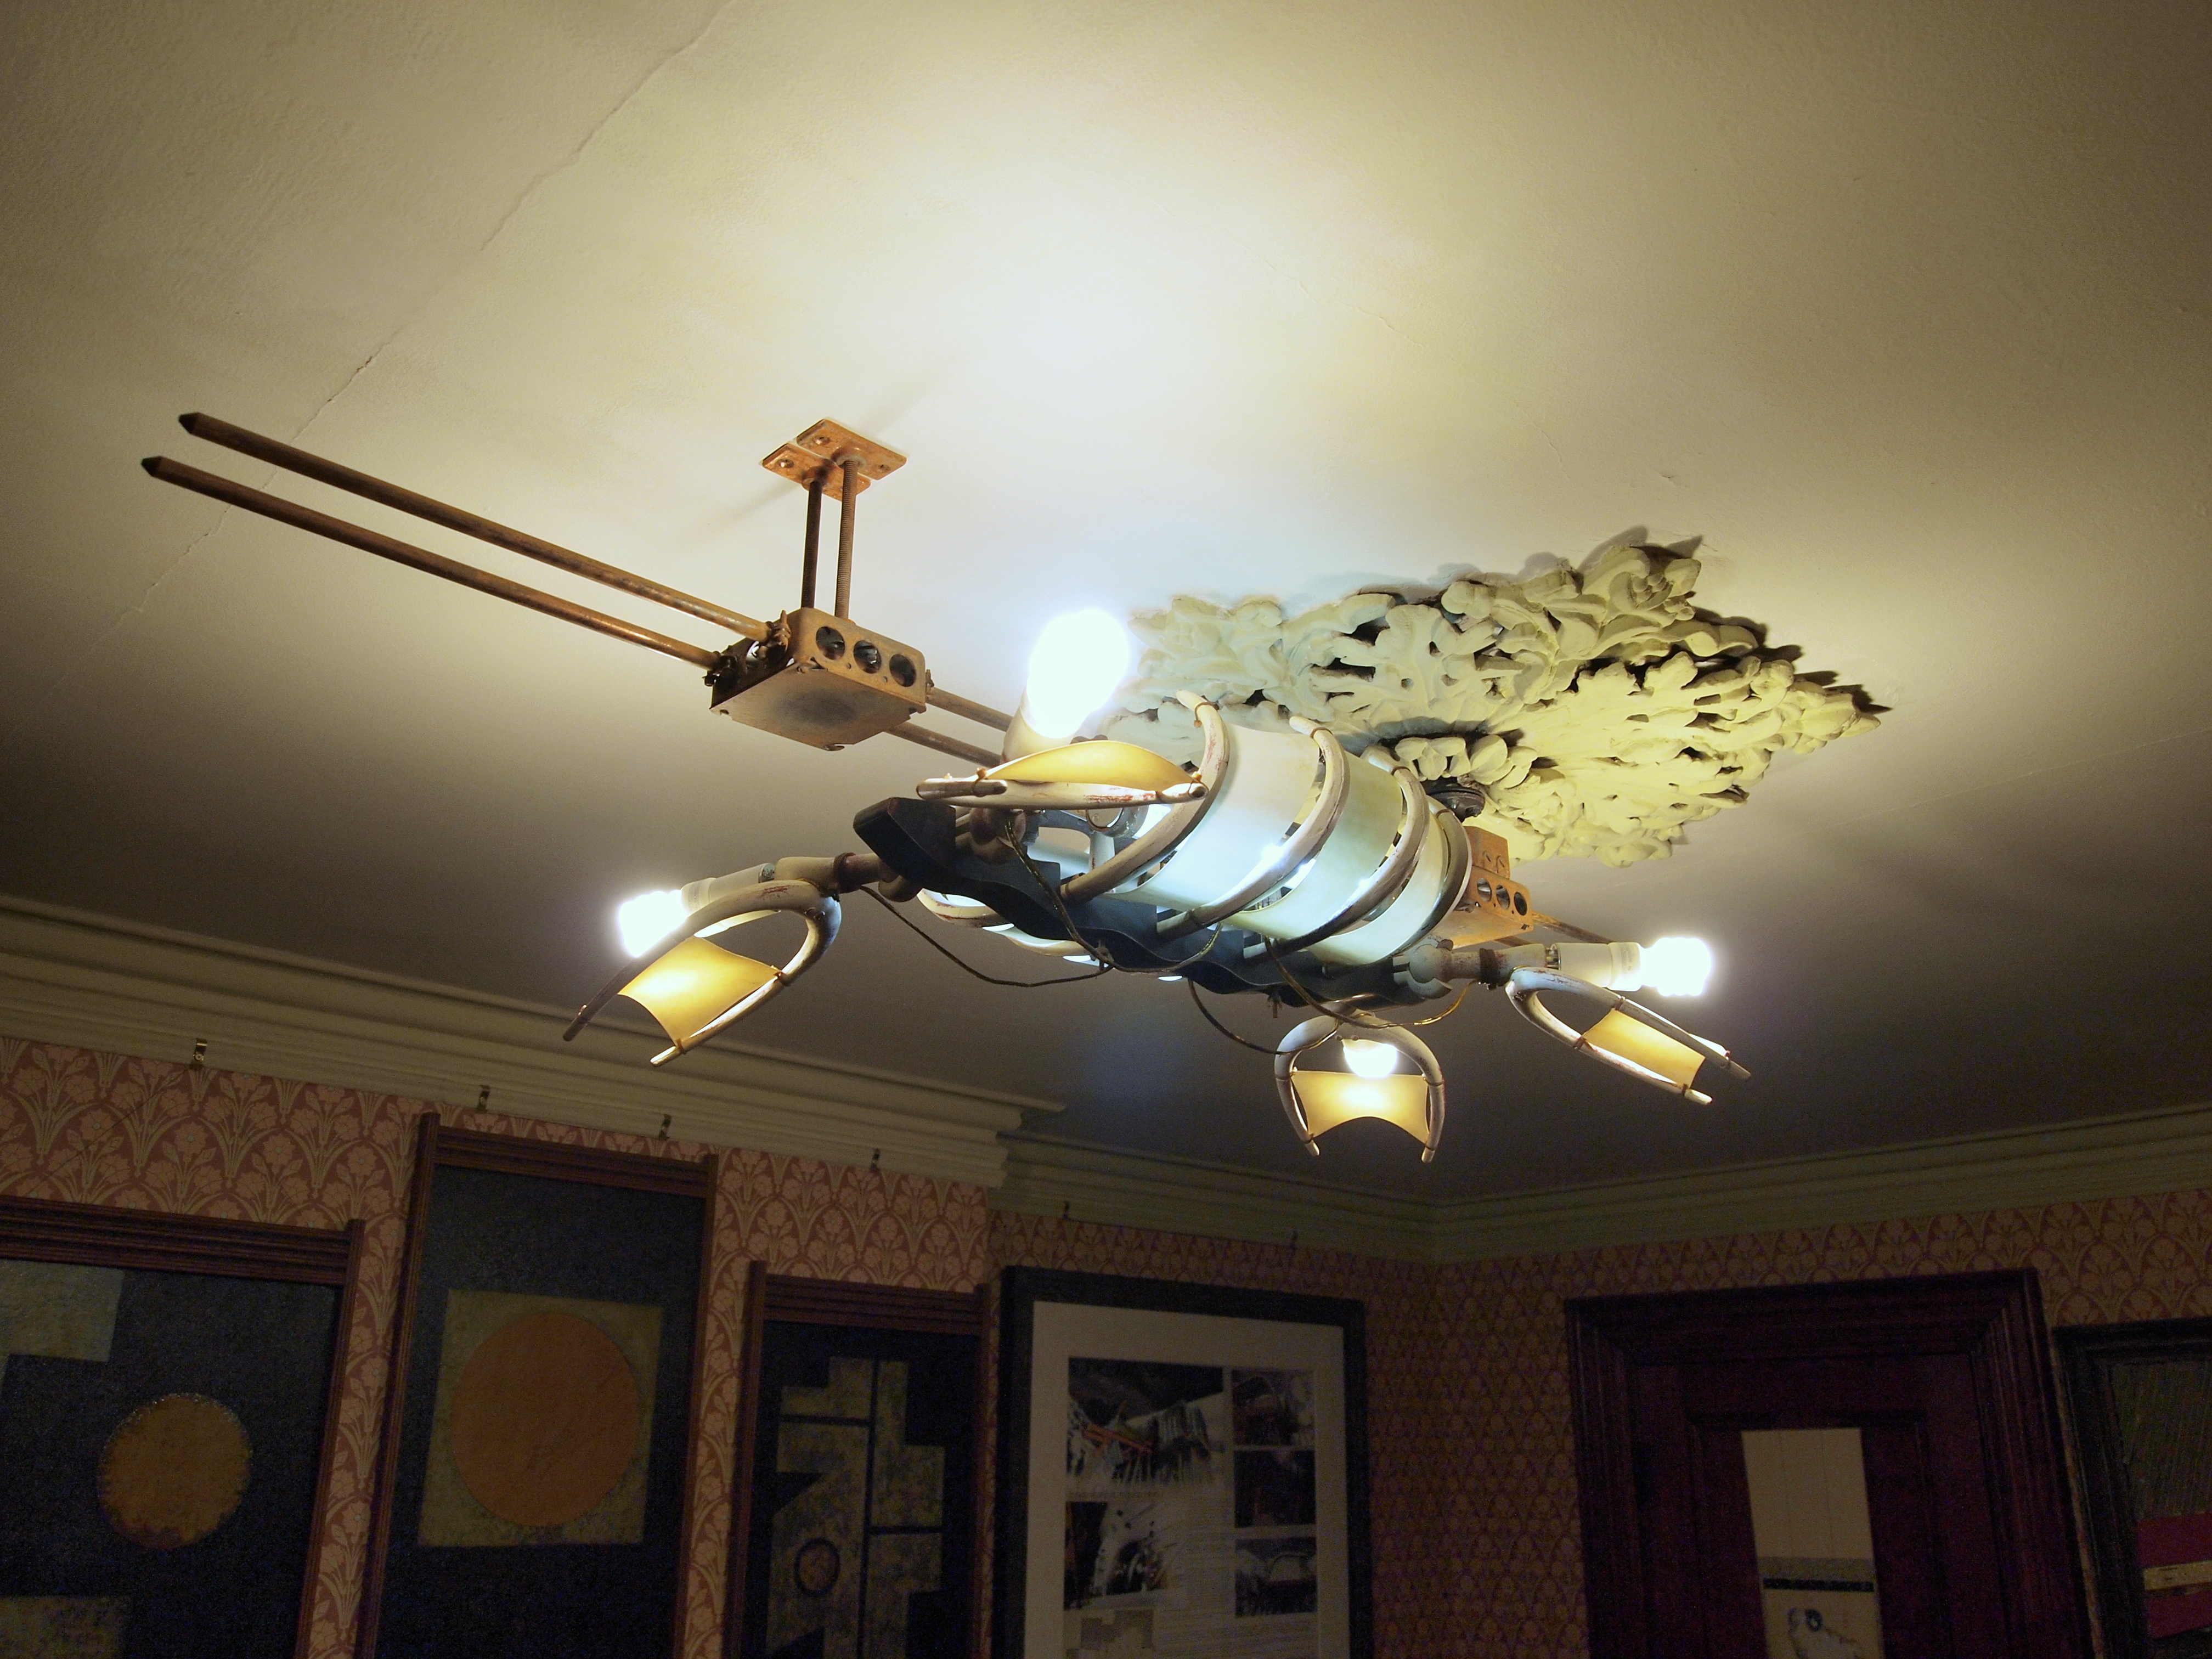
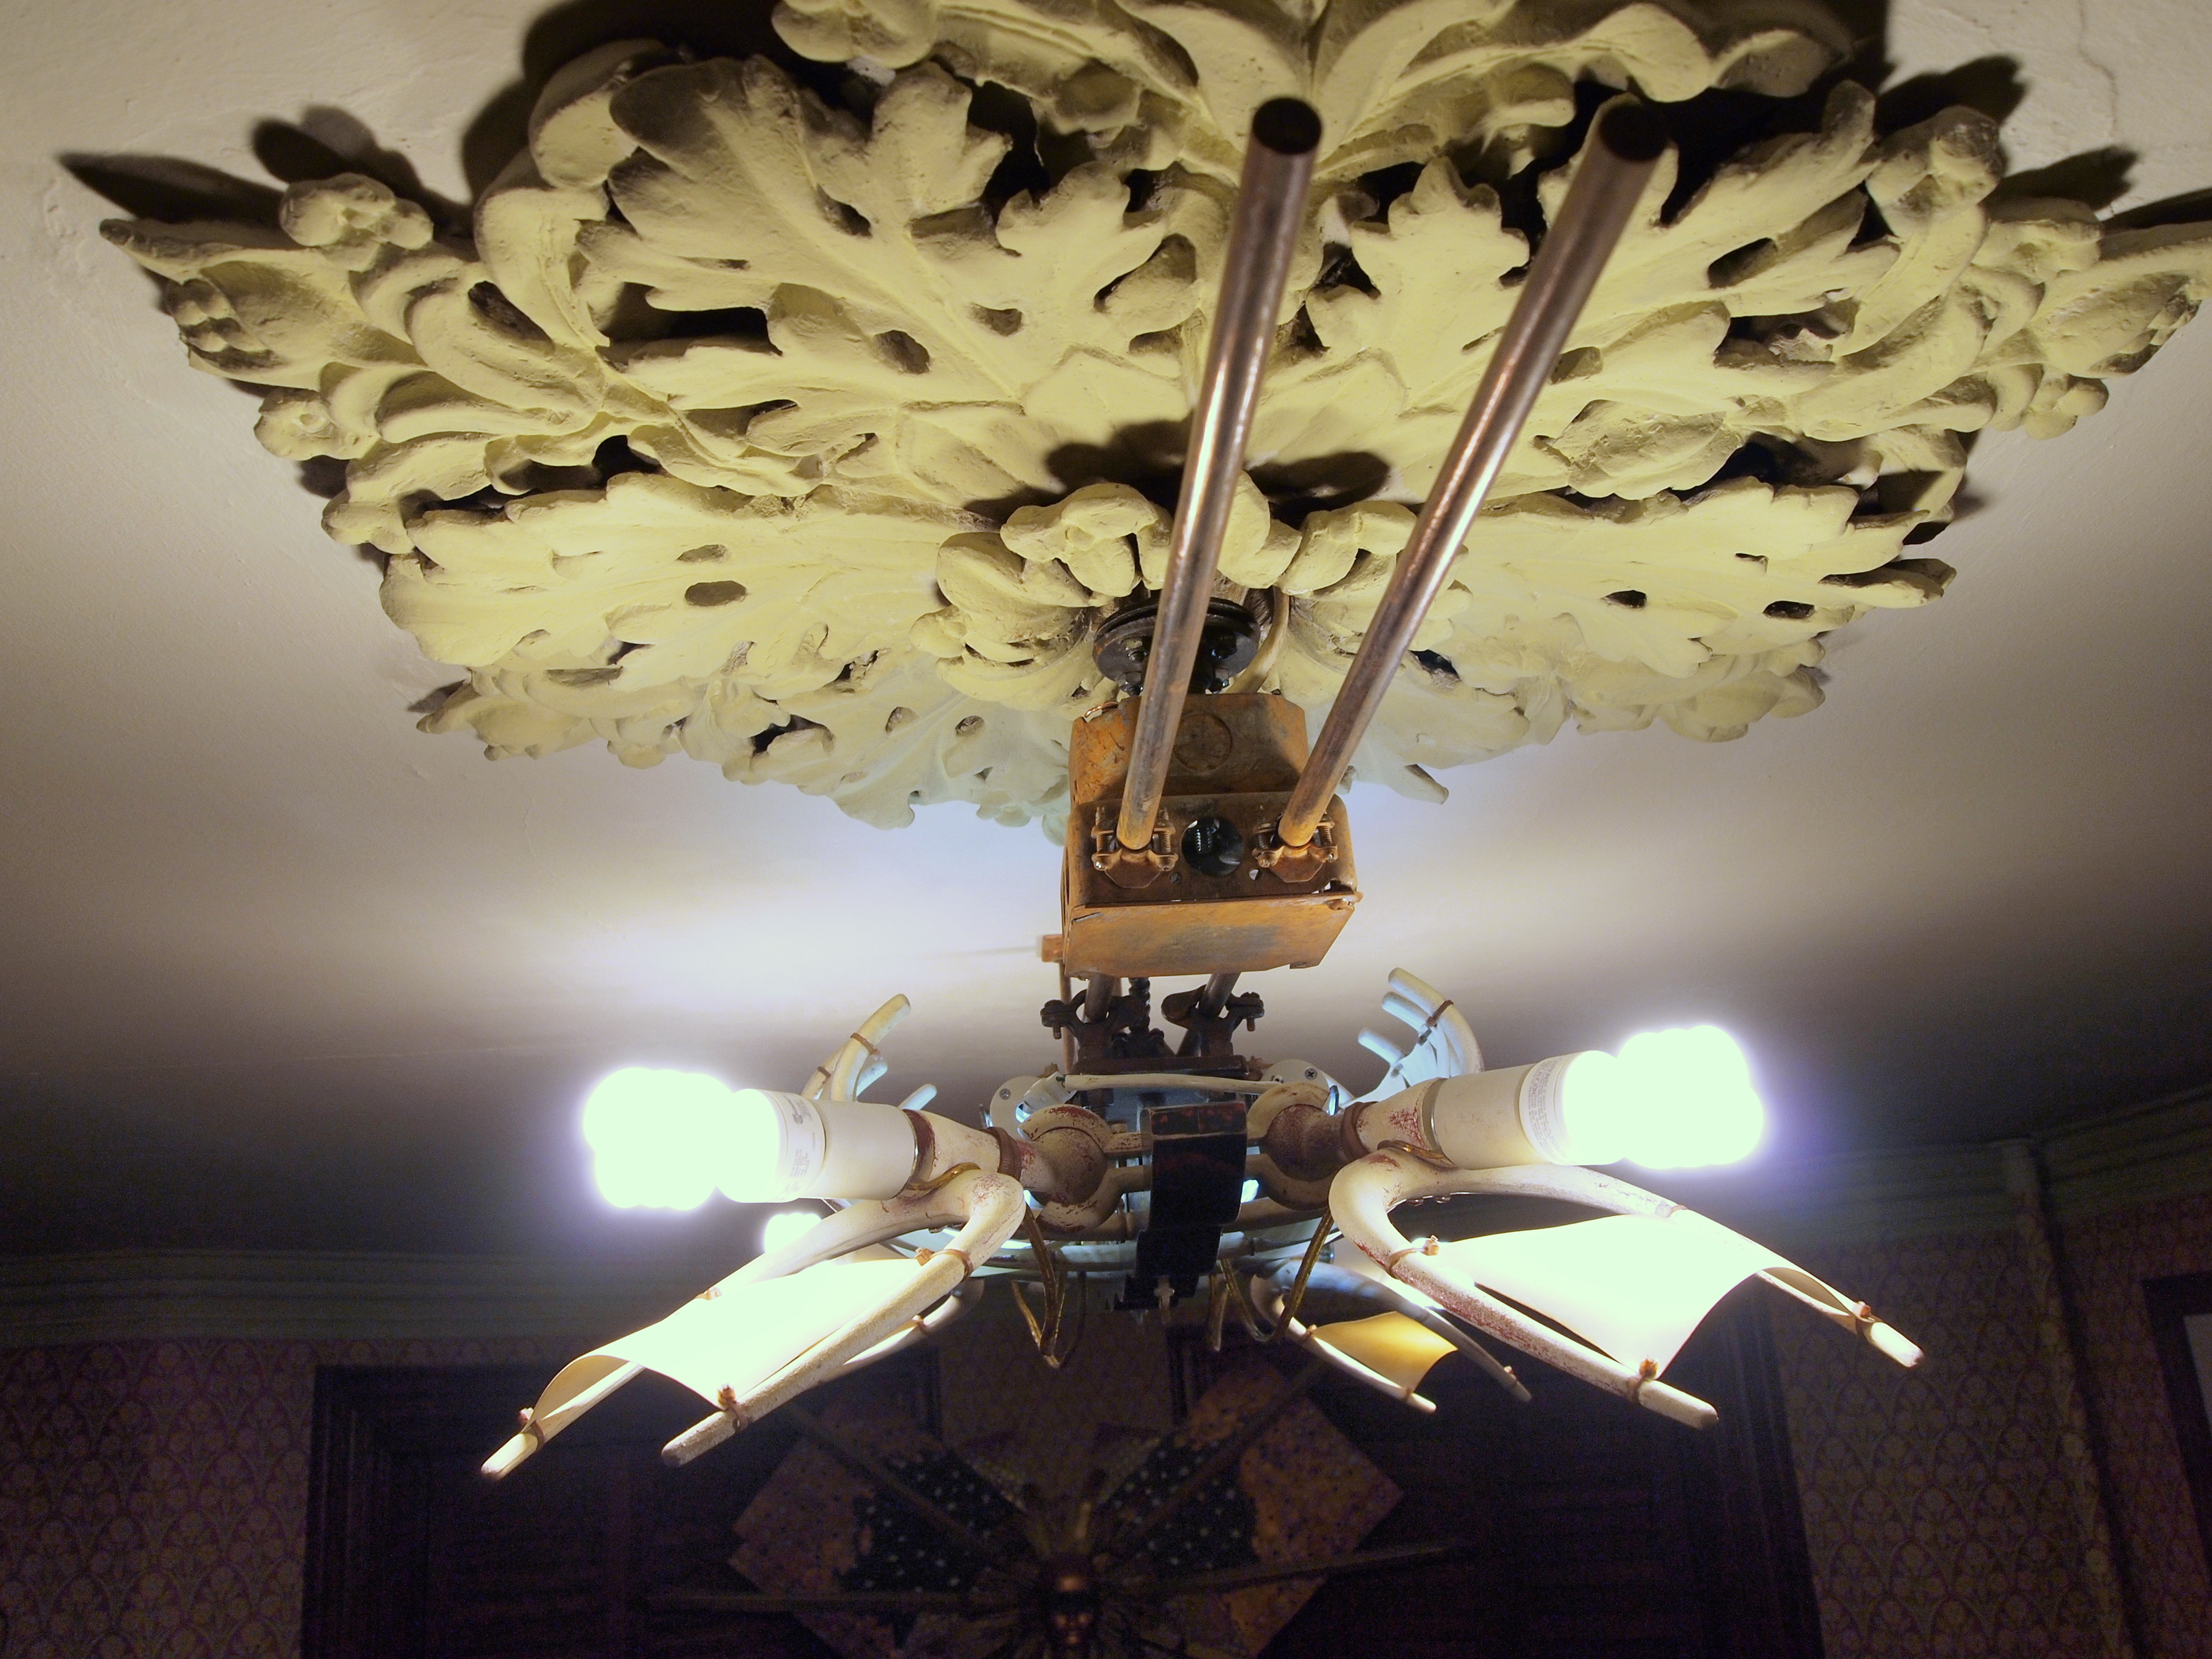
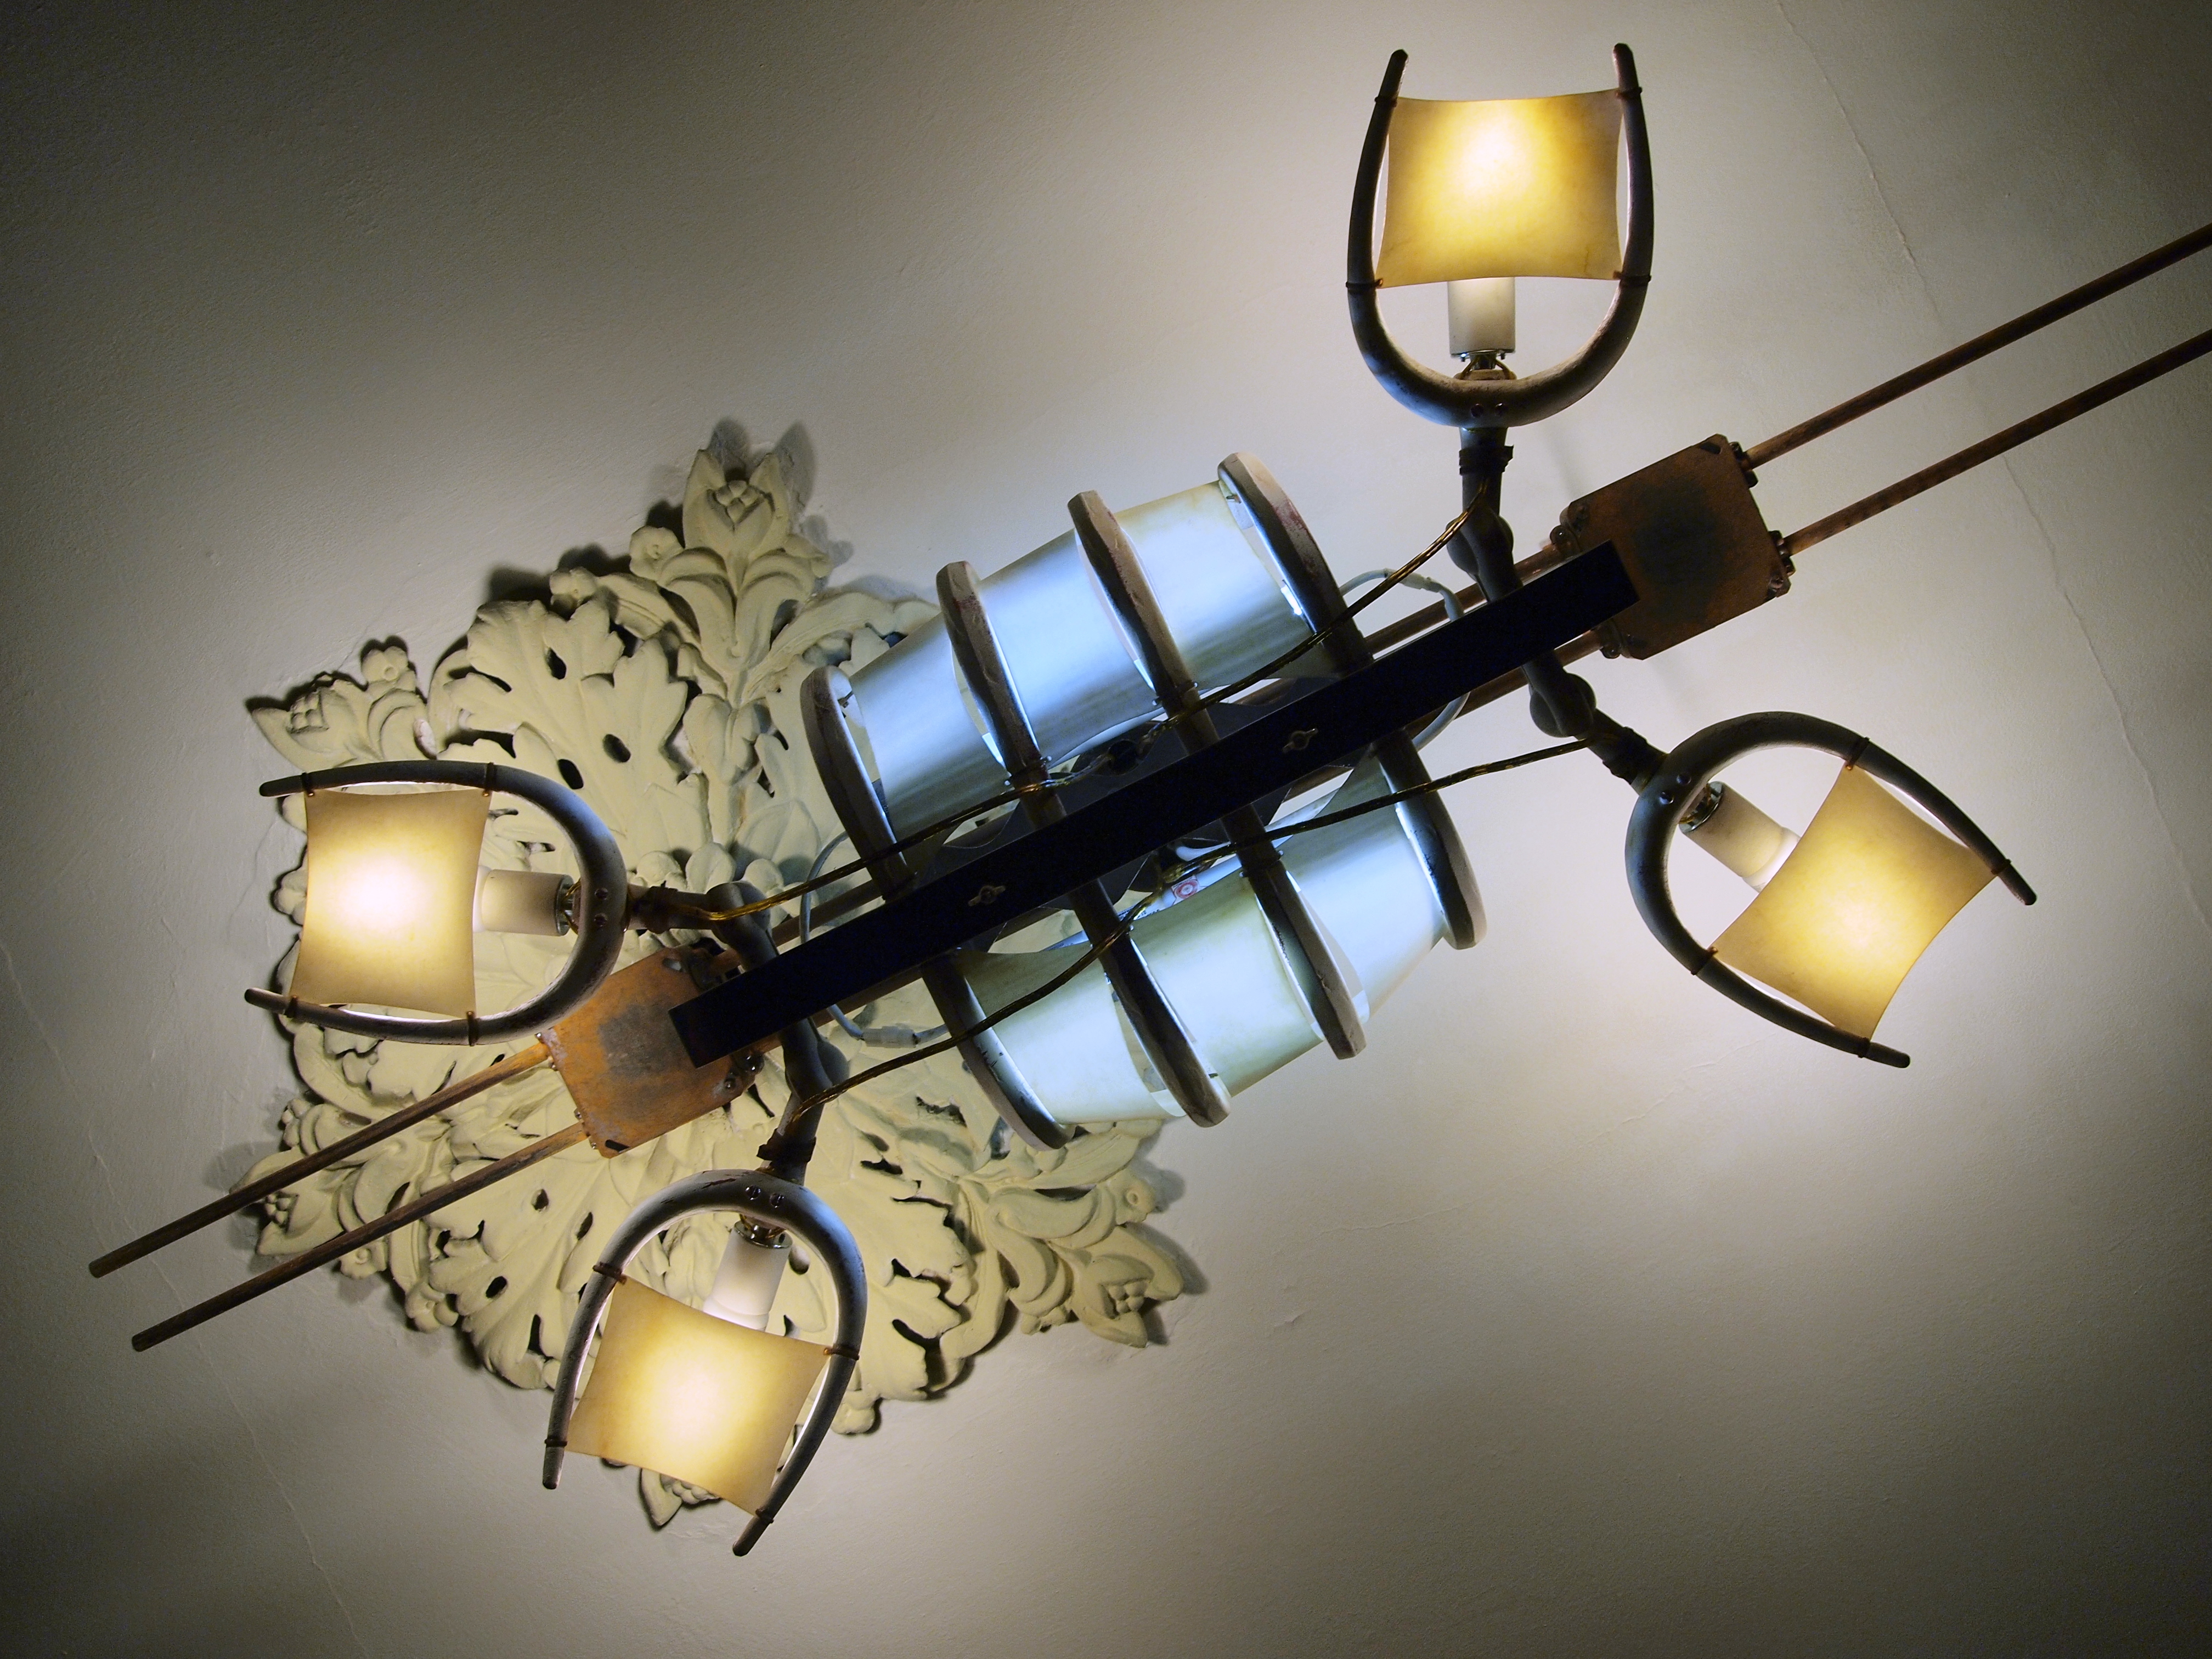
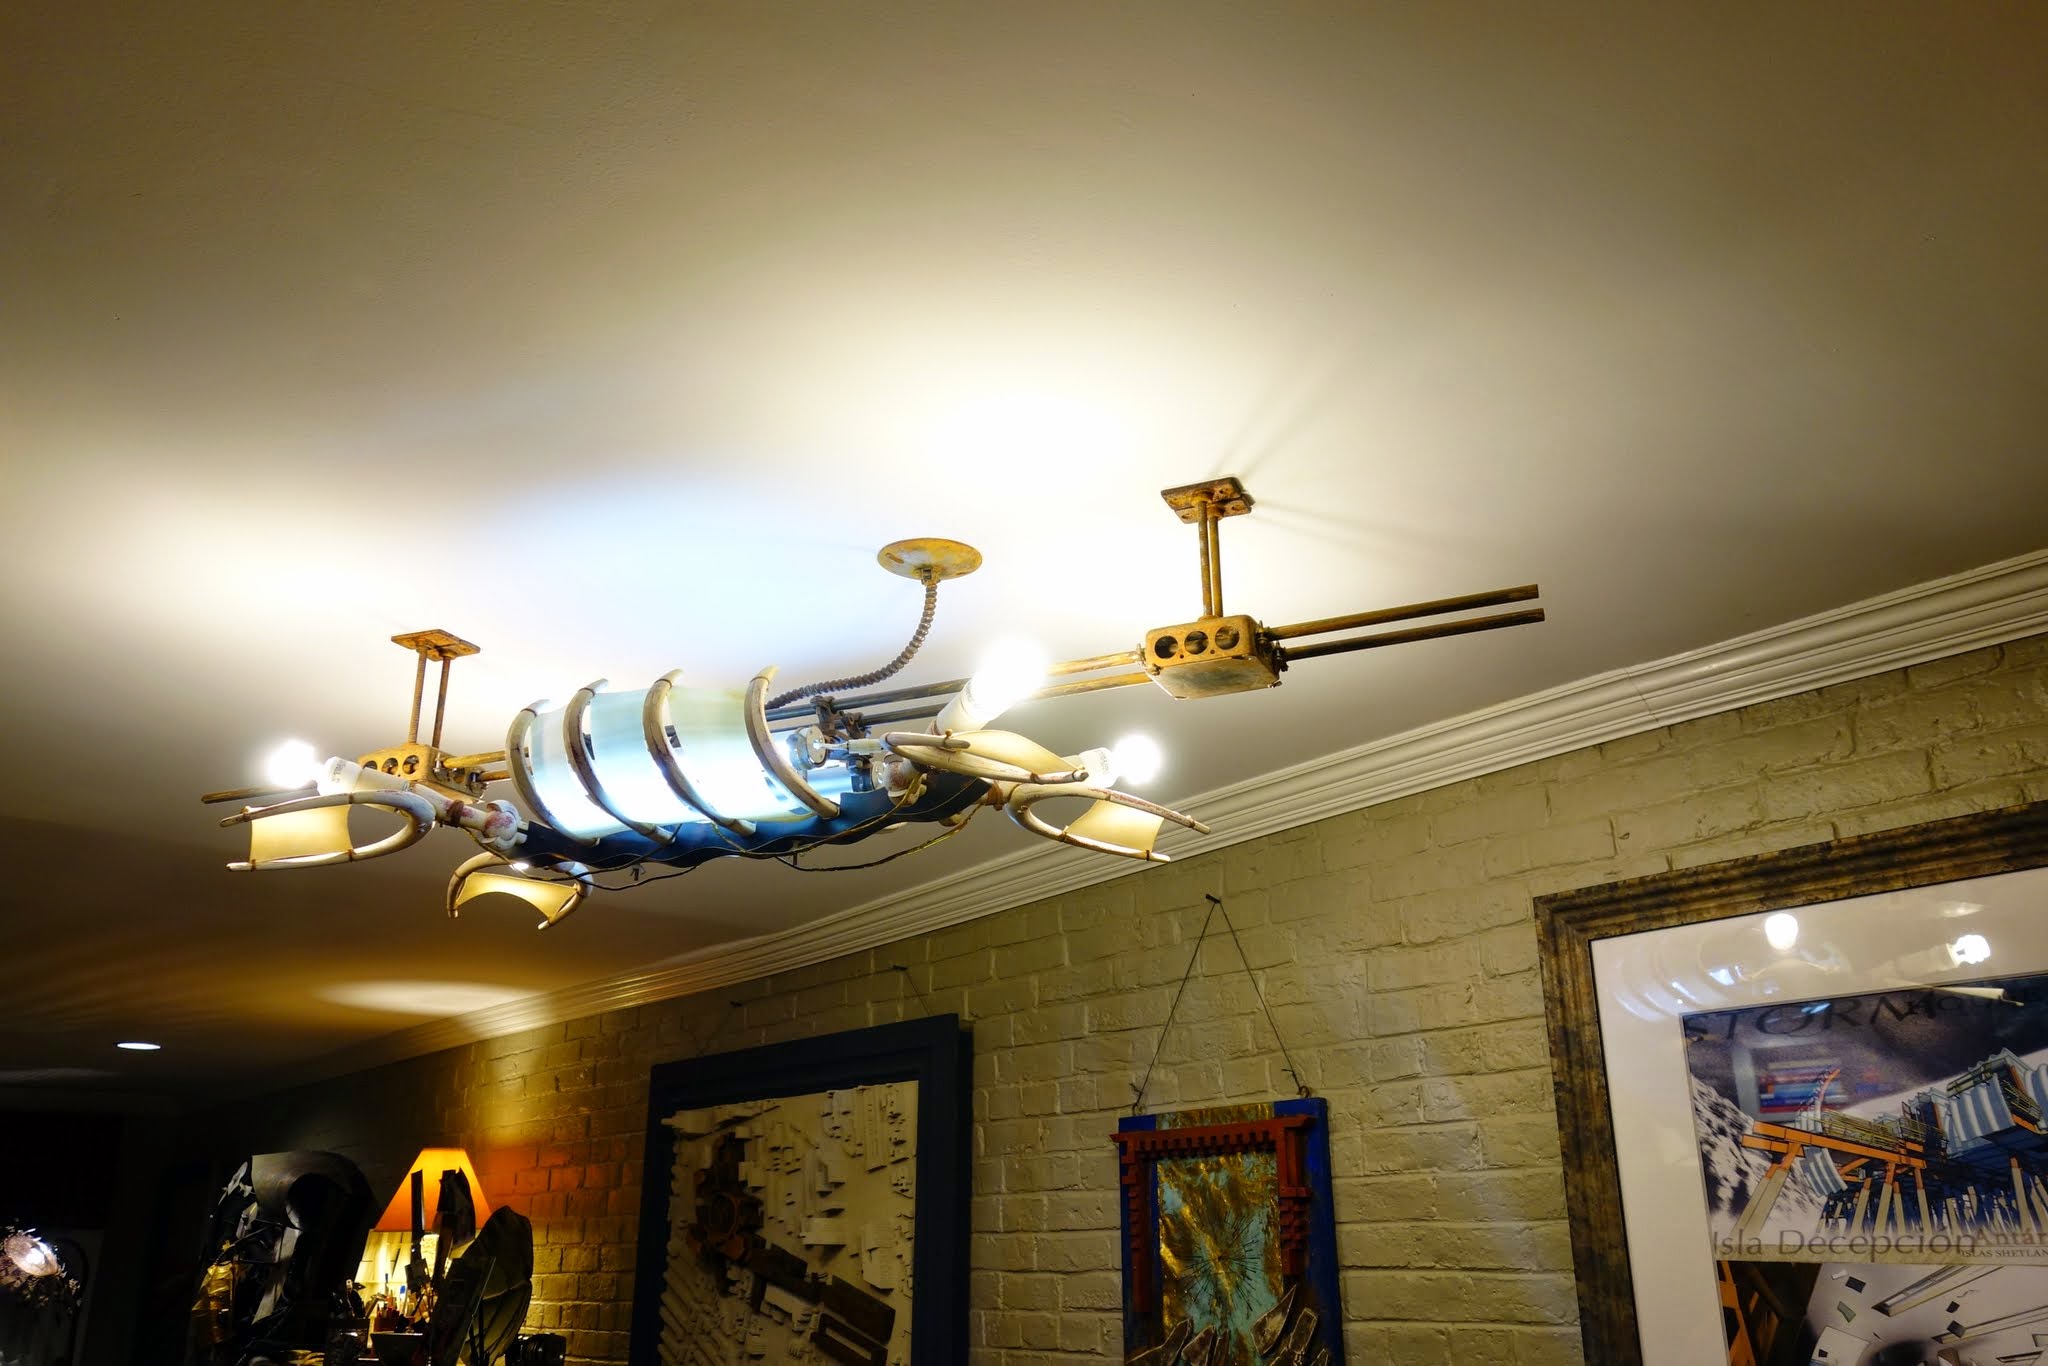
To deal with that last issue, I created a rail-system (from two salvaged five-foot lengths of copper grounding rod, some pipe-hanging hardware, and heavy steel junction boxes), which permitted me to place the “dead turtle’s” rib cage over the center of the table. And I discarded the cast aluminum hanger that I had made in architecture school in favor of a “pancake” fixture box and cable armor that routes the electrical circuit from the plaster medallion to the center of the upper plate holding the LED strips inside the ribs.
I believe that the addition of electrician’s rubbish adds to the general confusion between the organic and the crude mechanical that probably caught my imagination with this lighting fixture concept in the first place.
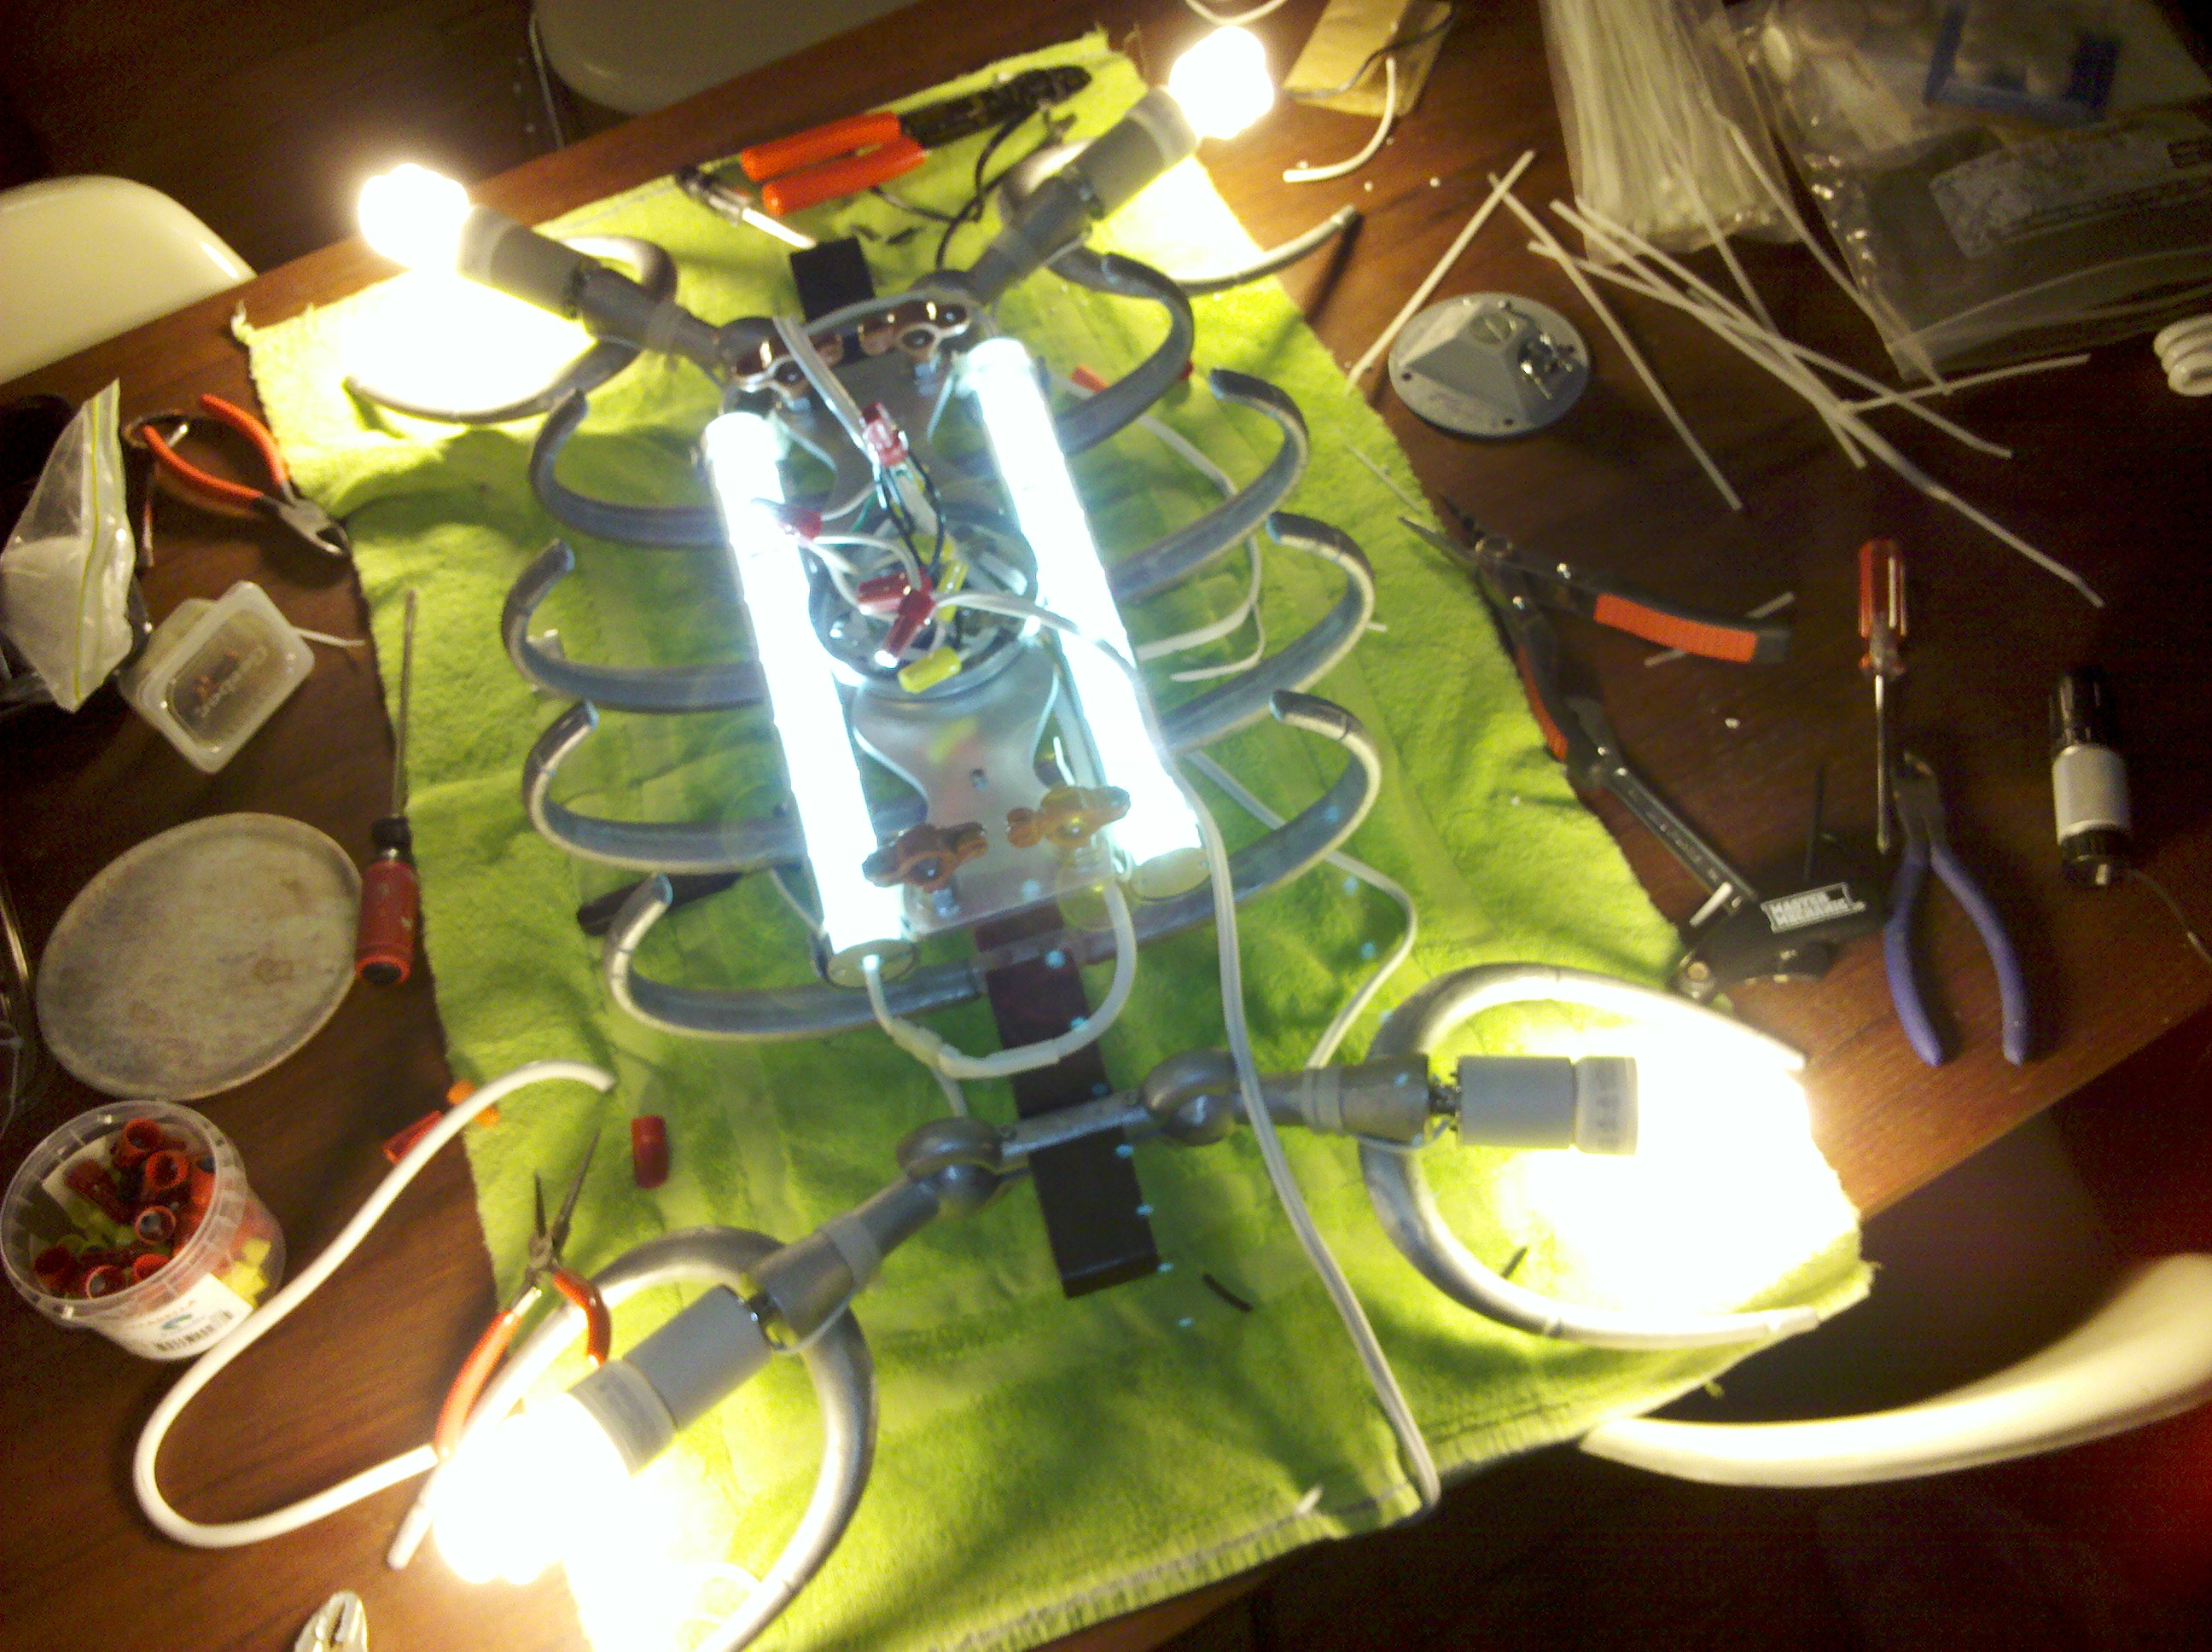
I also decided to replace the original fluorescent lighting tubes with a pair of energy-efficient wall-washer LED strips designed to illuminate wall-mounted artwork. These were originally samples sent to an architecture firm where I was employed and then quickly discarded because of the harsh limited spectrum of the illumination they provided. Fortunately, I had an extra piece of aluminum plate, a cutting test left from the architecture school phase for this project, that I could configure to support them. And the original incandescent spot lights on the paddle-limbs could be replaced with more modern, lower-wattage, Edison-bulb-base compact fluorescents or LEDs.
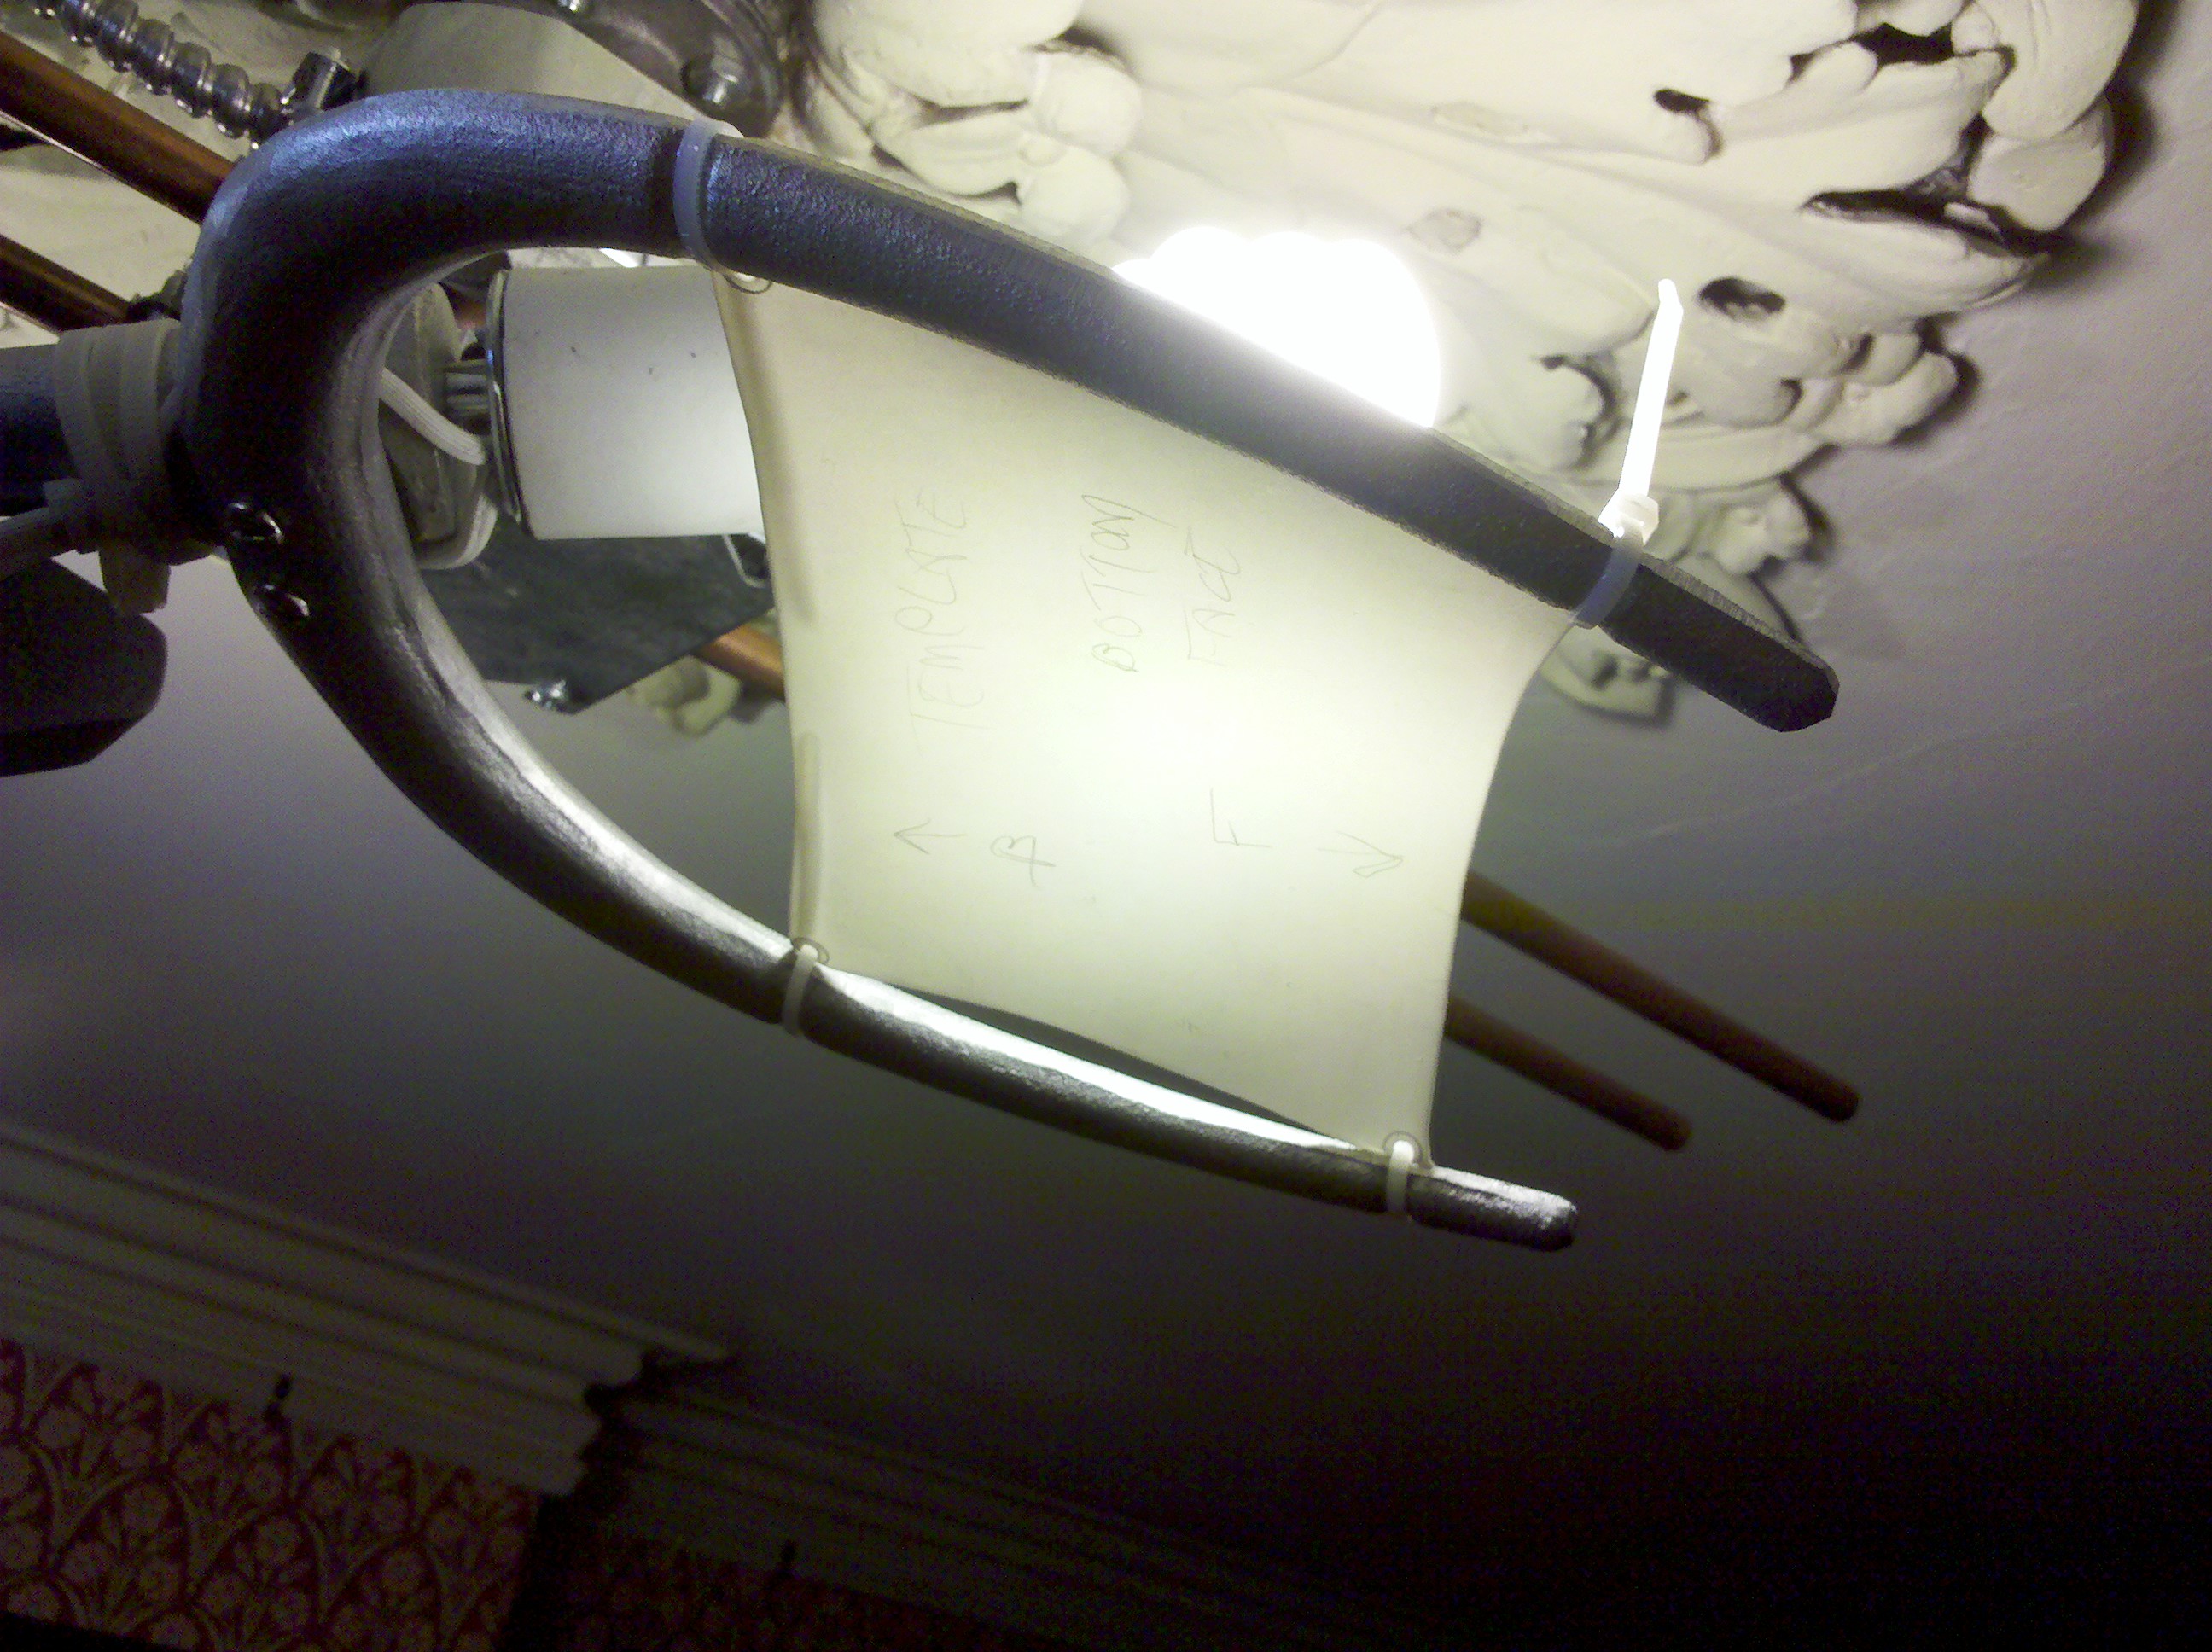
I did not arrive at a completely acceptable material for the transluscent “skin” between the “claws” and between the “ribs” during the original development phase in 2005 (no paper product seemed stiff or particularly safe enough), but while sorting some household recycling in 2011 it occurred to me that I could create the look and get the behavior I wanted with flexible HDPE sheets cut from the sides of common dairy product tubs. I discovered that the printed labels on these containers could be quickly removed with acetone and steel wool; a brief sanding of the cleaned and unrolled plastic left them slightly translucent with a vellum-like texture.
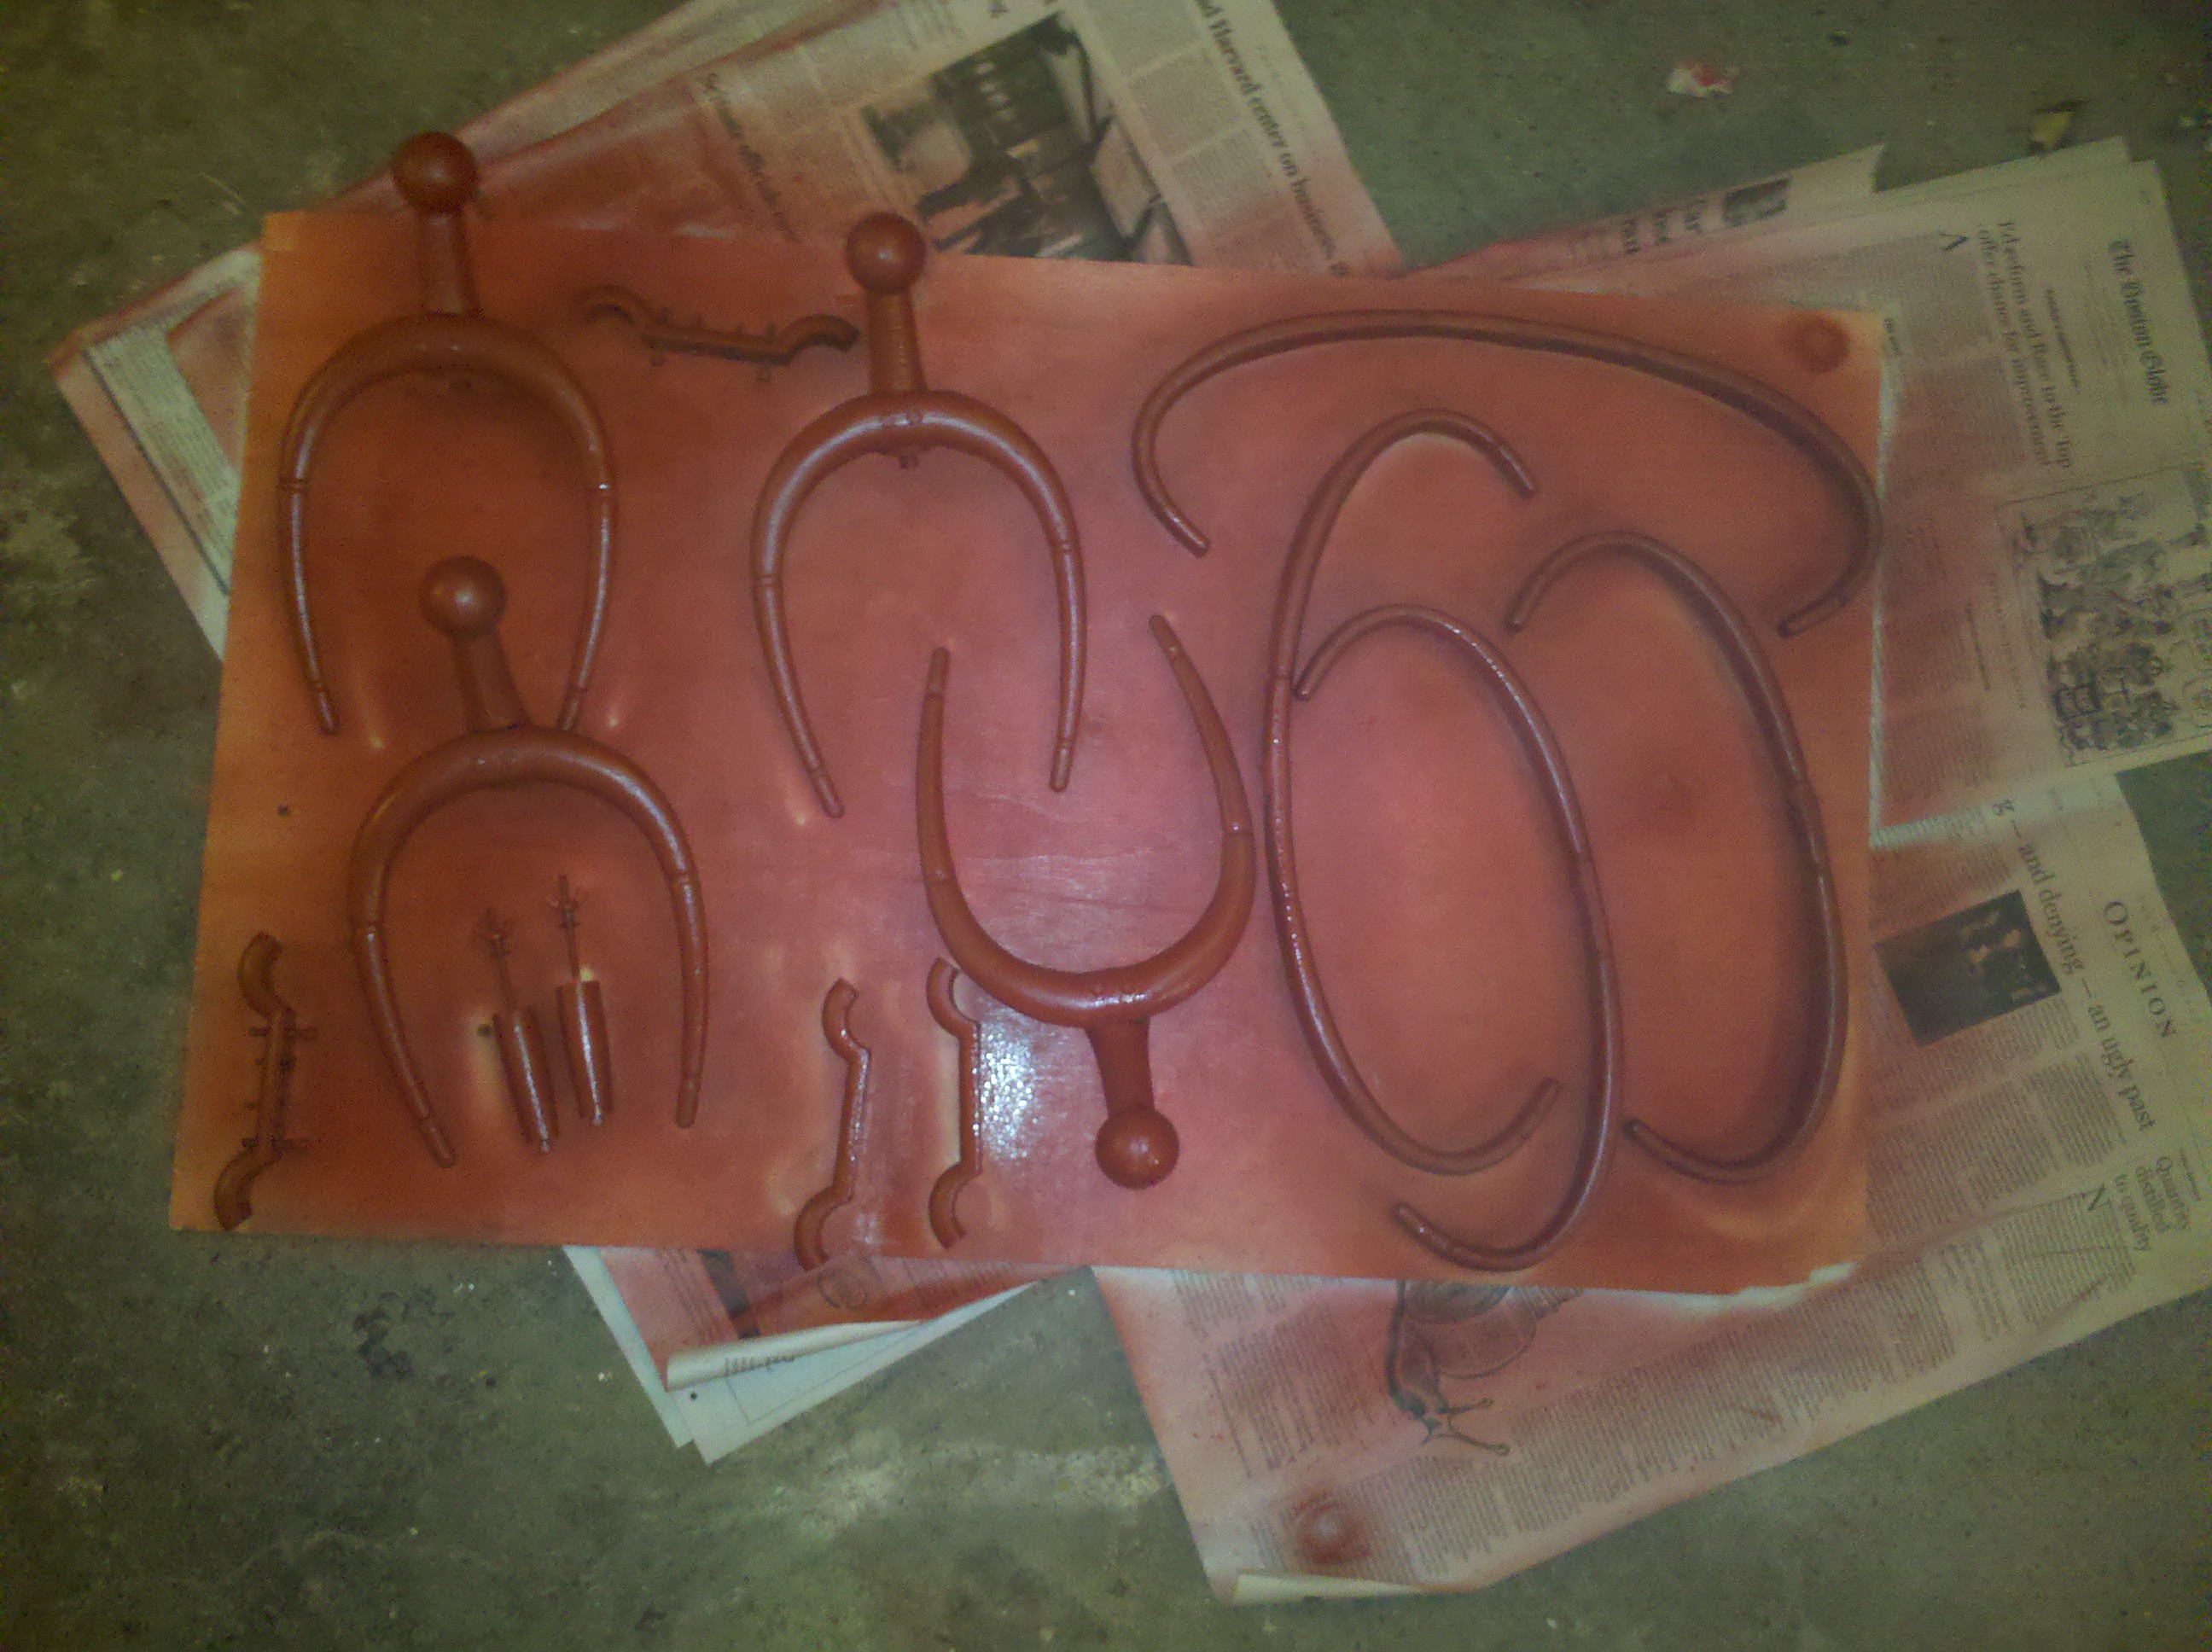
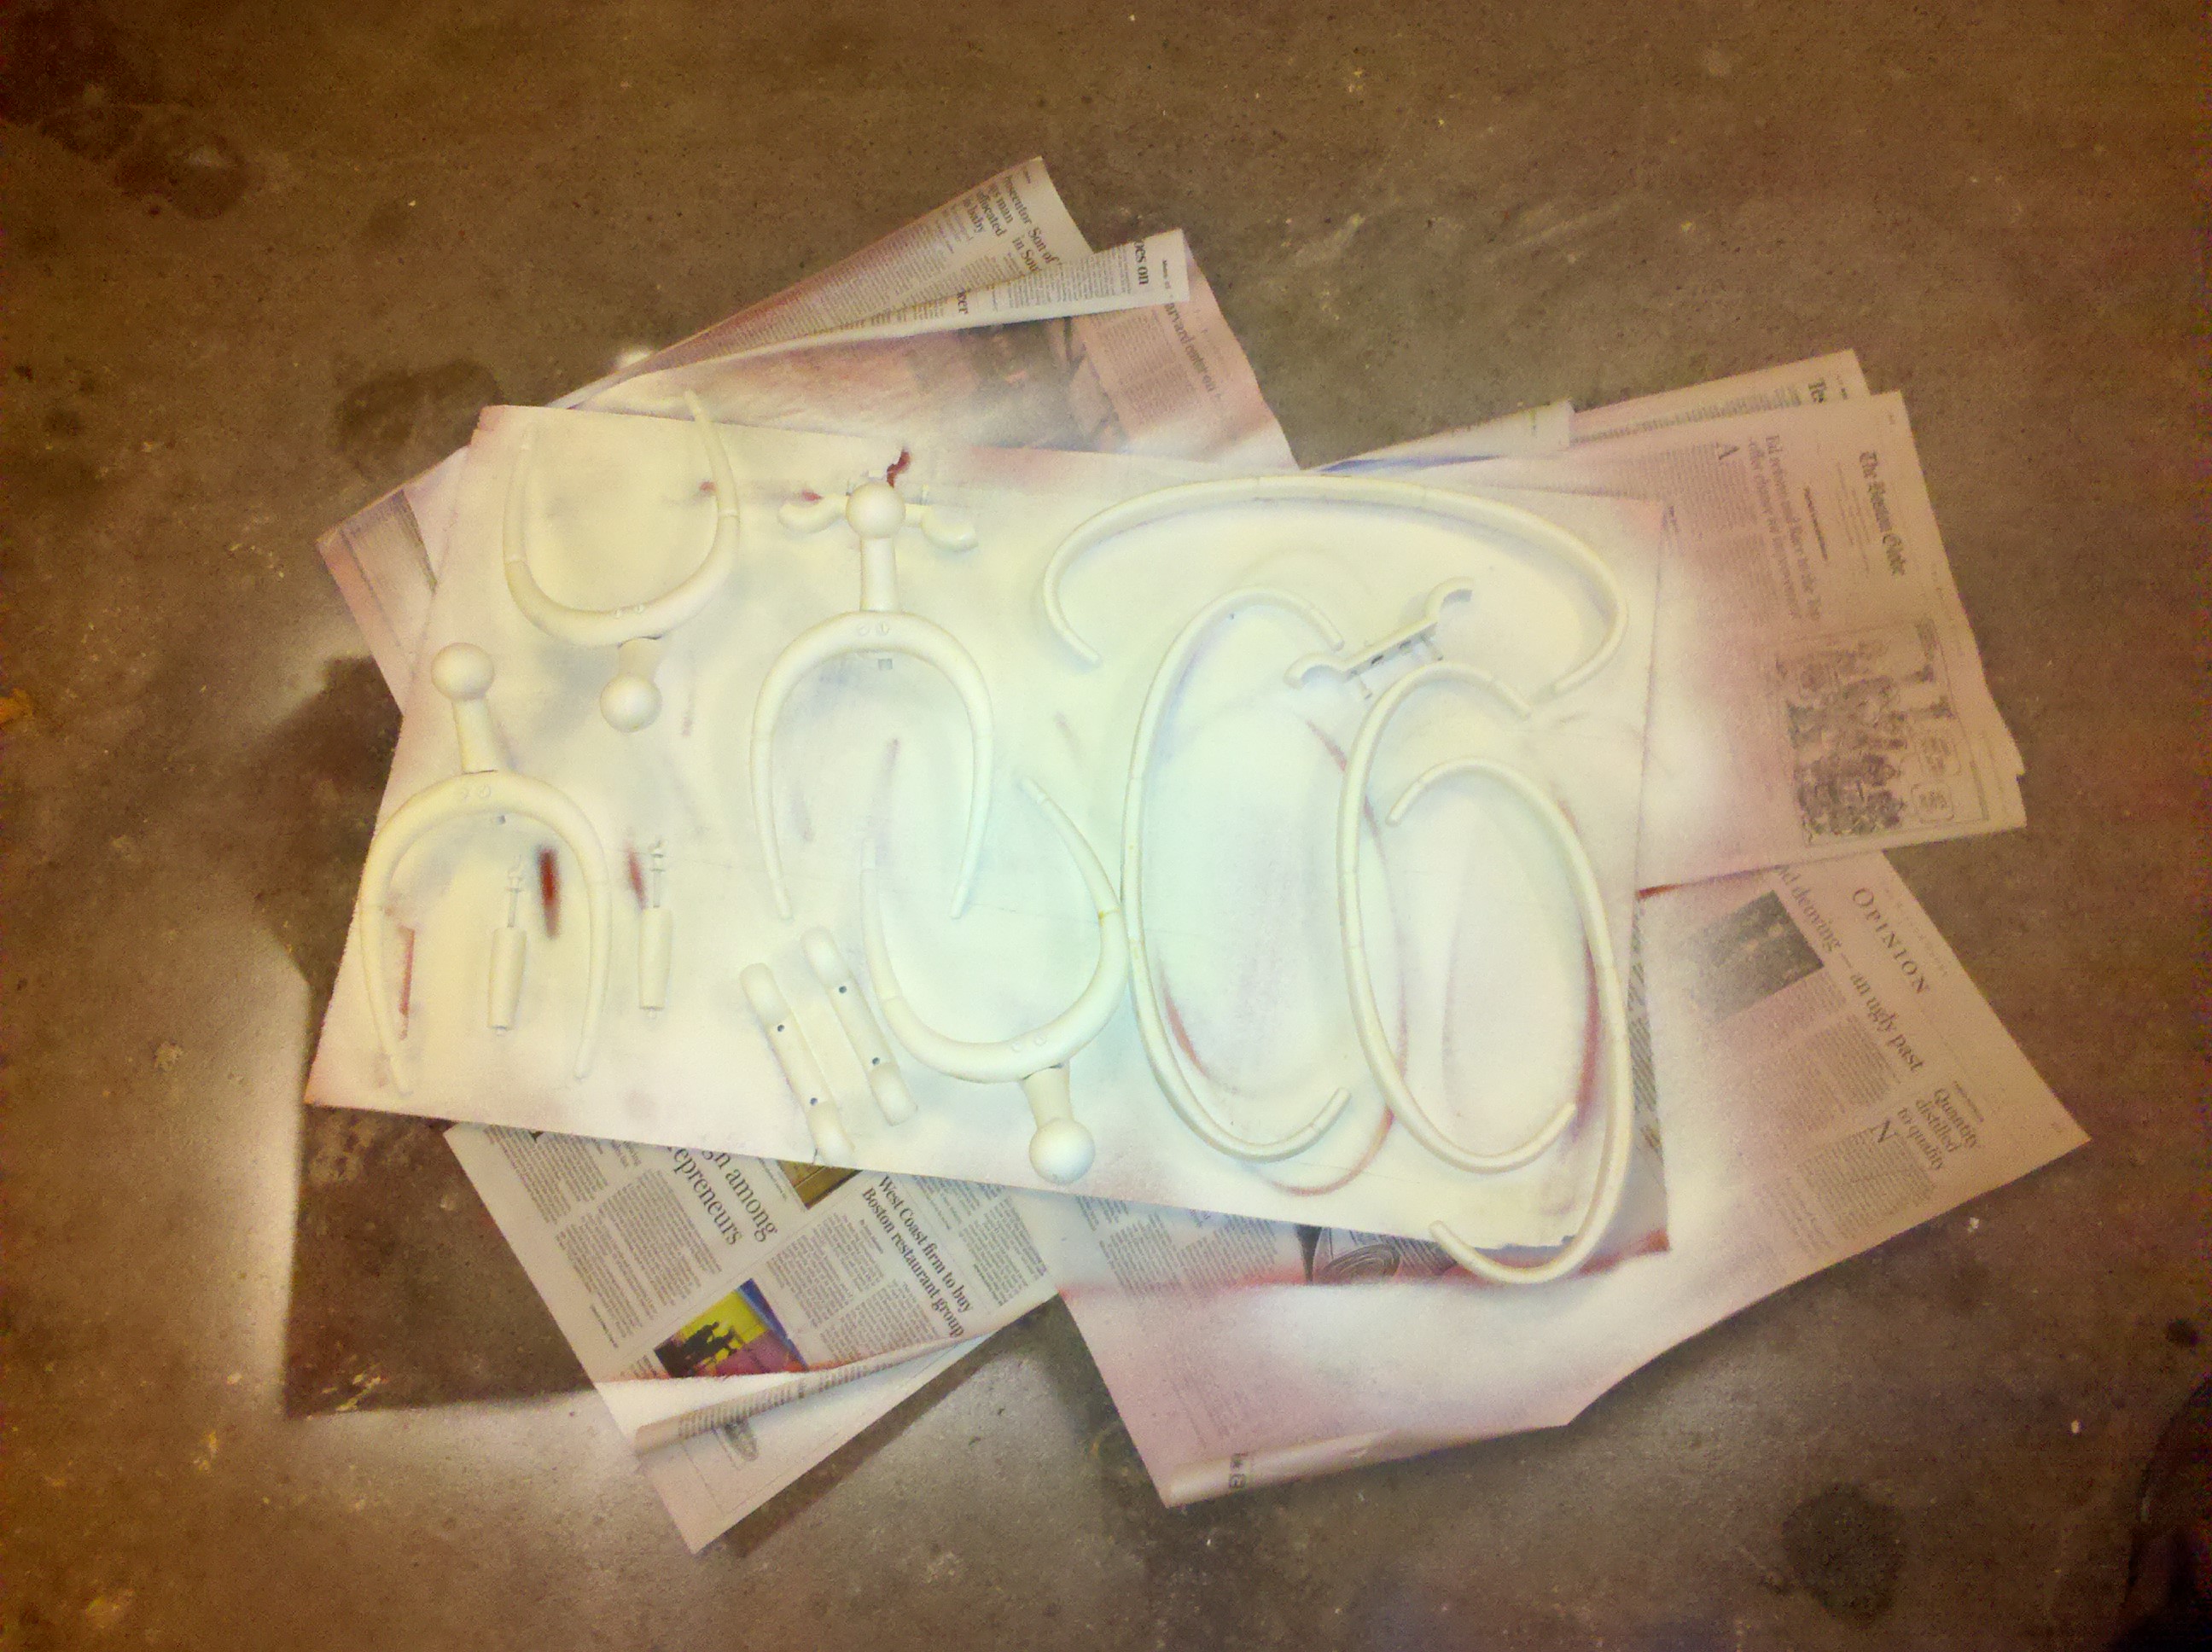
Since I no longer had to conform to the requirement for “honesty in materials” prescribed in school , I decided to give the dead turtle a full polychroming, synthetically aging the various elements to fit with their Victorian surroundings. So the aluminum “bones” received several glaze coats, primarily consisting of left-over acrylic floor varnish mixed with old ceiling paint, some red iron oxides, and other raw pigments; this was deliberately abraded to reveal the layering or even some bare metal. The salvaged electrician’s supplies and the waterjet-cut aluminum plate that supports the LED strips were all given a unifying faux-rusting steel treatment. Nylon cable-ties used at various points to secure items tightly to the aluminum were dipped in a burnt-umber-and-white-glue solution to look like old rope. Even the plastic-vellum “skins’ were treated to seem water-stained.
“Cool! But it doesn’t look like a turtle,” decided my nine-year old daughter.
“Looks like a prehistoric fossil to me,” pronounced my wife. “Or something.”
ADDENDUM:
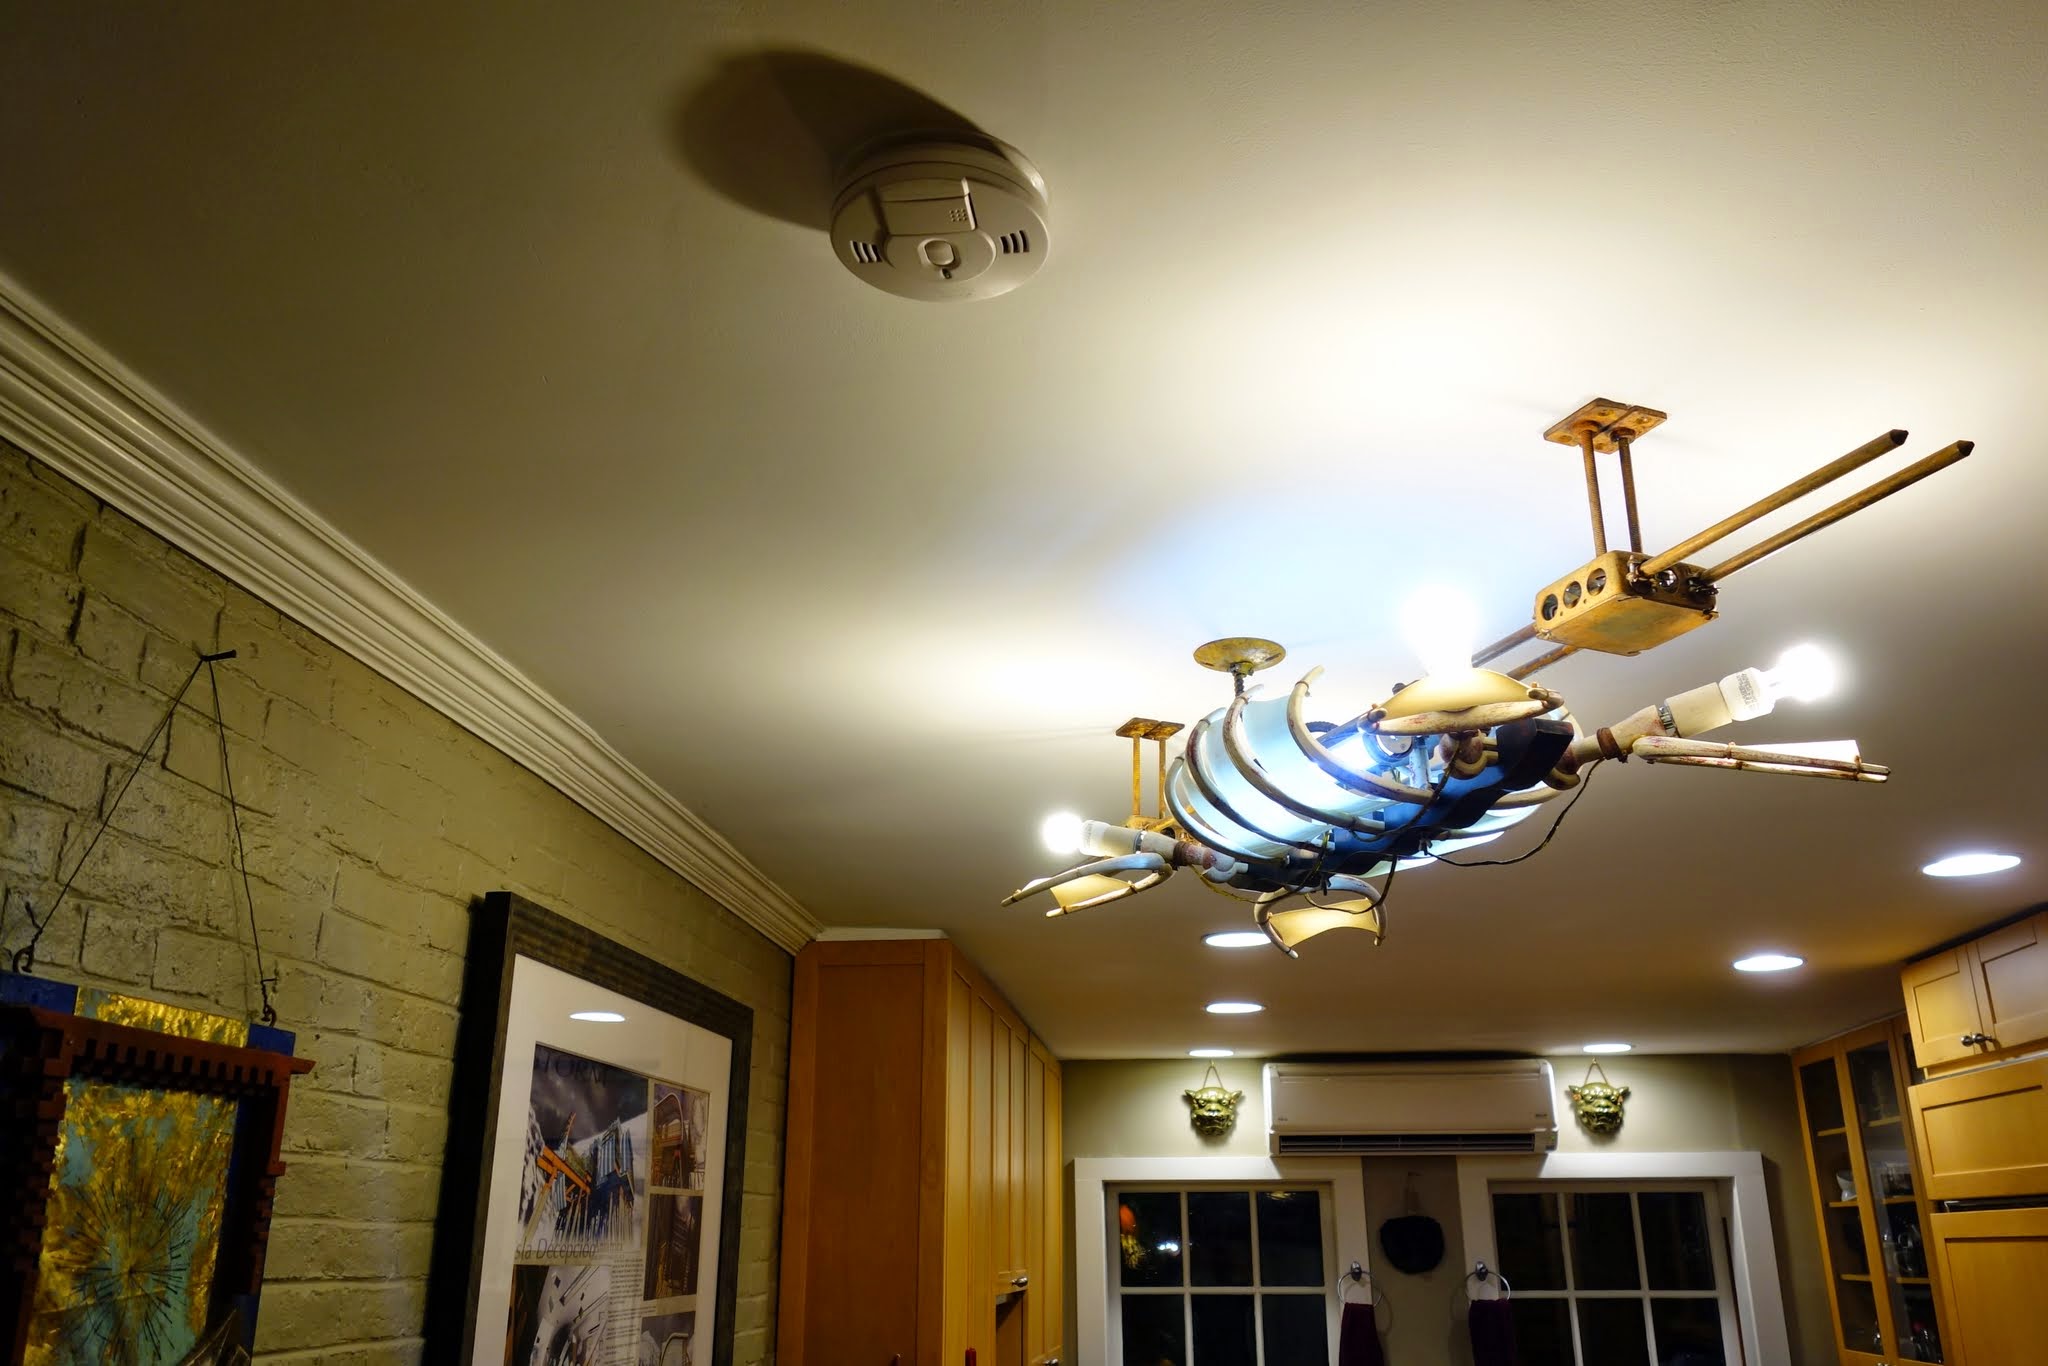
The Plesiosaur sculpture-light relocated to a different residence in 2013:
